Neighbours module editor
With the Neighbours module in Connect, you can fully align the neighborhood and community features with the needs of your organization. In this manual, you will read how to activate the module as an administrator and how to customize its content, functionality, and design to your liking using the editor.
Activating the Neighbours module - FOR ADMINS ONLY To make the Neighbours module visible in the Connect menu, follow these steps:
- Log in as an Admin in Connect.
- Navigate to Settings > Edit company > (Web)app.
- Check the ‘Neighbours’ option.
- Click Save to apply the changes.
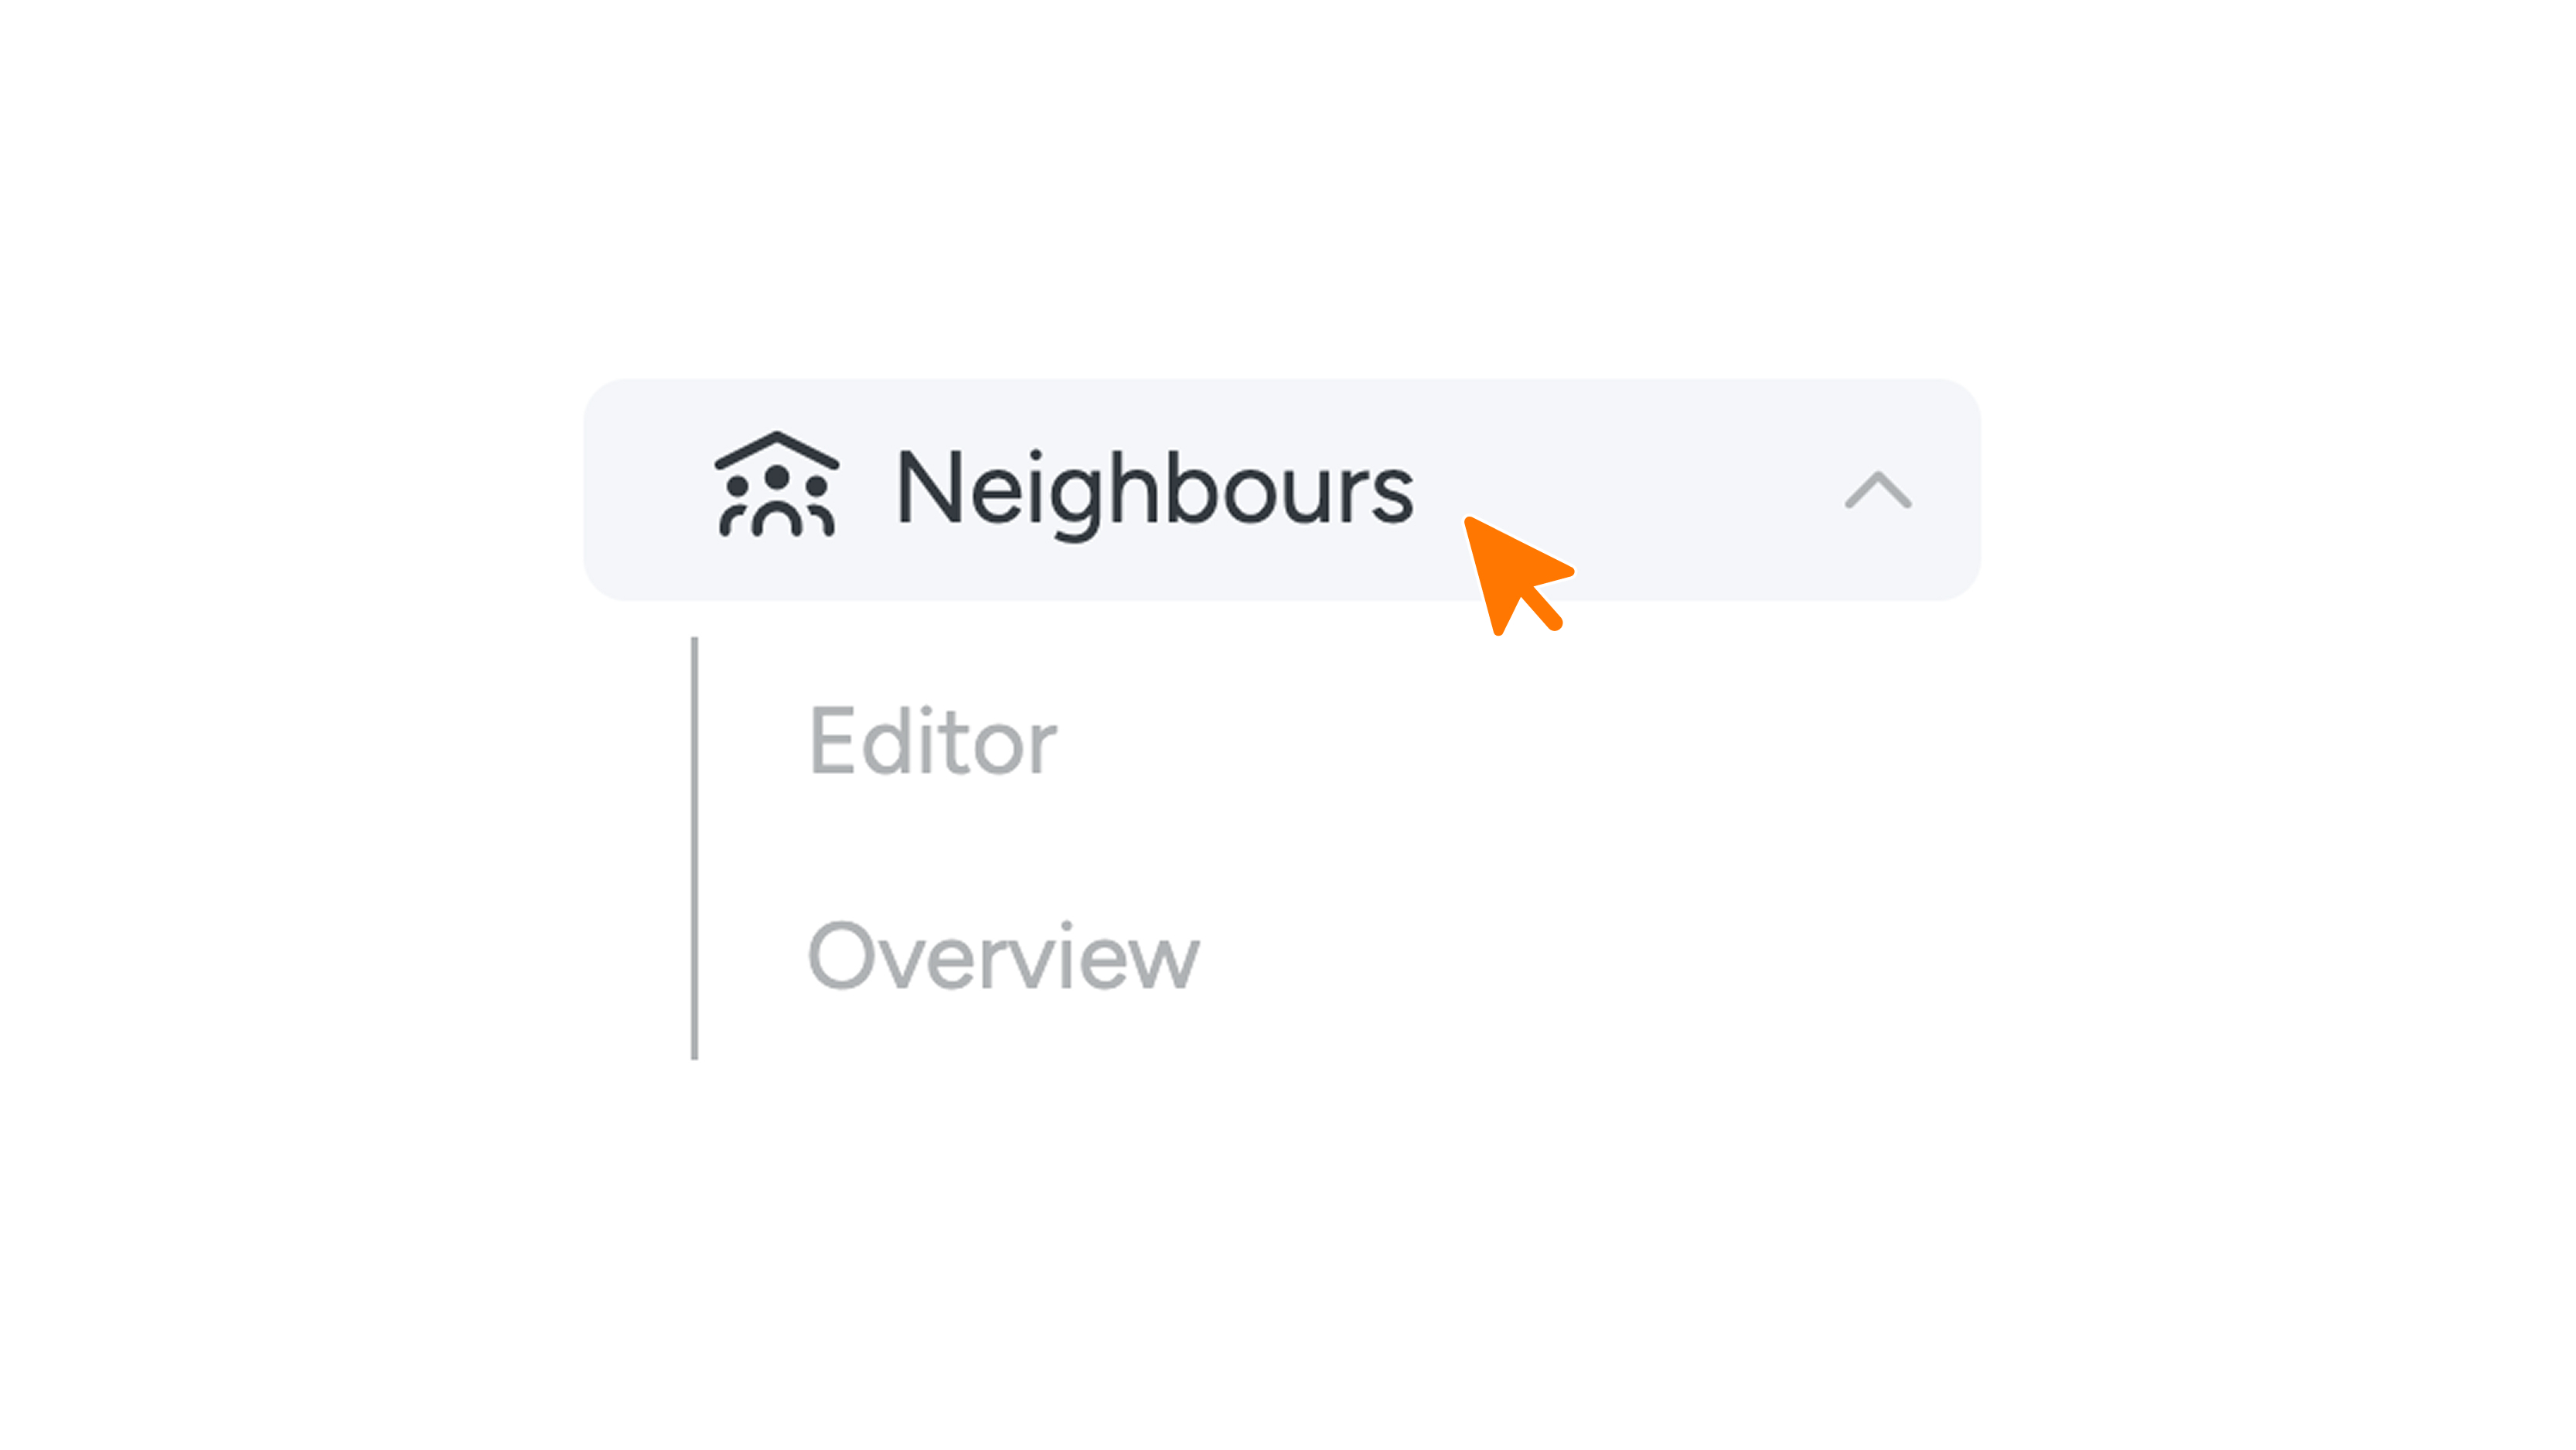
After saving, the ‘Neighbours’ menu item will appear in the main menu, with two sub-items underneath it: Editor and Settings. If you are not an admin and would like to have the Neighbours module activated, please contact support@guestcompass.nl.
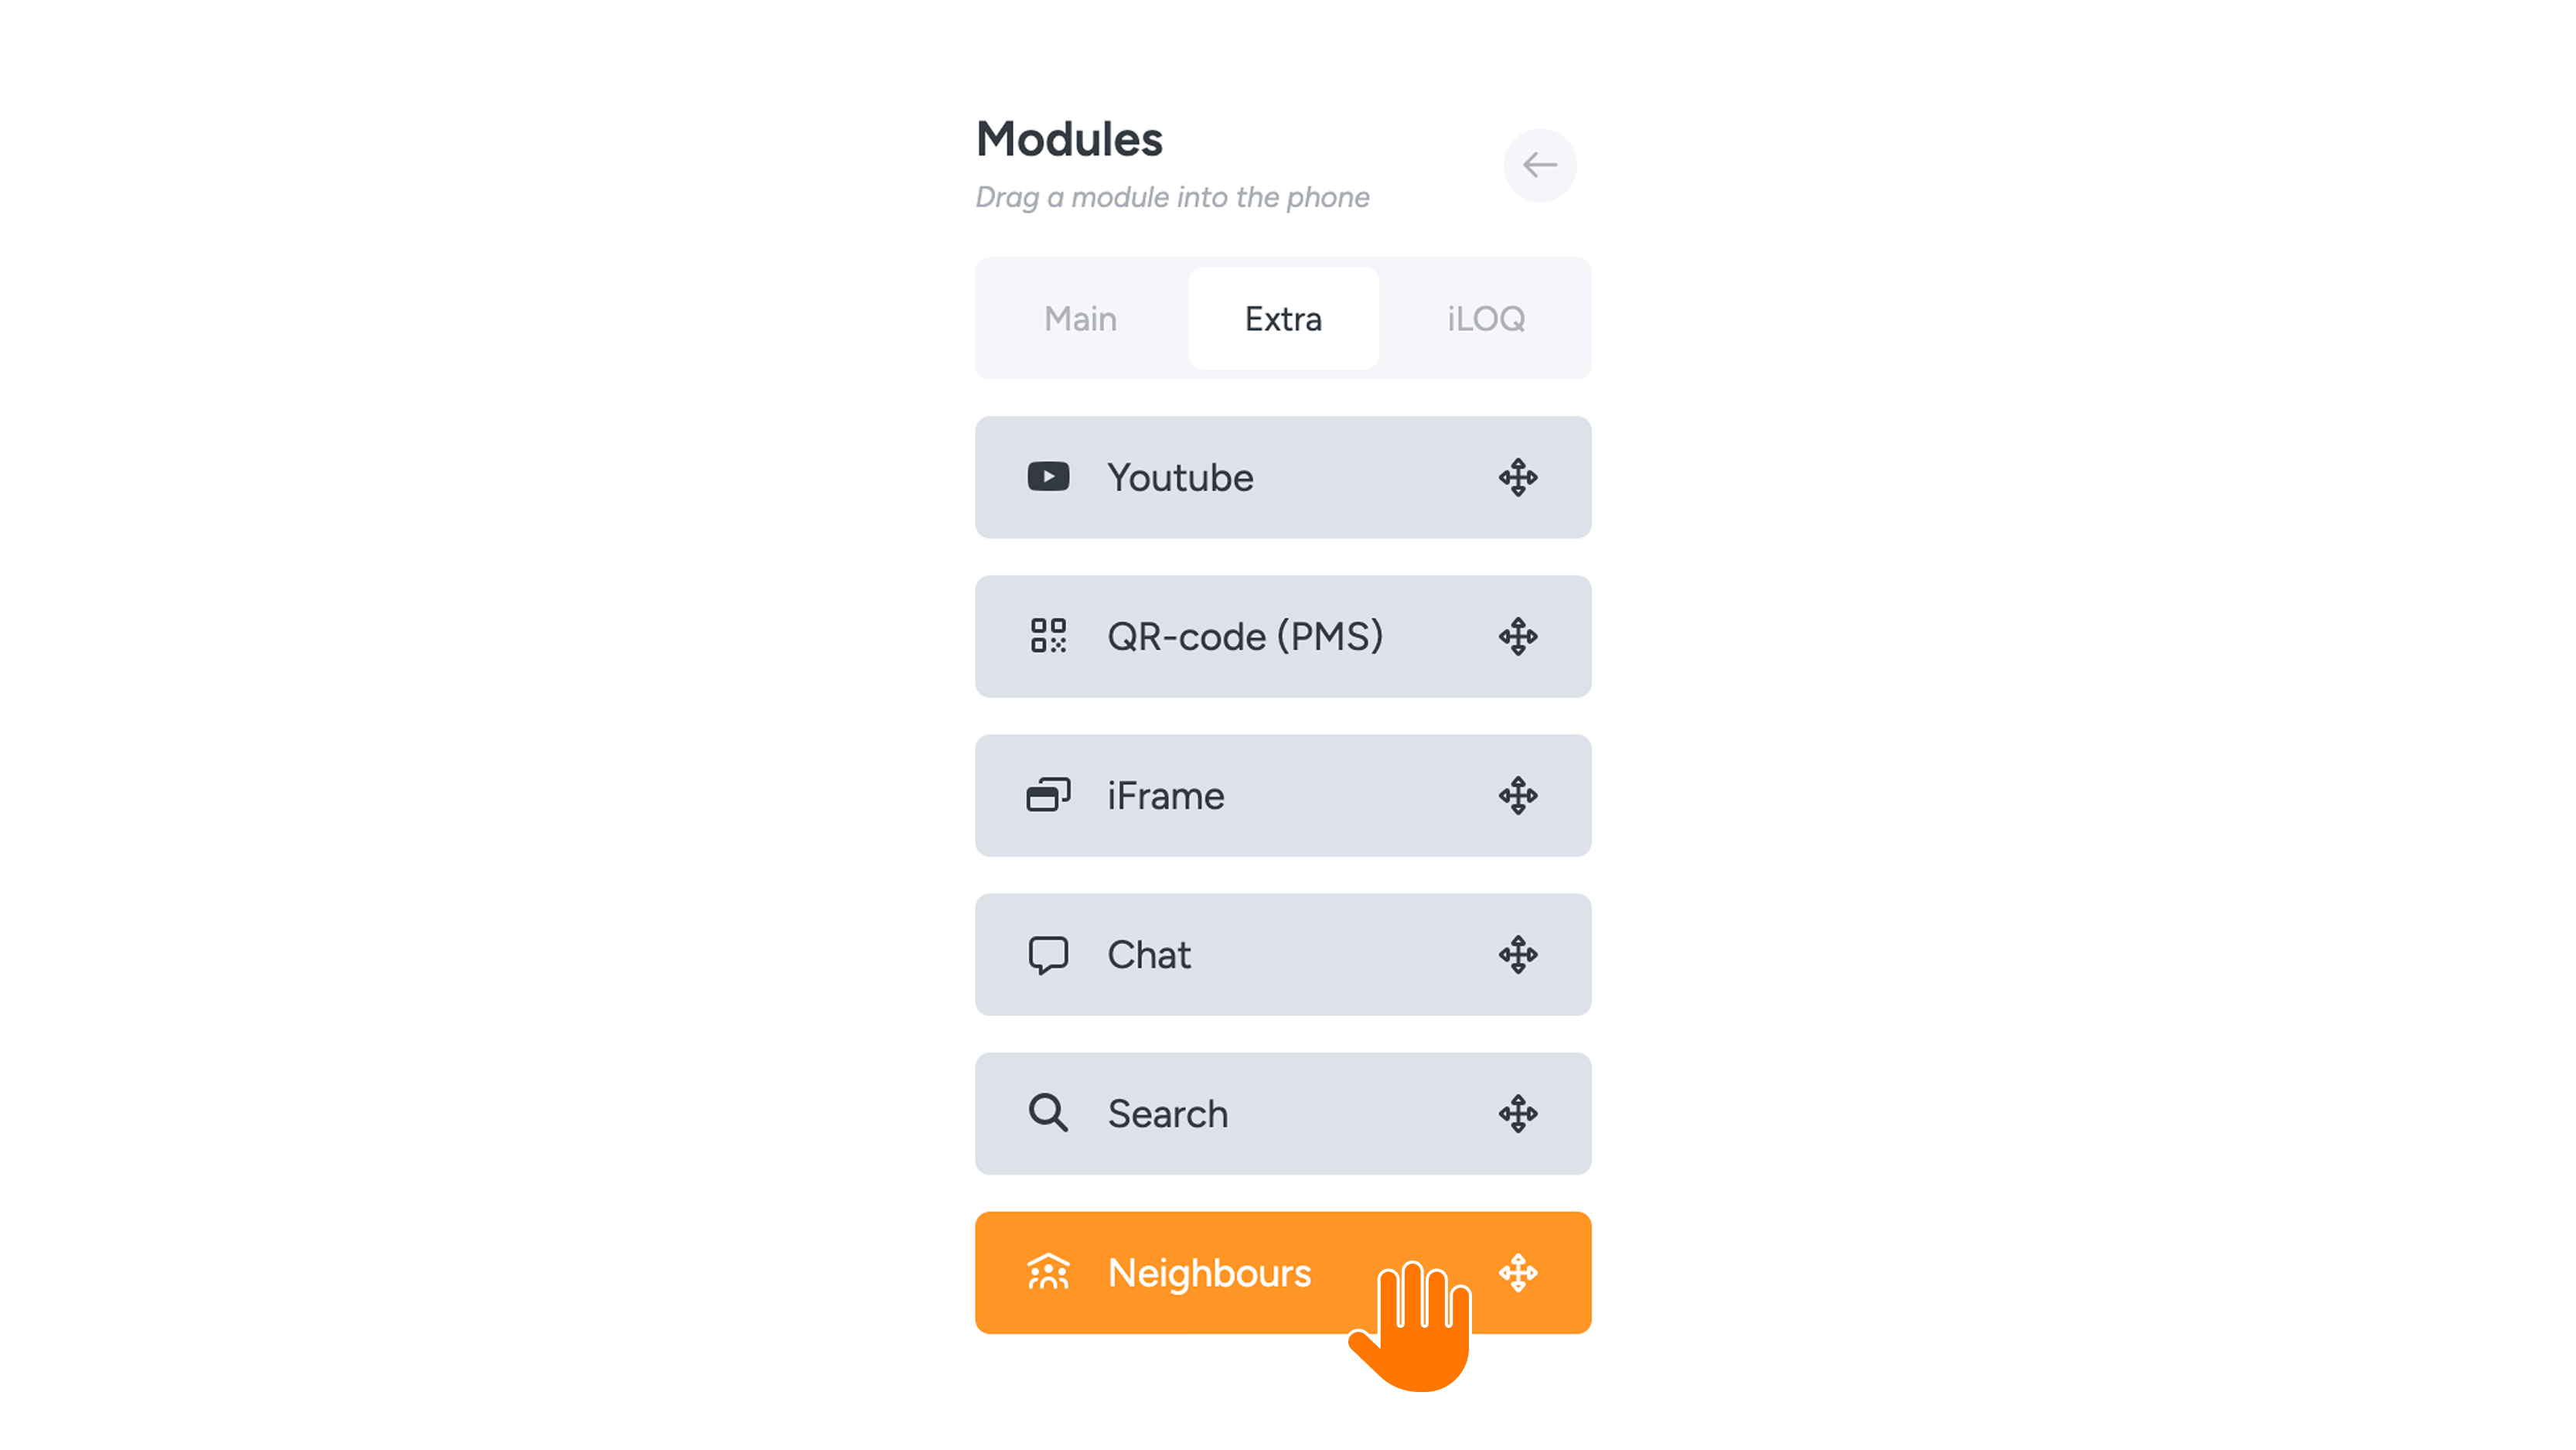
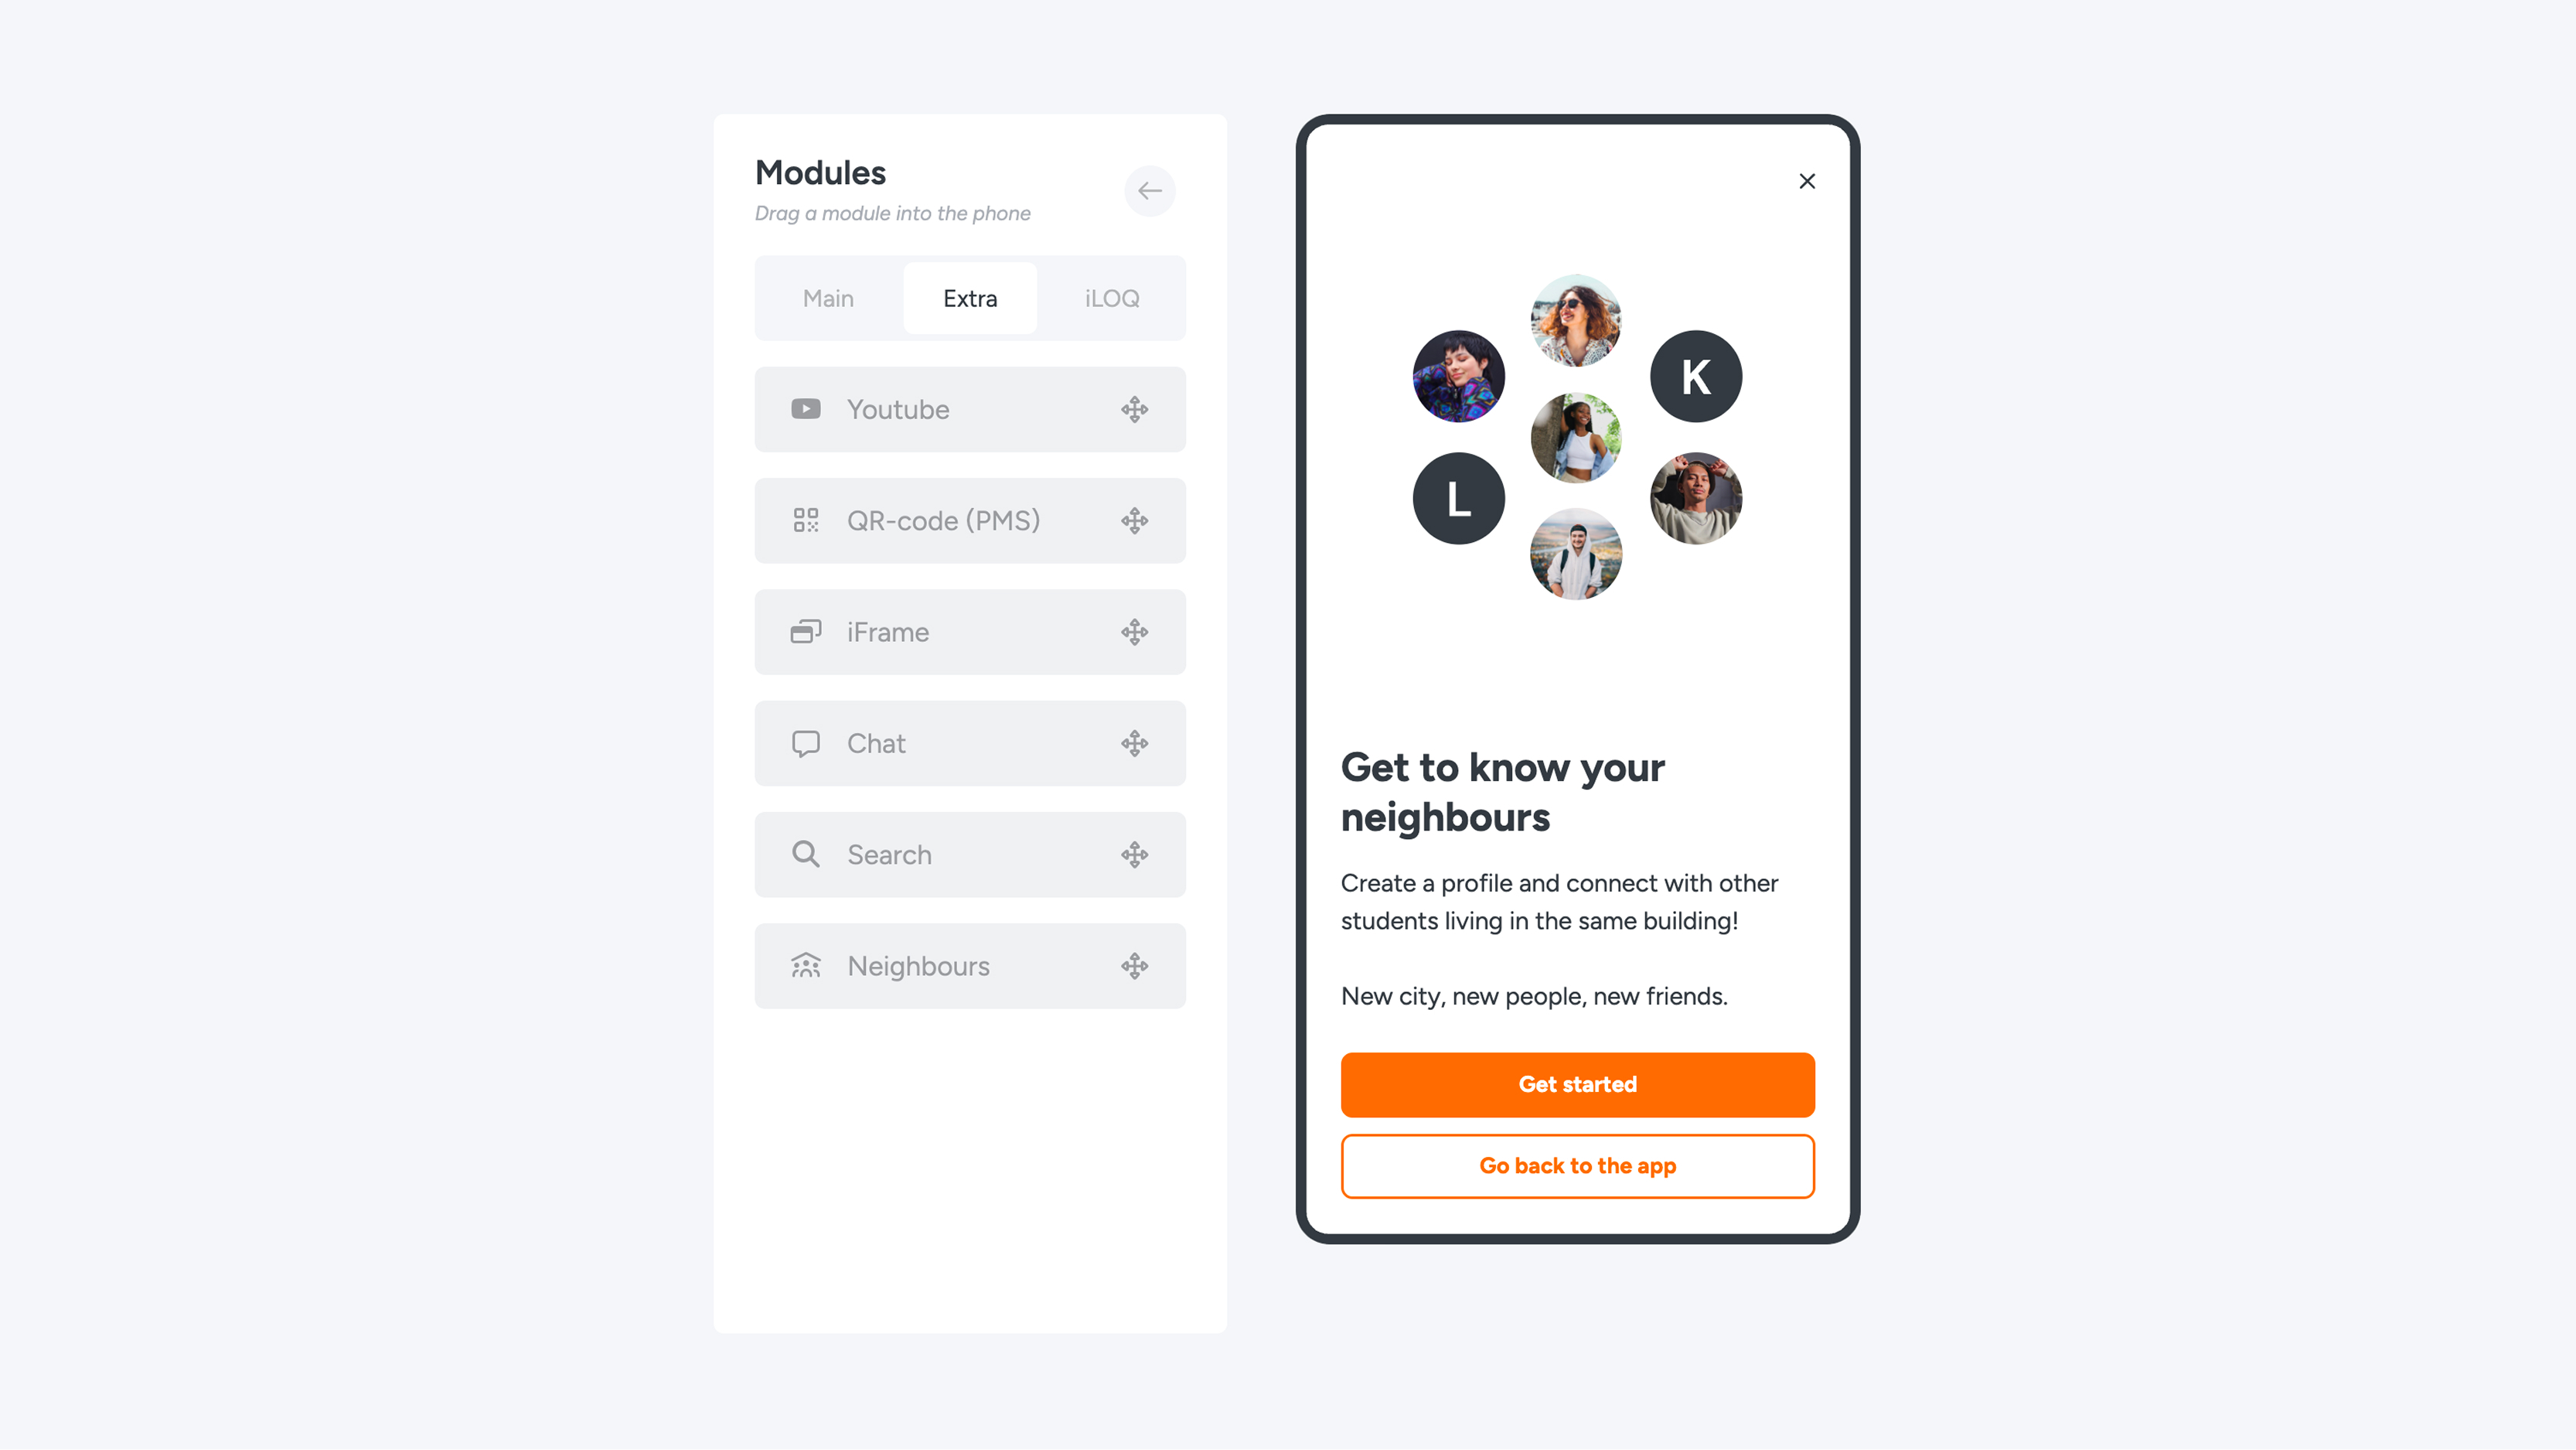
Now that Neighbours is enabled in Connect, it only needs to be activated in the app to make the module visible to residents. Please note: The module can only be placed on a blank page. You only need to do this once.
Editor
In the Editor, you can customize the content and appearance of the Neighbours pages. Here, you can manage the following components:
- General buttons: Determine which main functions are visible and adjust the subtexts.
- Registration: Manage the settings for the resident registration process.
- Privacy: Add the applicable terms and privacy statements.
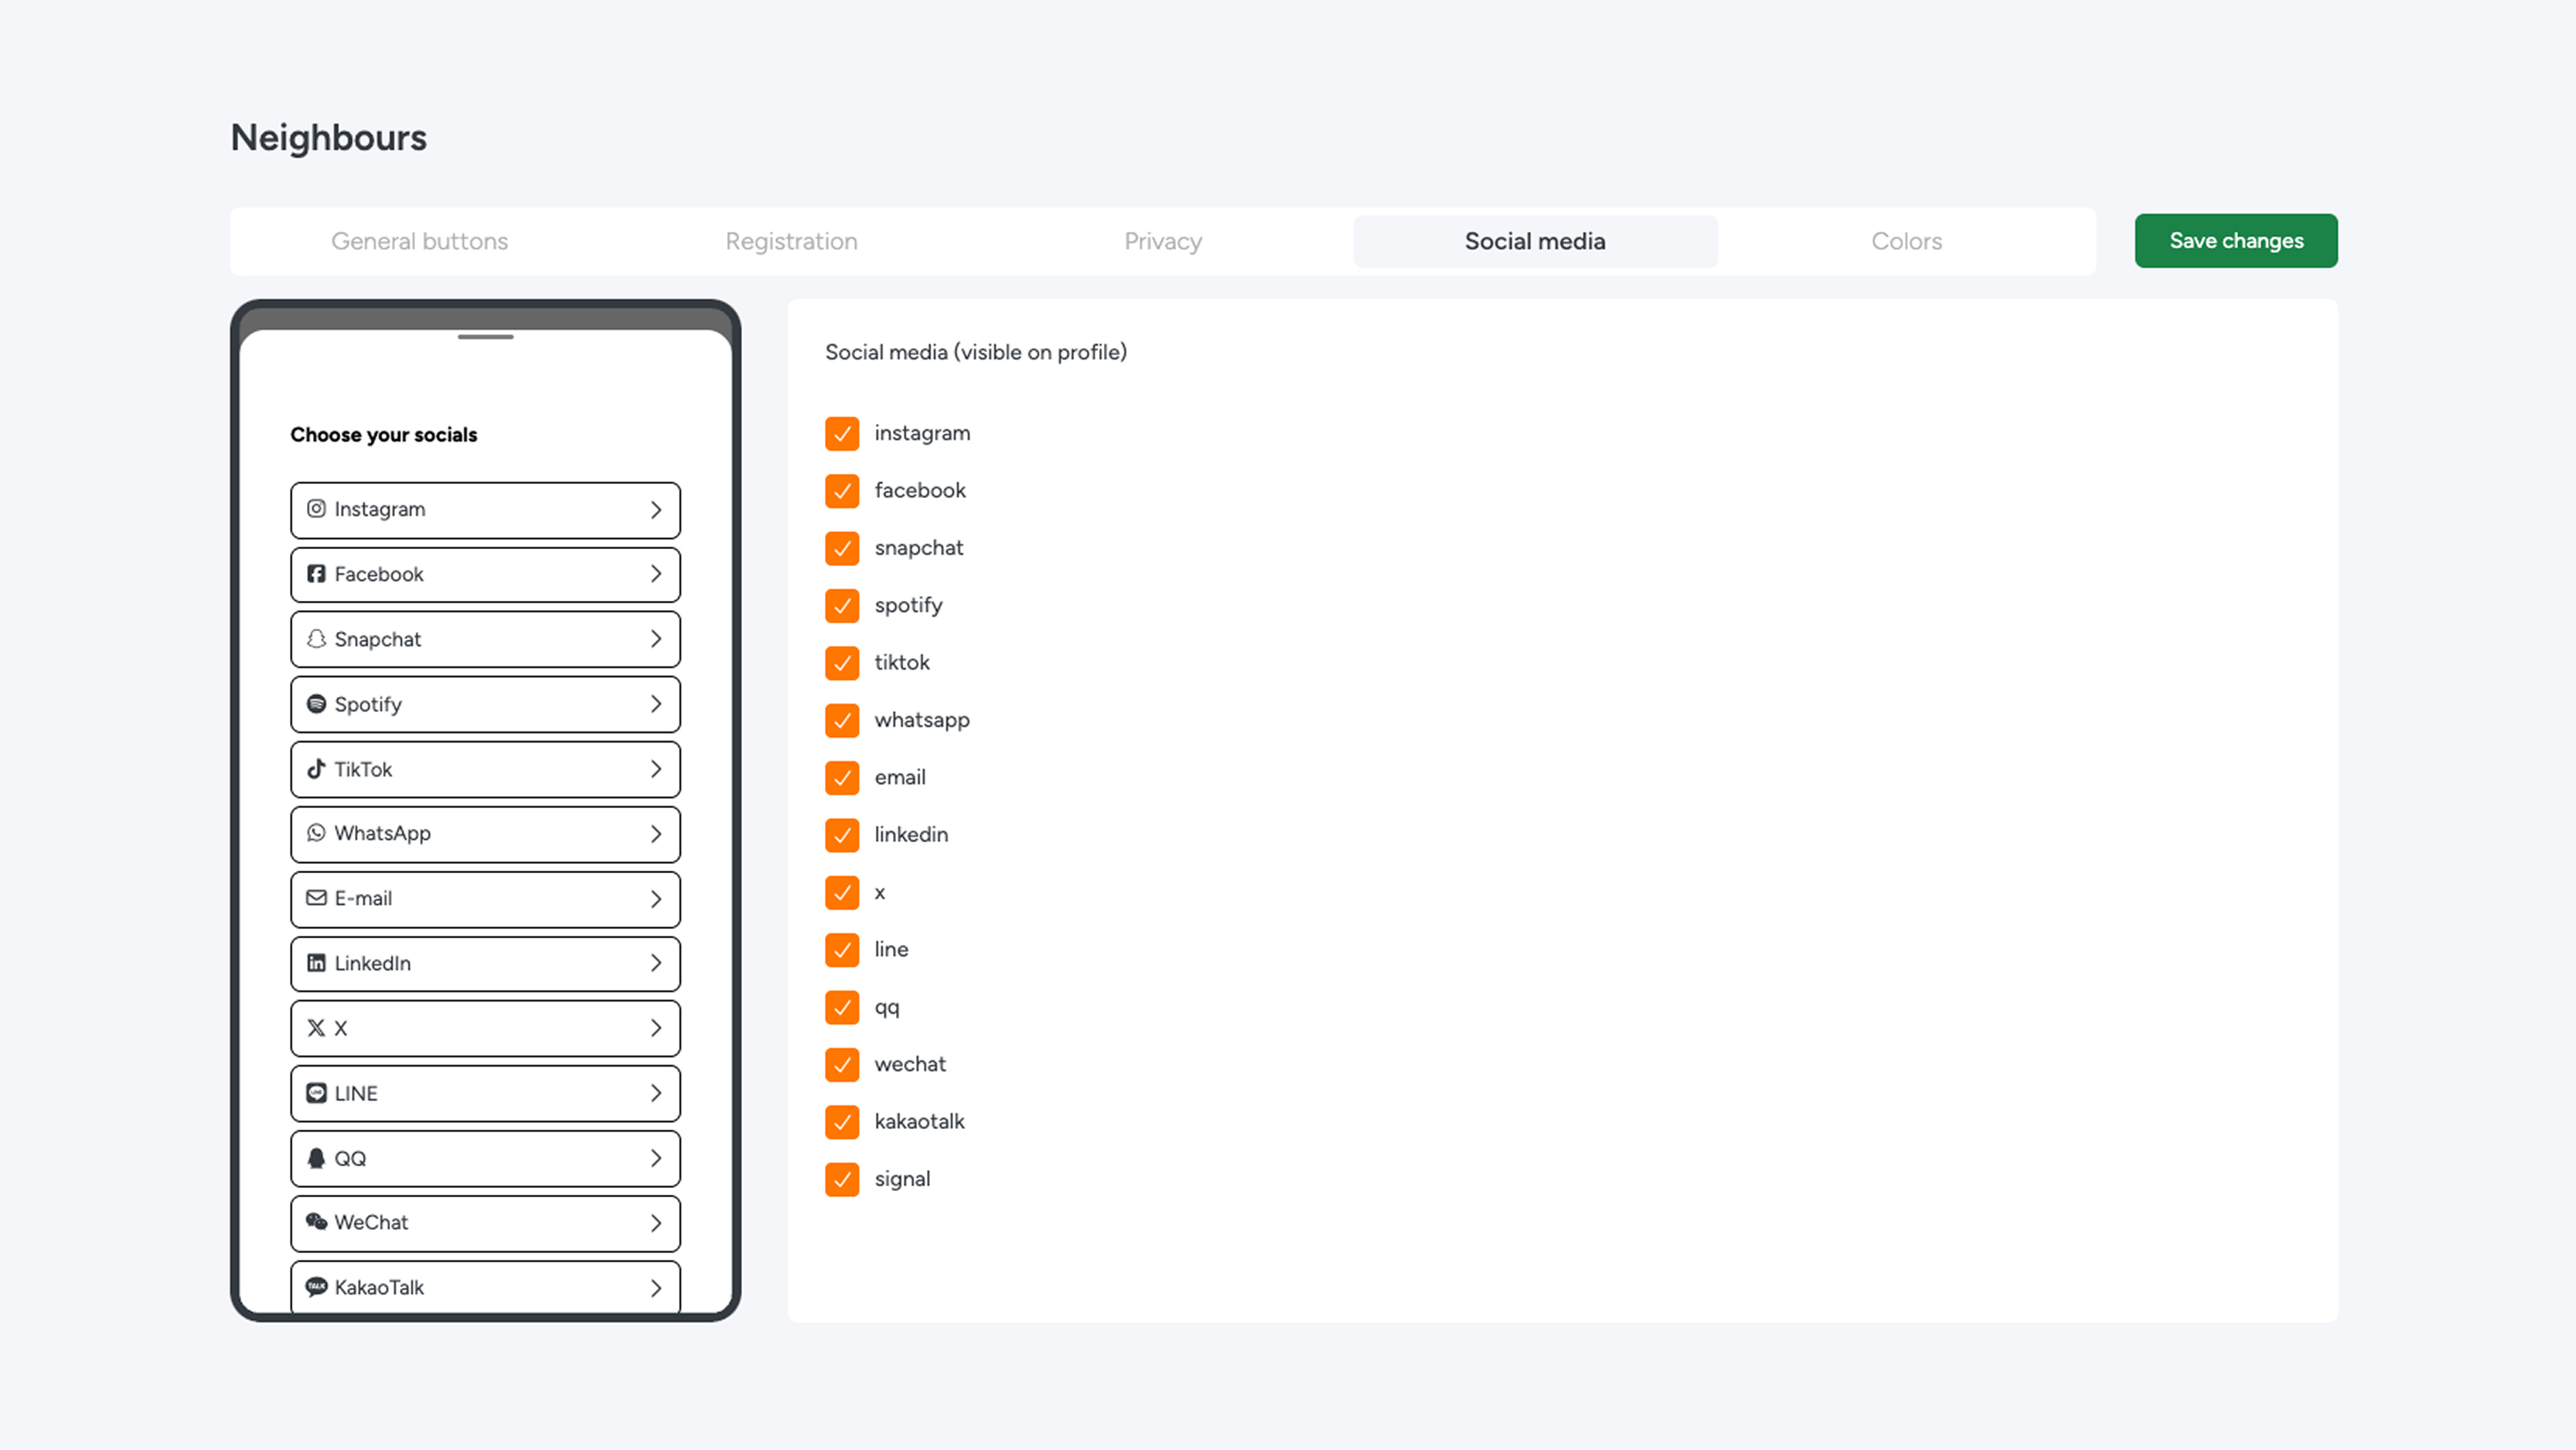
- Social media: Choose the social media platforms that residents can select in the Neighbours module.
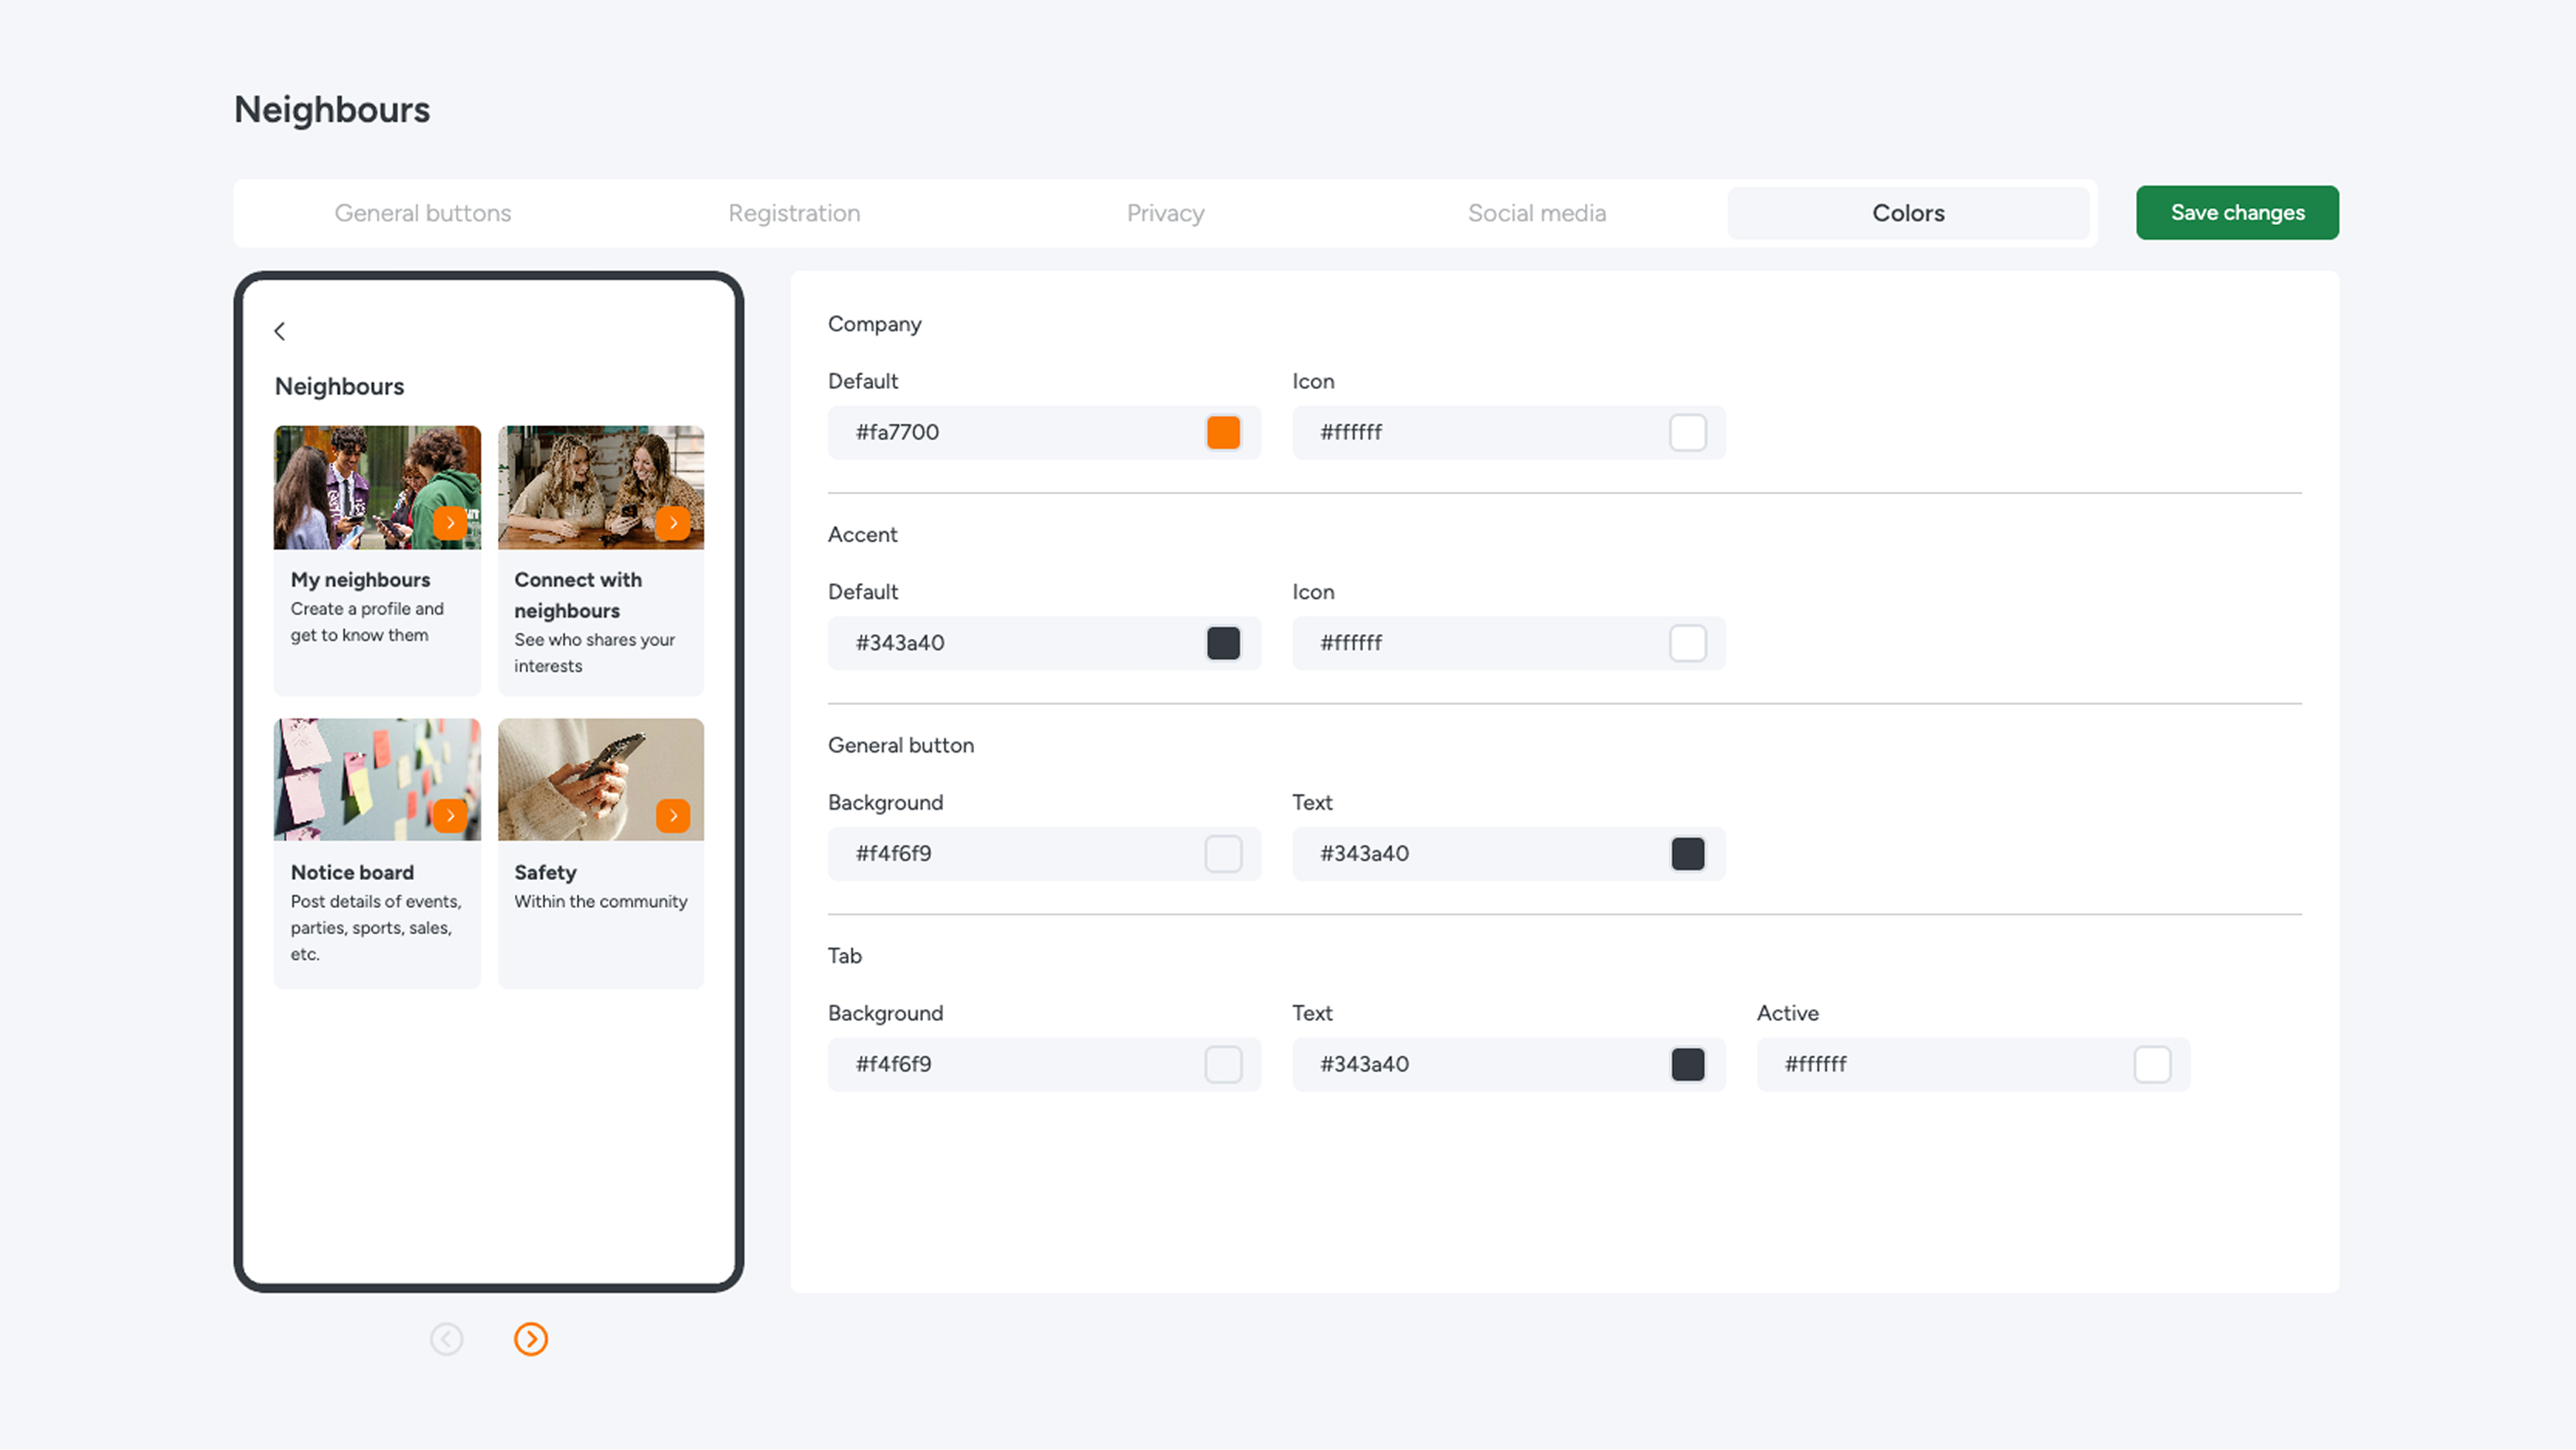
- Colors: Customize the color scheme of the module to match your brand identity.
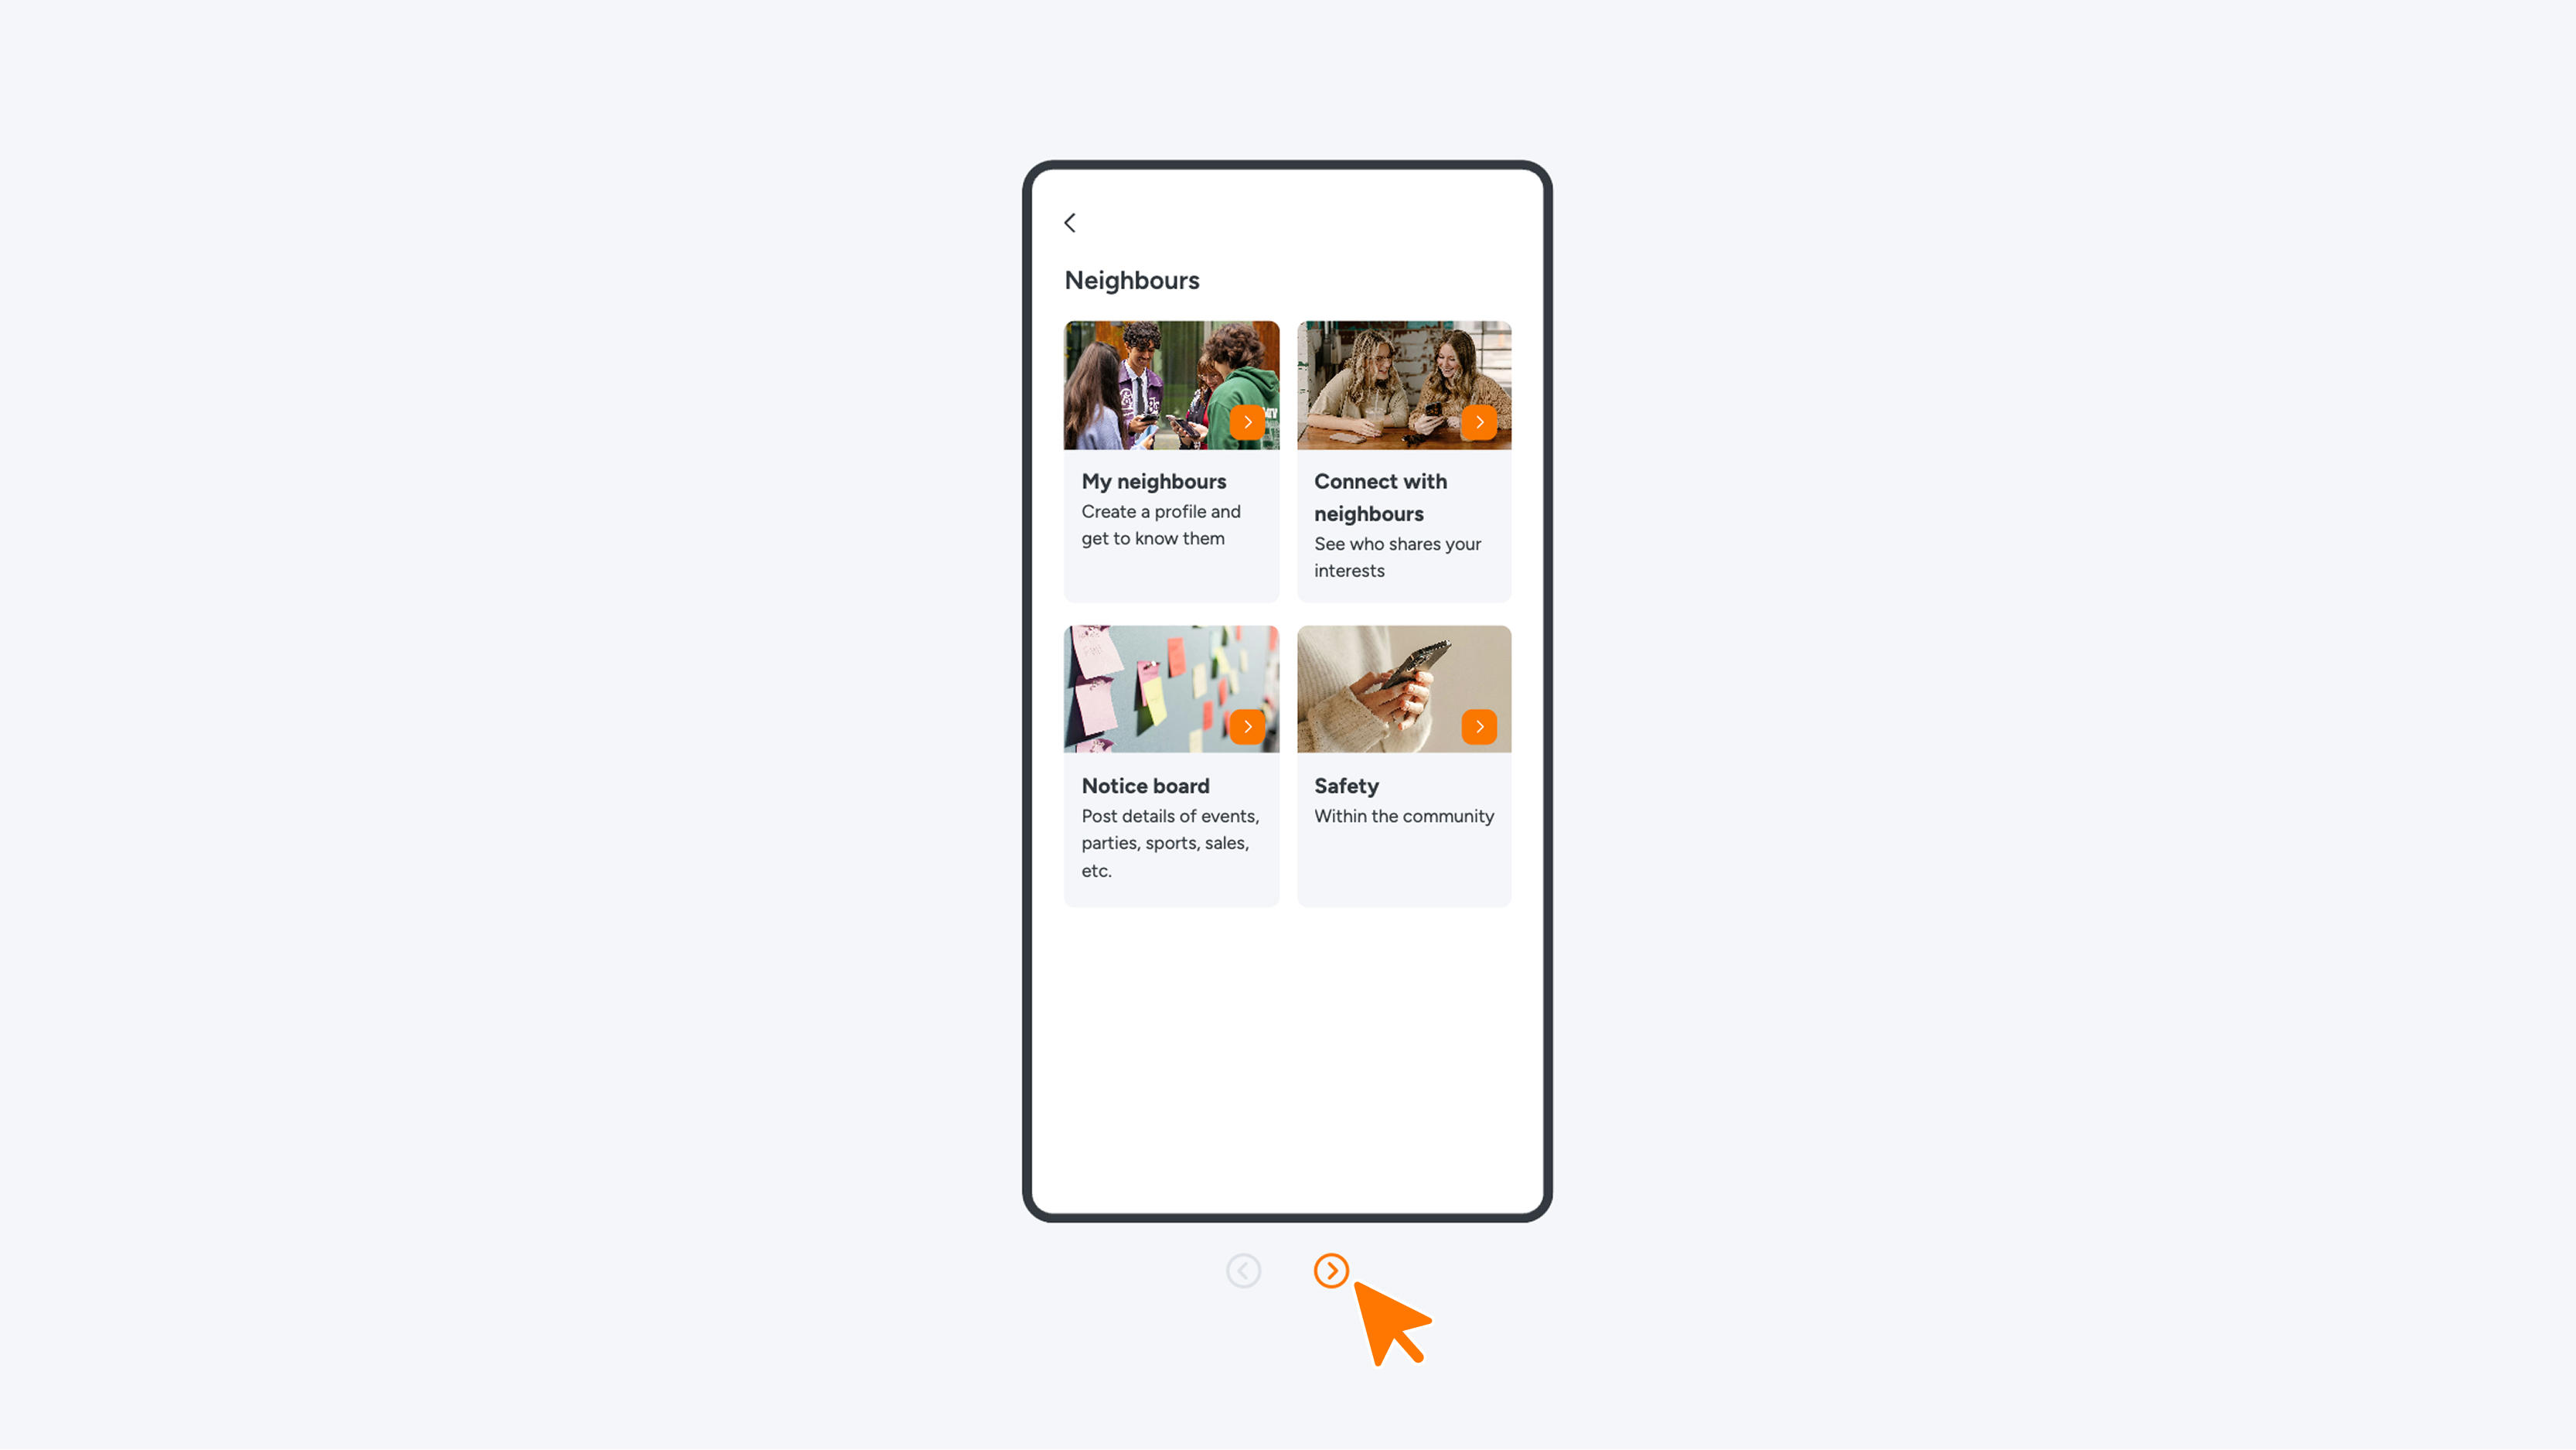
In various tabs, you will see arrow icons below the phone screen. Clicking these will open a live preview of the web app, allowing you to instantly see the results of your settings.
Note: Your changes will only become active after you click the 'Save changes' button.
Tab 1 - General buttons
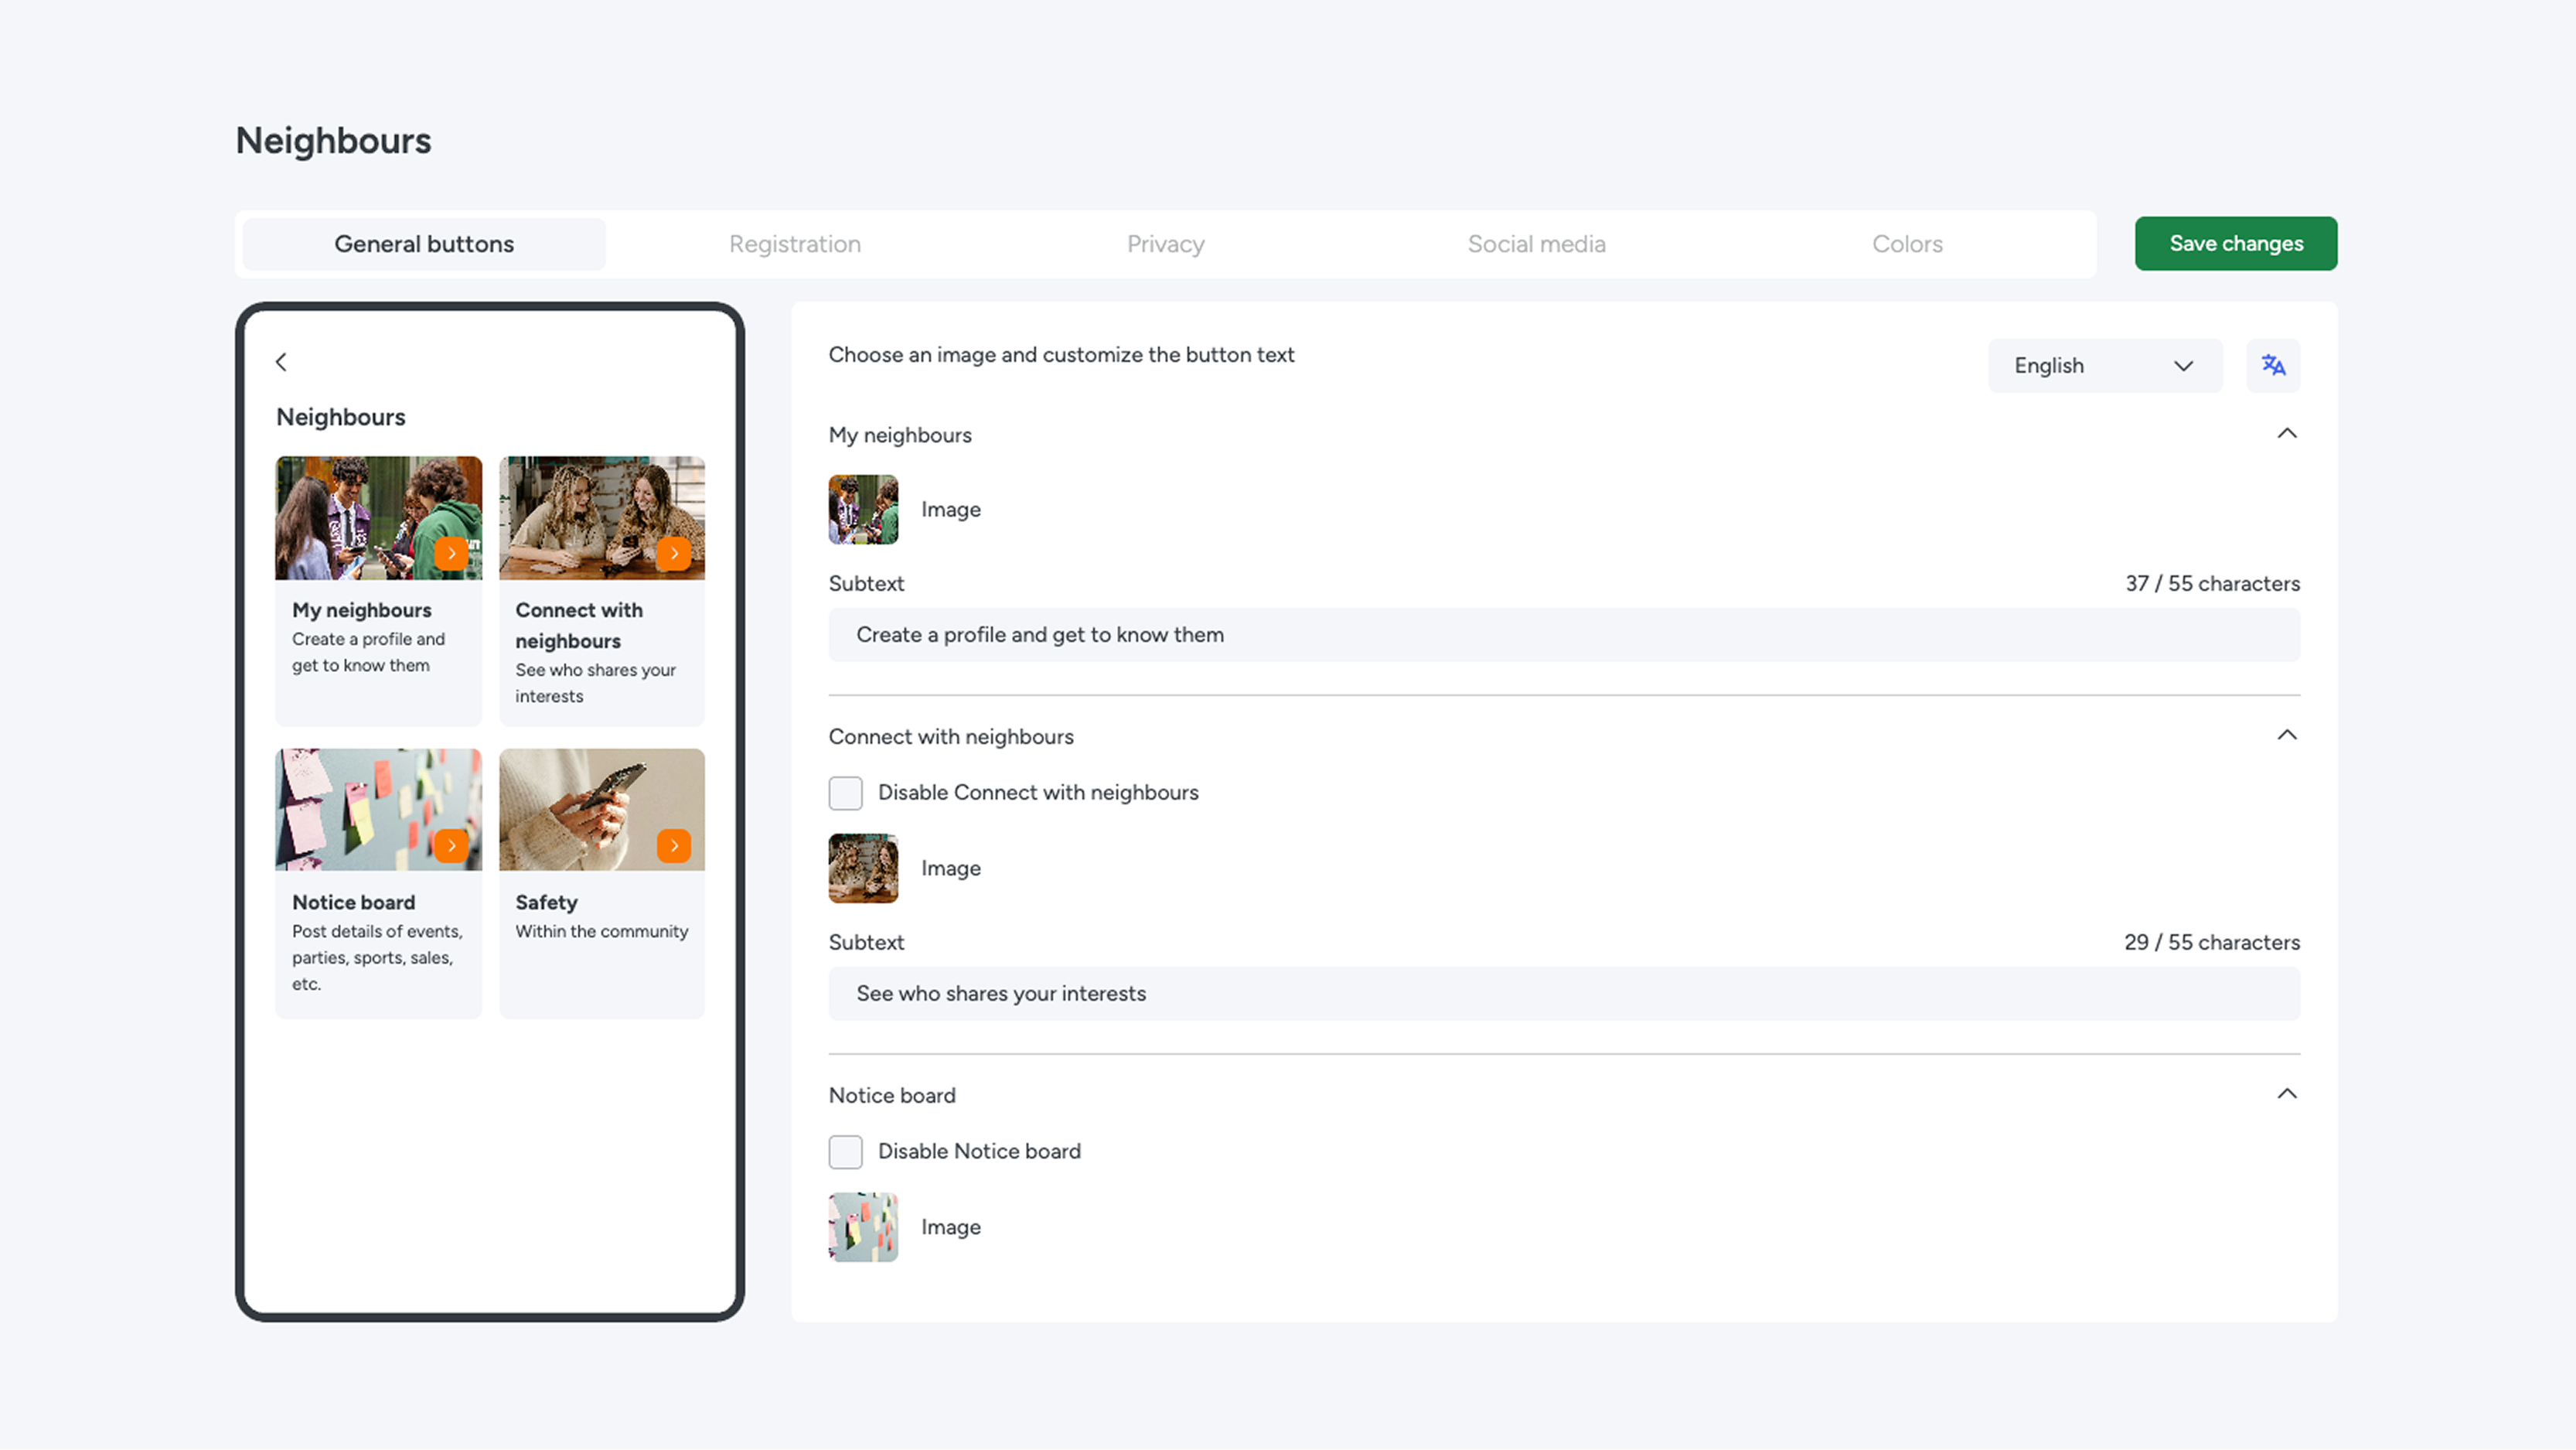
The Neighbours page in the app opens with four central categories. For each category, you can adjust the subtext, translate the content into multiple languages, and turn the button on or off (with the exception of My Neighbours, which is always active).
- My Neighbours: The resident's central dashboard. Once a resident is registered, they have access to the 'radar' here to see fellow neighbors in their immediate area. This button is always active.
- Connect with Neighbours: The comprehensive search and match function. Residents can perform targeted searches for neighbors based on shared interests or hobbies.
- Notice Board: The digital bulletin board. A central place where everyone within the building can post messages, calls to action, offers, or questions.
- Safety: Here you publish important information about neighborhood safety, house rules, and guidelines for a pleasant and safe community.
Tab 2 - Registration
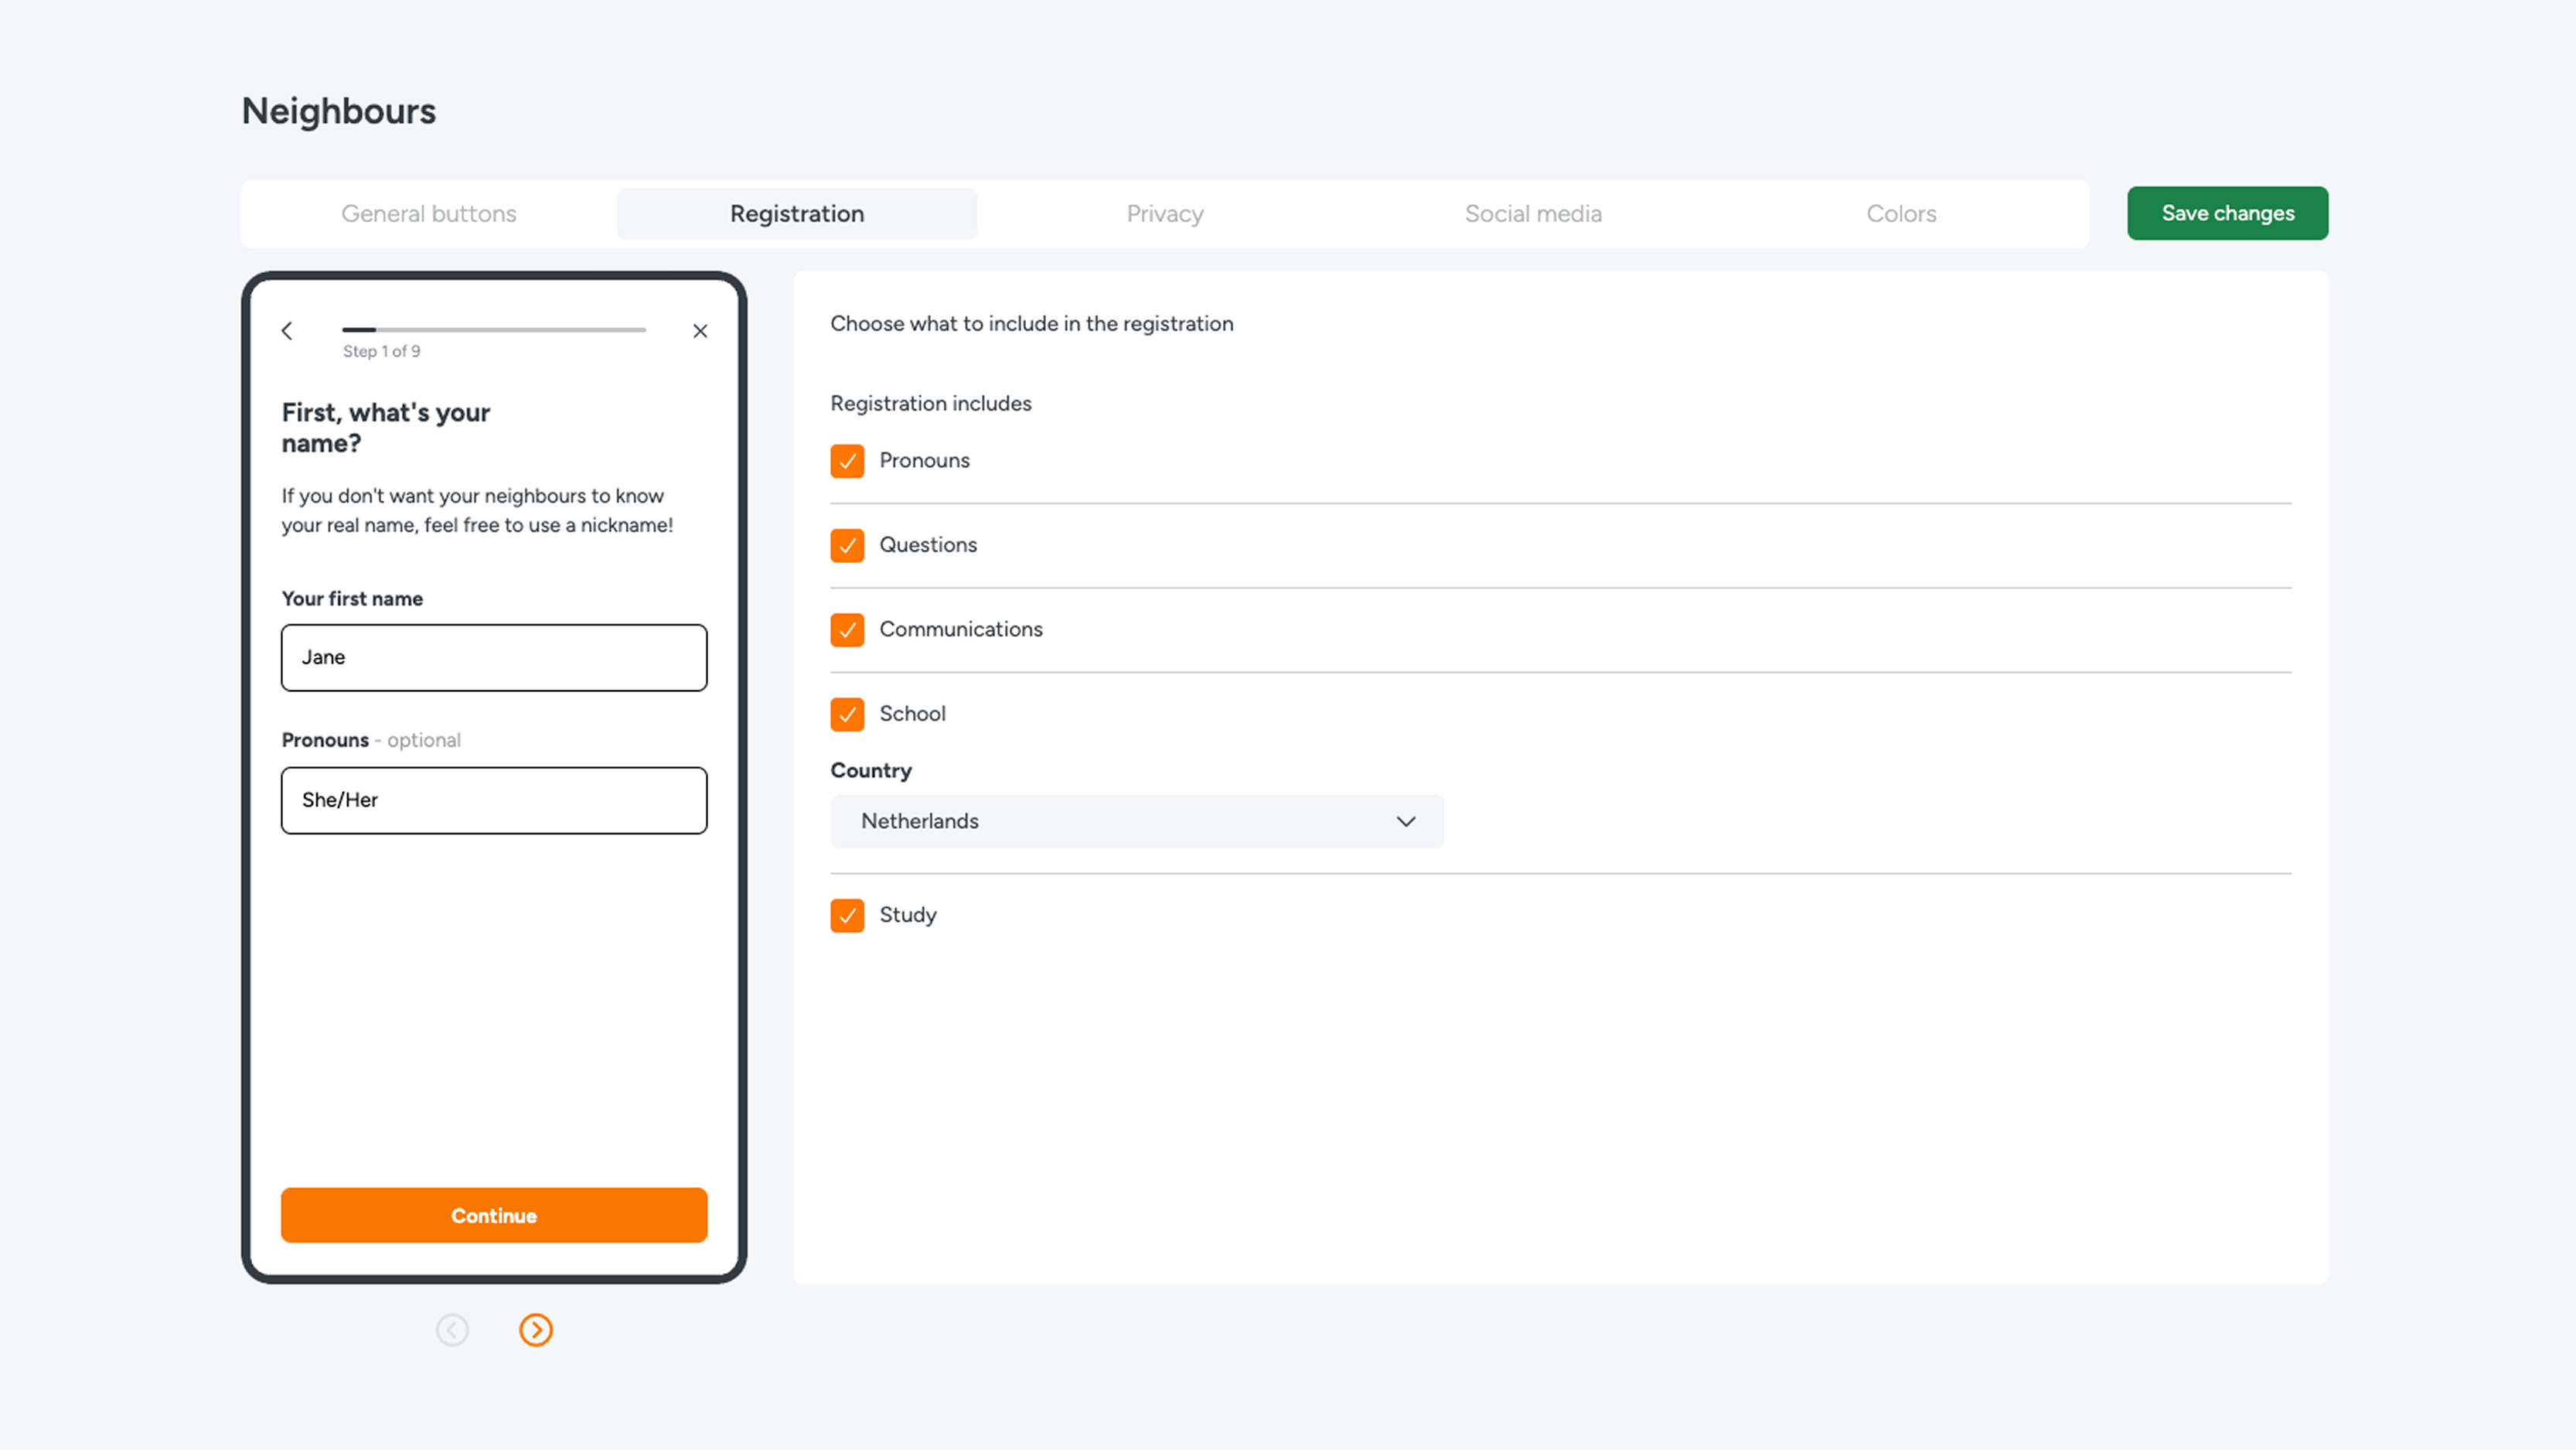
The registration process can be customized completely to your liking. The desired topics are already available by default and can easily be enabled or disabled using checkboxes.
You can include the following topics in the resident registration form:
- Pronouns: Residents can indicate how they prefer to be addressed.
- Resident questions: Lighthearted icebreaker questions ('get to know me') that allow residents to share something fun about themselves.
- Communication guidelines: An information screen outlining the house rules and code of conduct for the neighborhood/complex.
- School: Here you can select the name of the school or educational institution.
- Field of study: Information about the specific field of study or program.
Tab 3 - Privacy
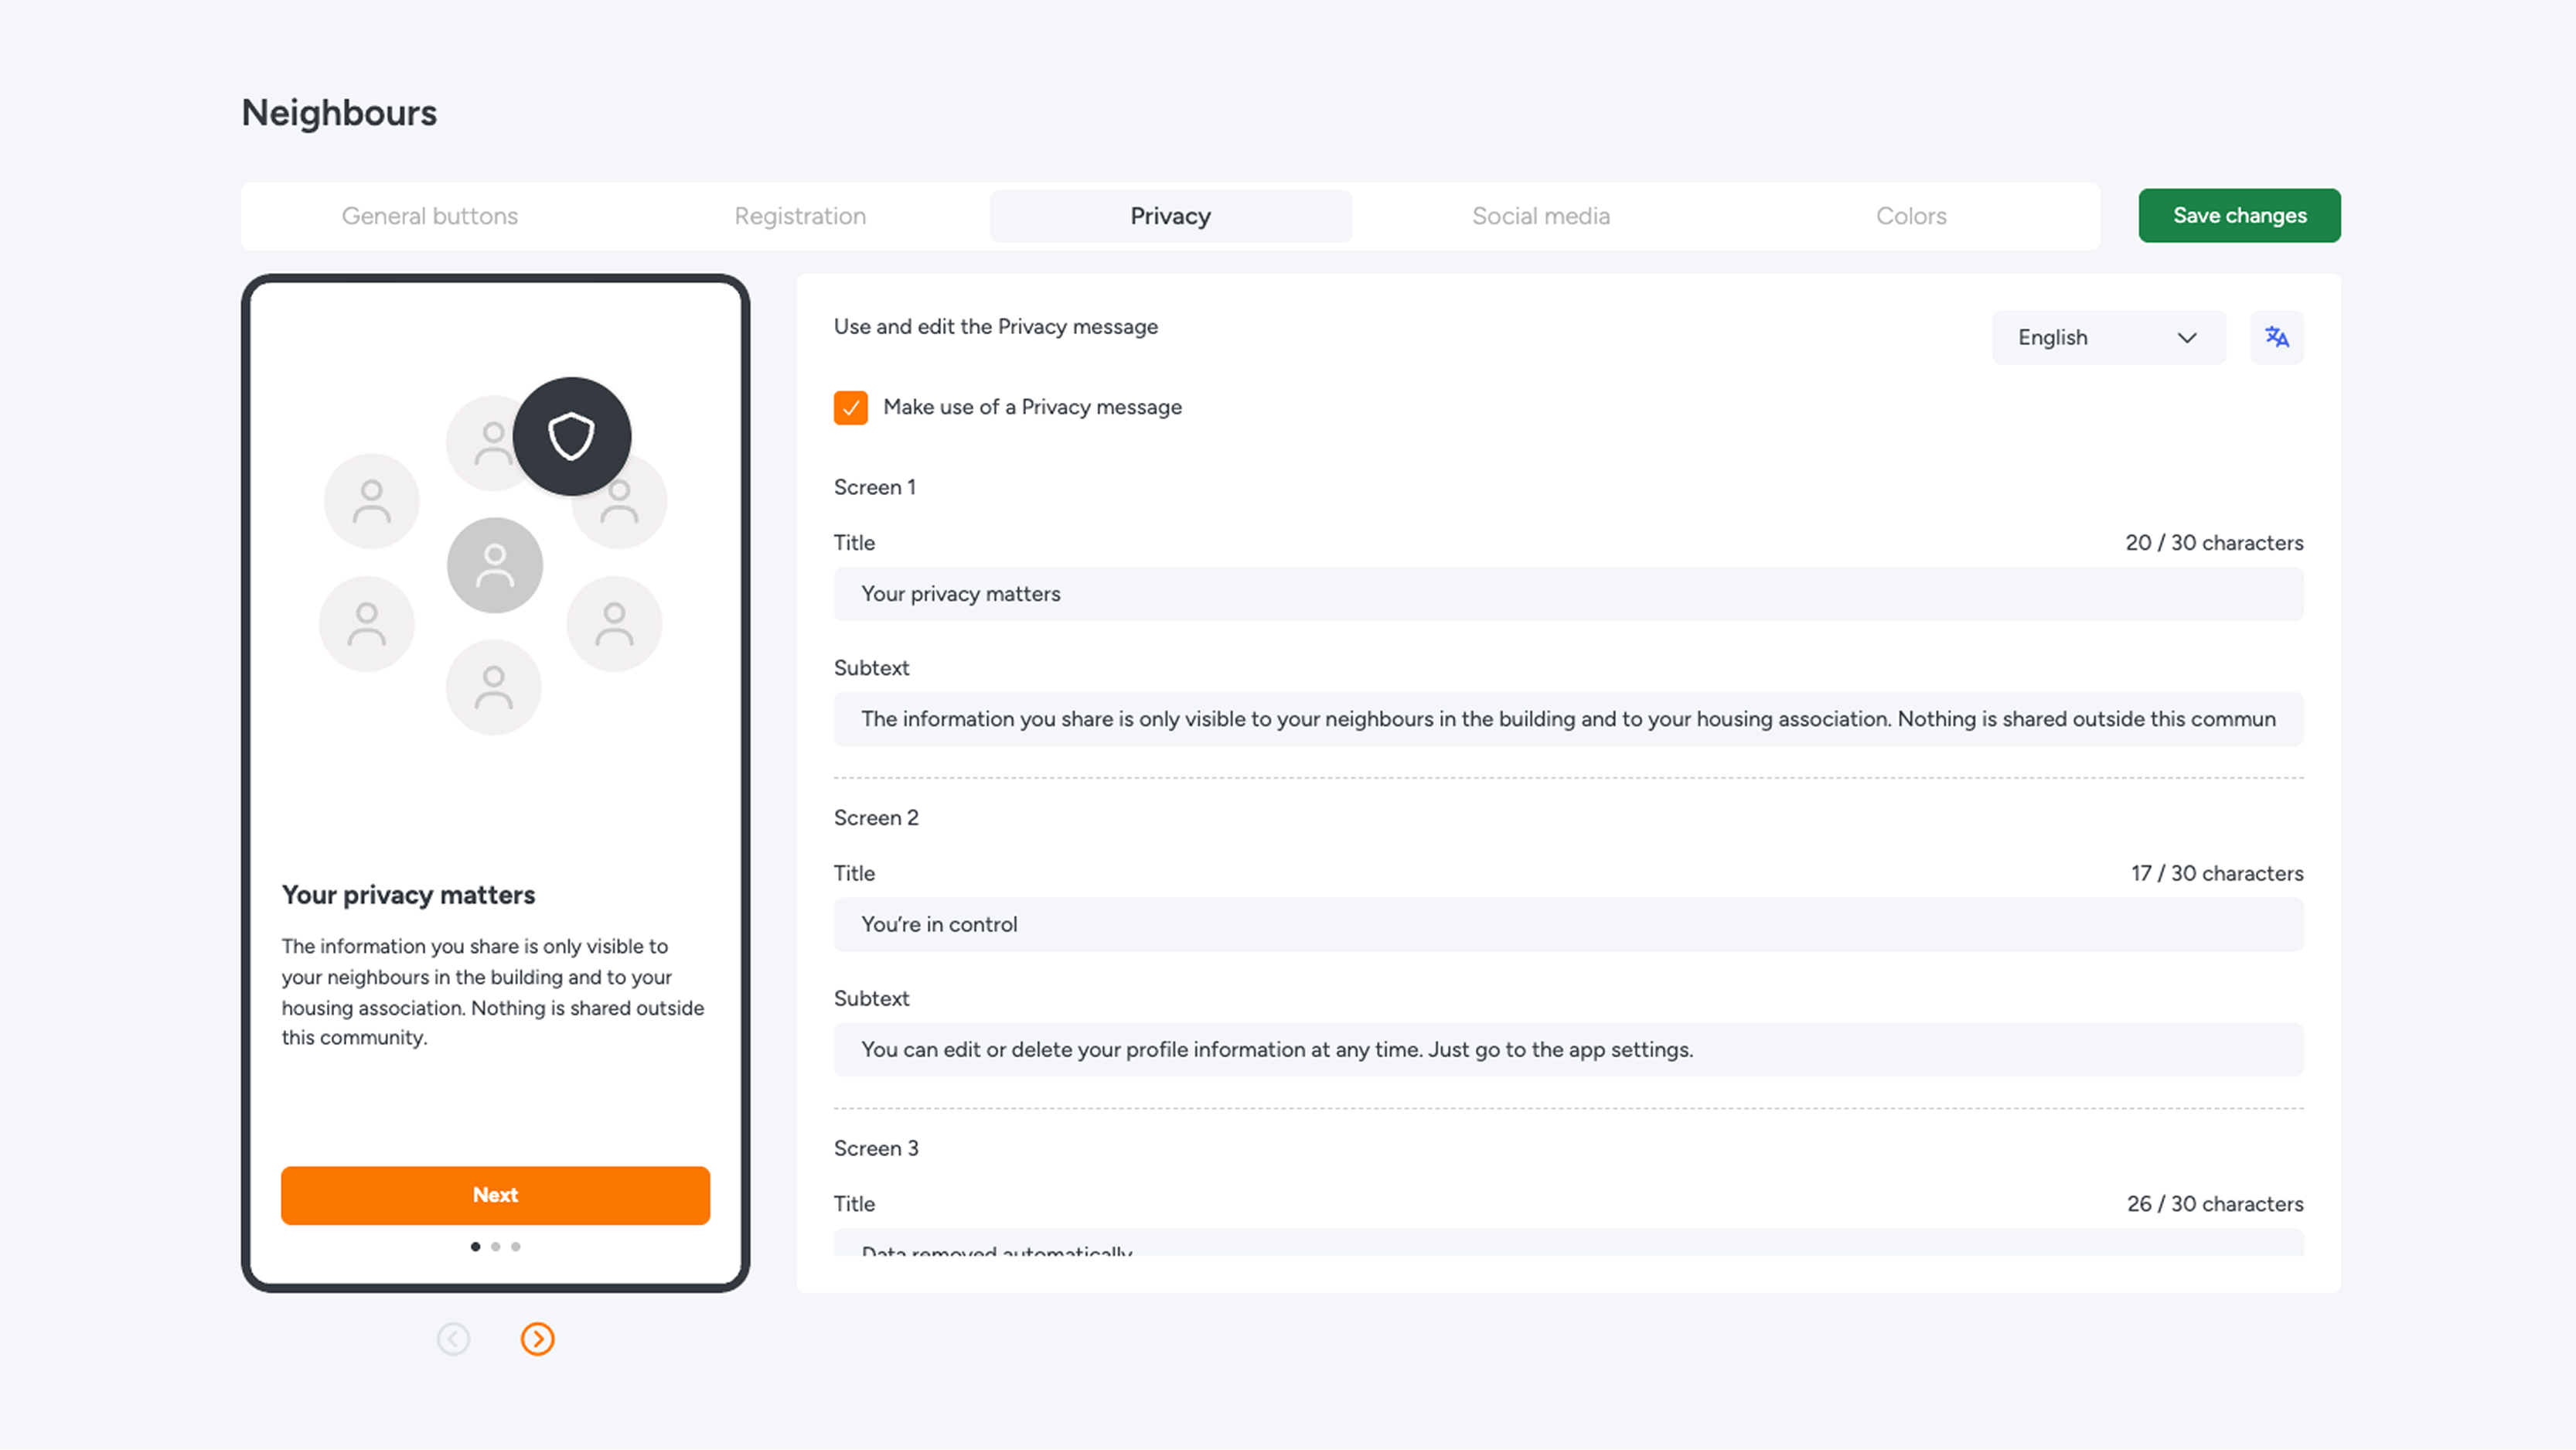
Here you set up the privacy texts for the Neighbours module. Residents will see these texts when they click on 'Privacy'. Using the translation button, you can easily translate the texts into other languages.
Tab 4 - Social Media
Manage which social media channels are available here. Determine which networks residents are allowed to display on their own profiles and what is visible on the Notice Board.
Tab 5 – Colors
In this tab, you can fully align the colors of the Neighbours module with your organization's brand identity. Have you finished adjusting the settings? Click the green 'Save' button at the bottom to permanently apply your changes.