Adding doors to a guest key
It may happen that a specific guest needs access to additional areas during their stay. This feature allows you to easily and flexibly add an extra (temporary) door to a guest's digital key, without altering the default access rights of other visitors.
When to use this?
- Luggage storage: Grant guests temporary access before check-in or after check-out to securely store their bags.
- Bicycle storage and garages: Provide access to a covered or locked storage area if the guest is traveling by (electric) bicycle or car.
- Breakfast or wellness areas: Grant access to specific facilities—for example, when a breakfast package has been added or for an exclusive reservation.
- Meeting rooms or workspaces: Give business guests access to a reserved room during their agreed-upon hours.
How does it work?
Follow the steps below to adjust or expand the access rights of a specific guest:
Step 1 – Navigate to the guest overview
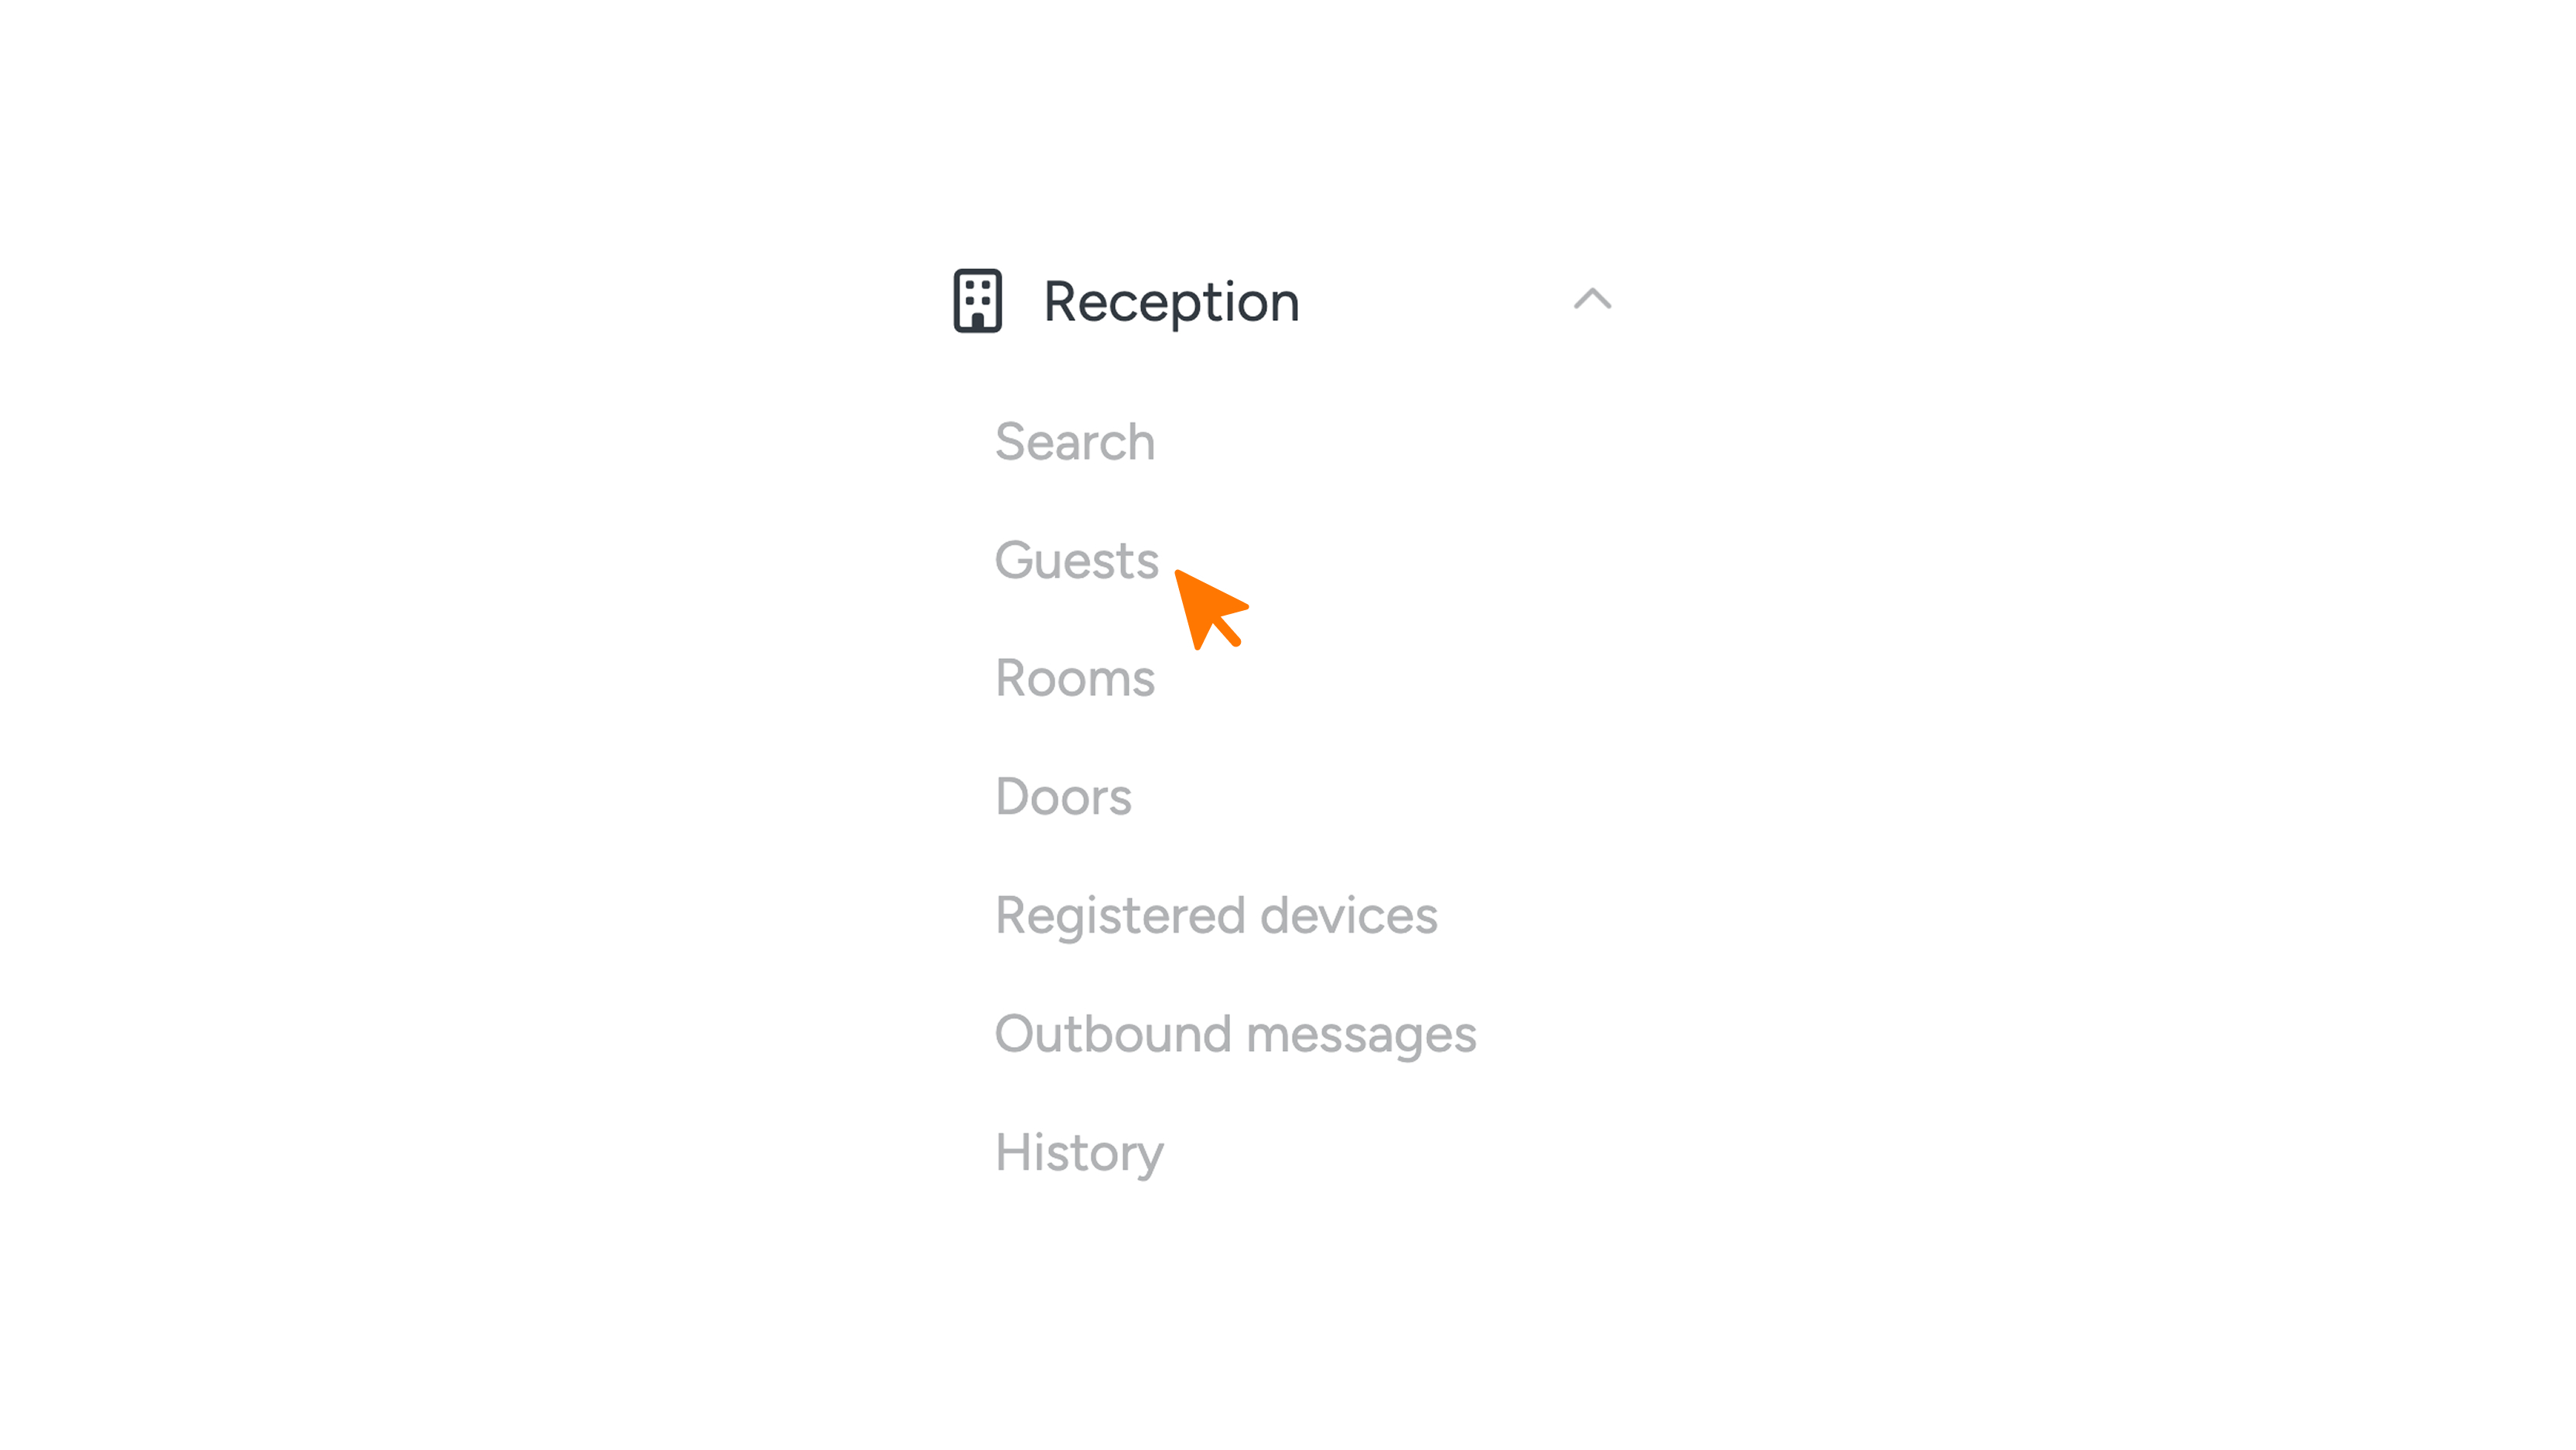
In the menu on the left side, go to ‘Guests’ or 'Persons'.
Step 2 – Open the guest's profile
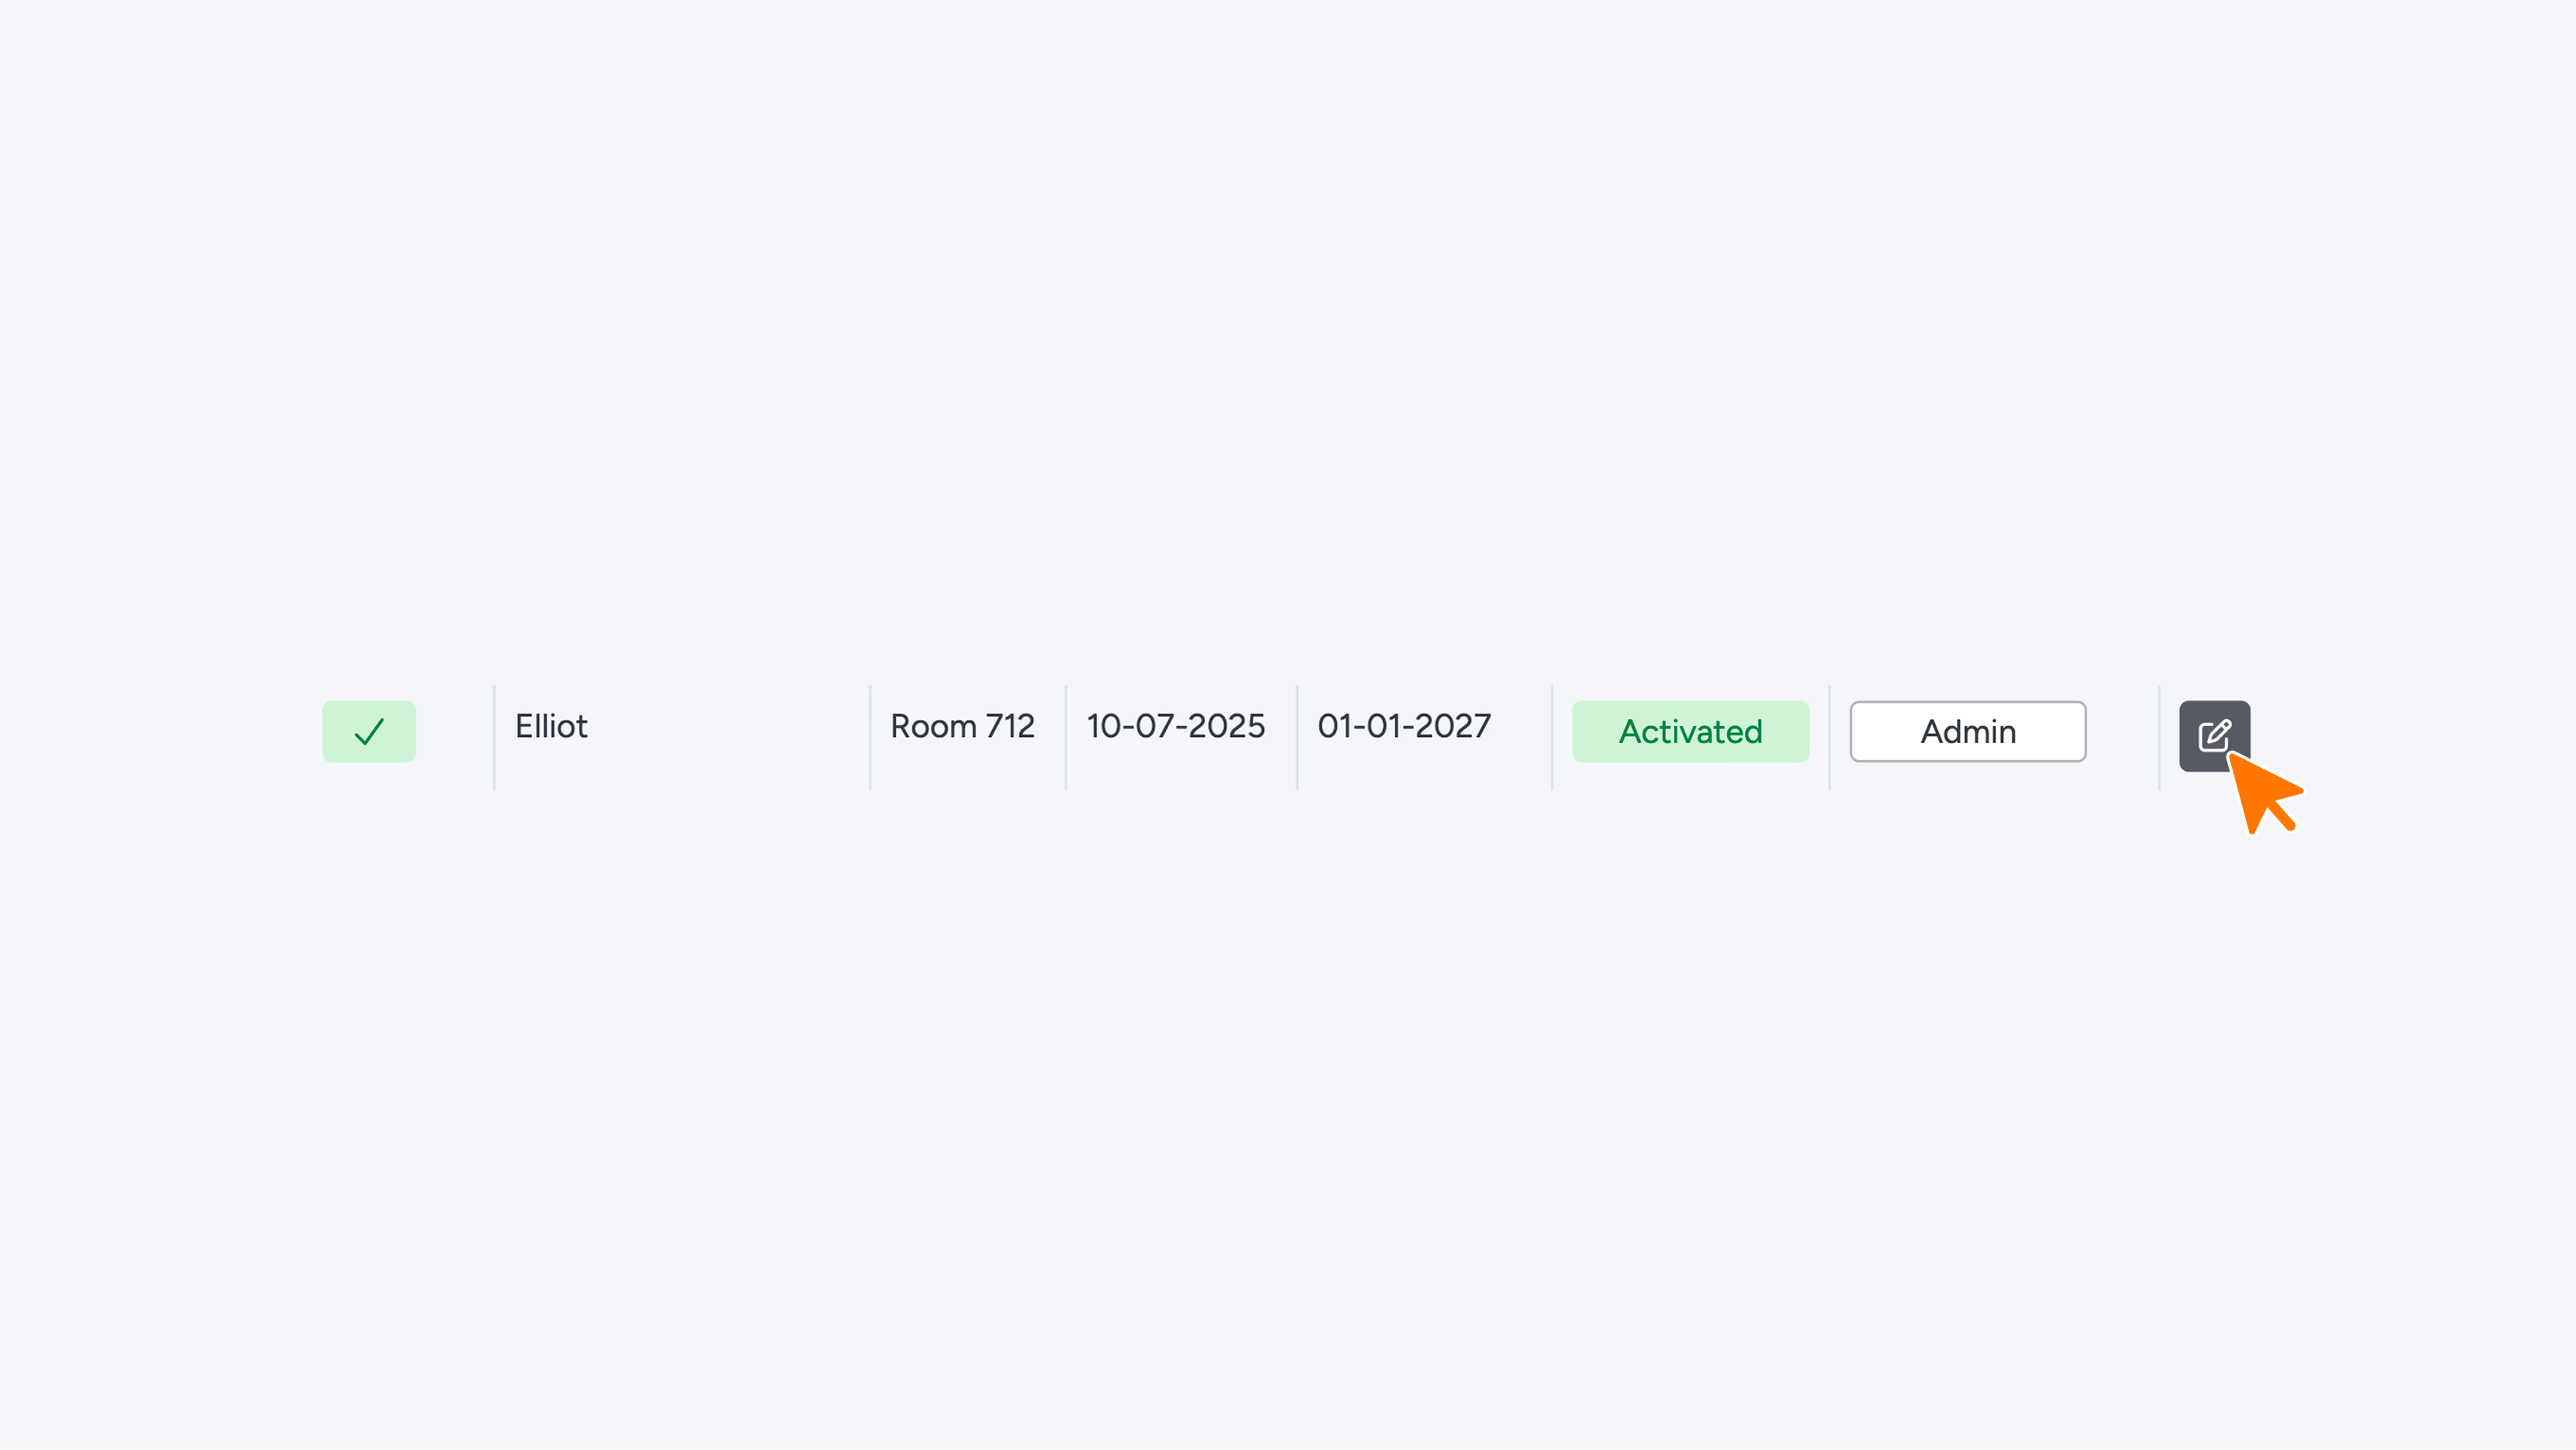
Find the desired guest in the table and click the pencil icon (edit) on the right side.
Step 3 – View current access
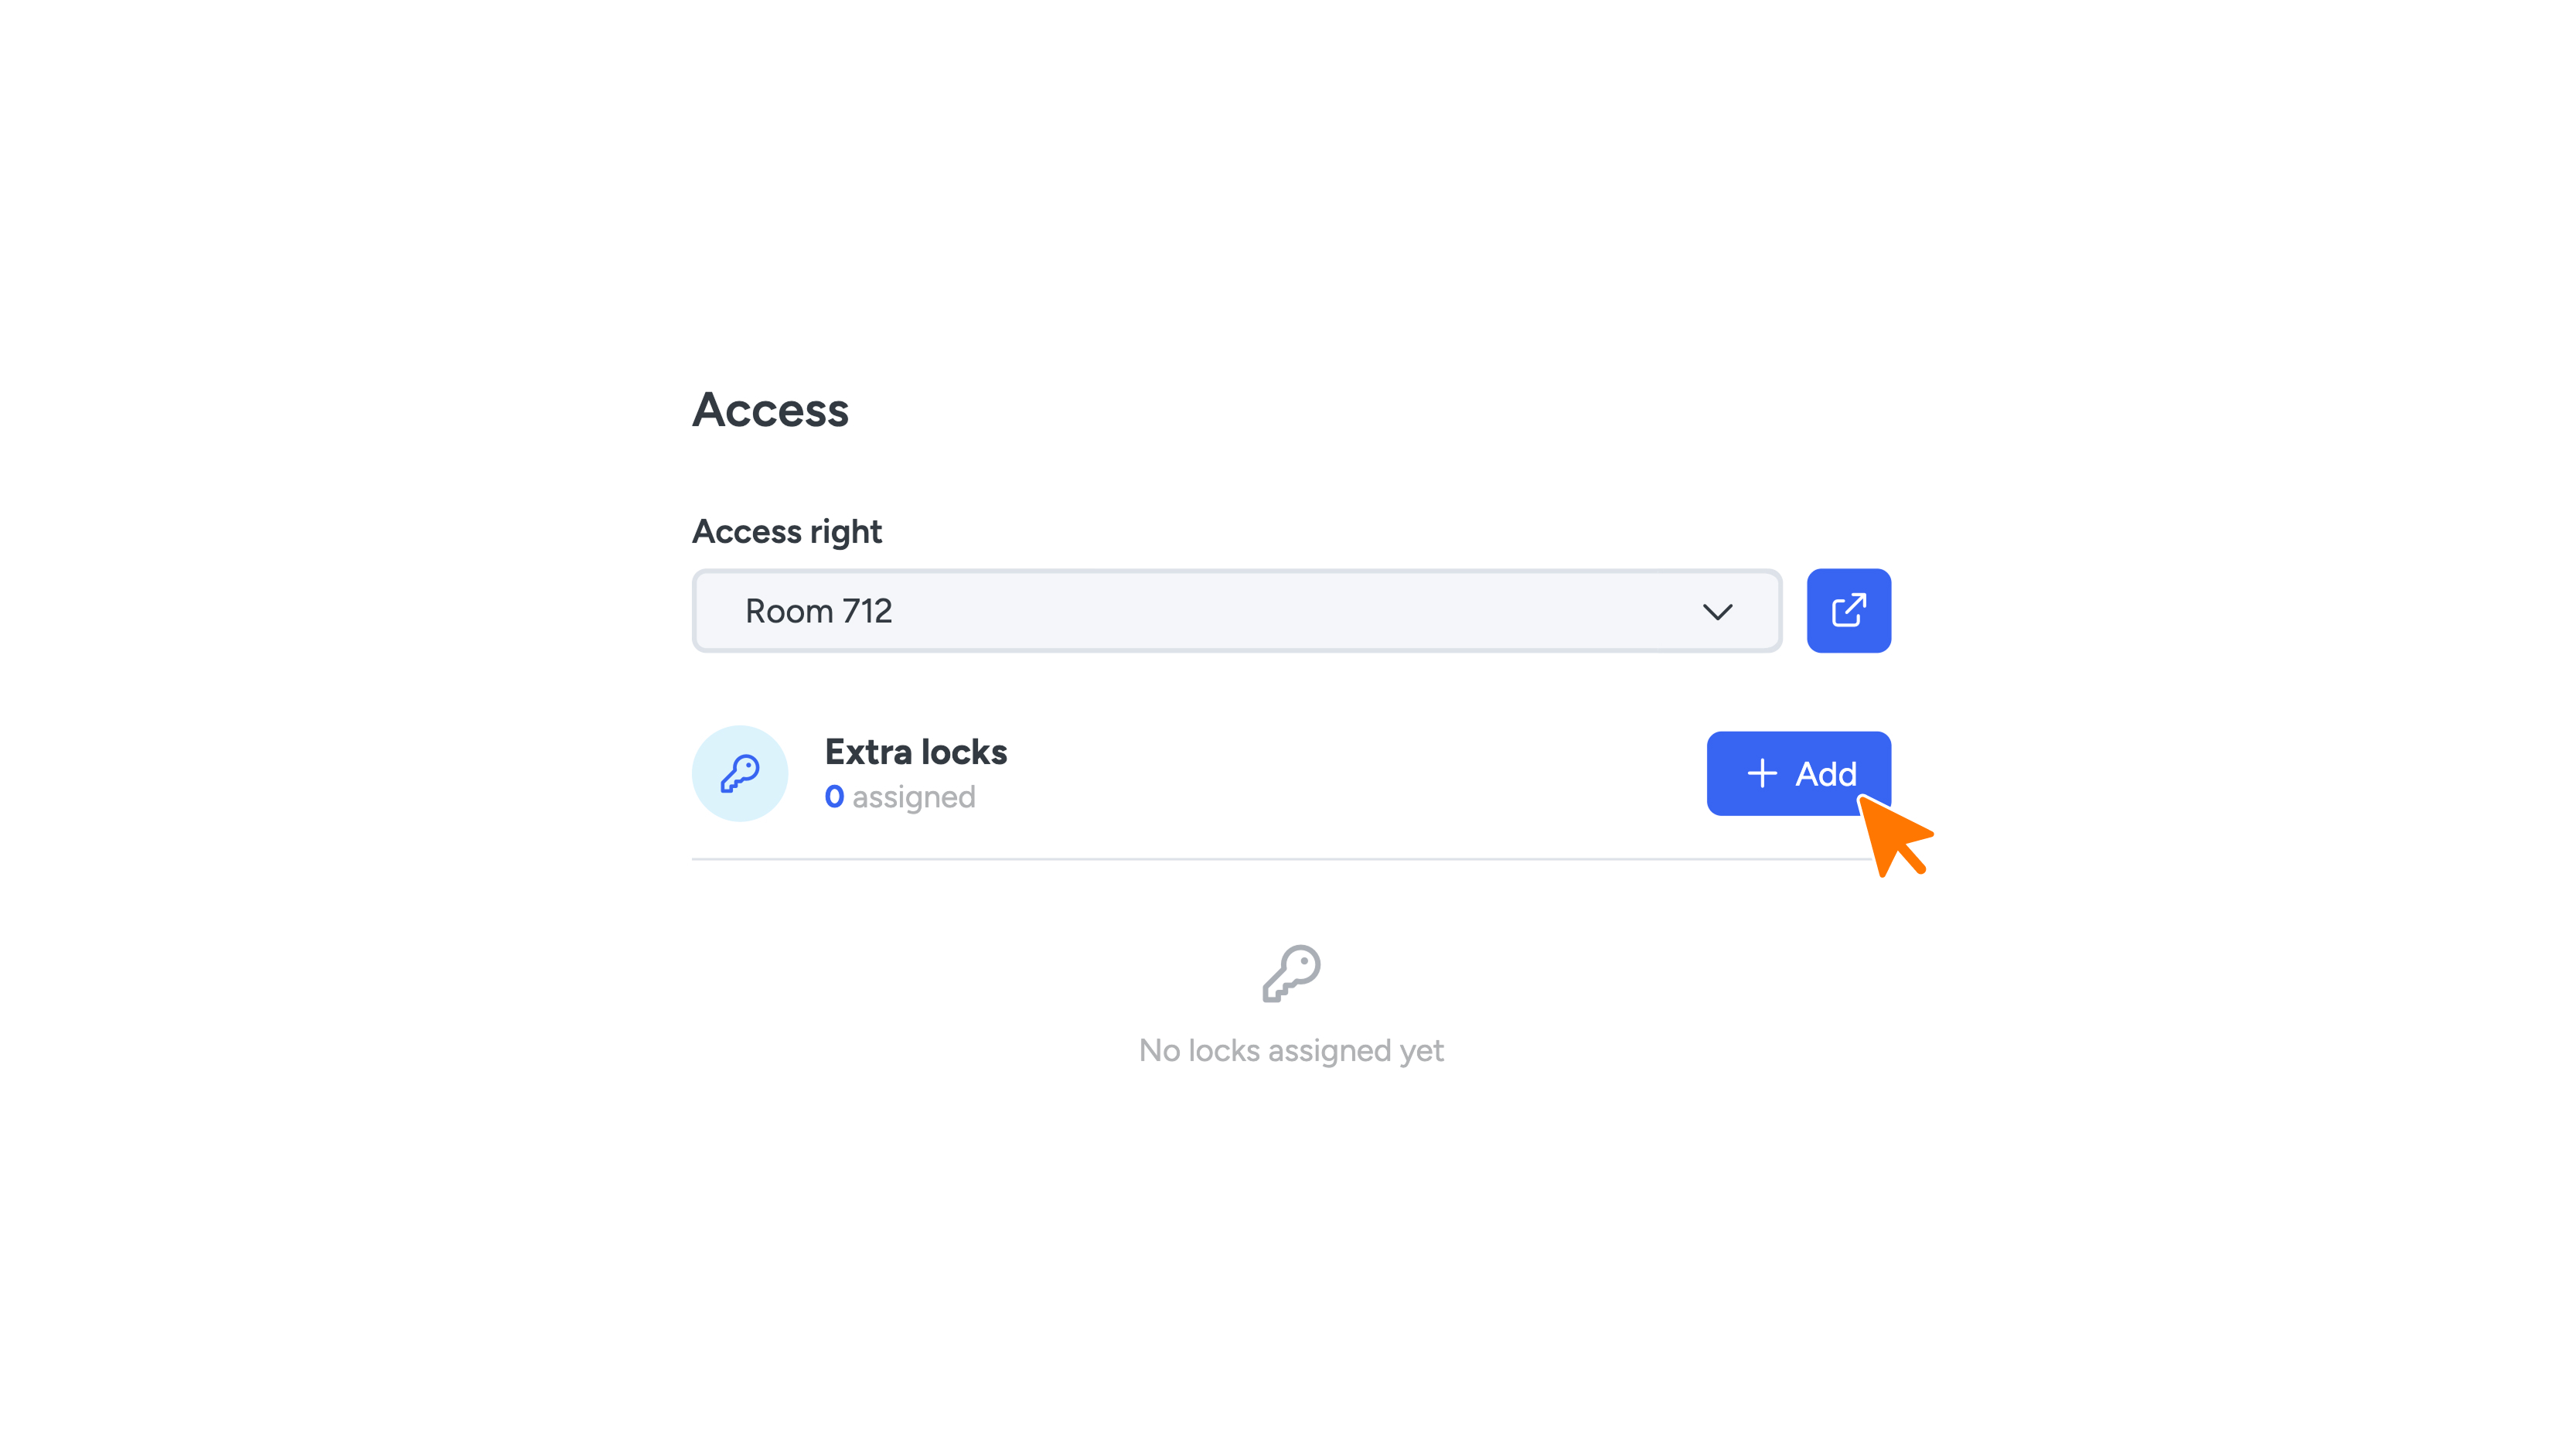
Check the ‘Access’ section. Here you will see an overview of the rooms and areas the guest currently has access to.
Step 4 – Add a new door/storage
- Click the blue ‘+ Add’ button.
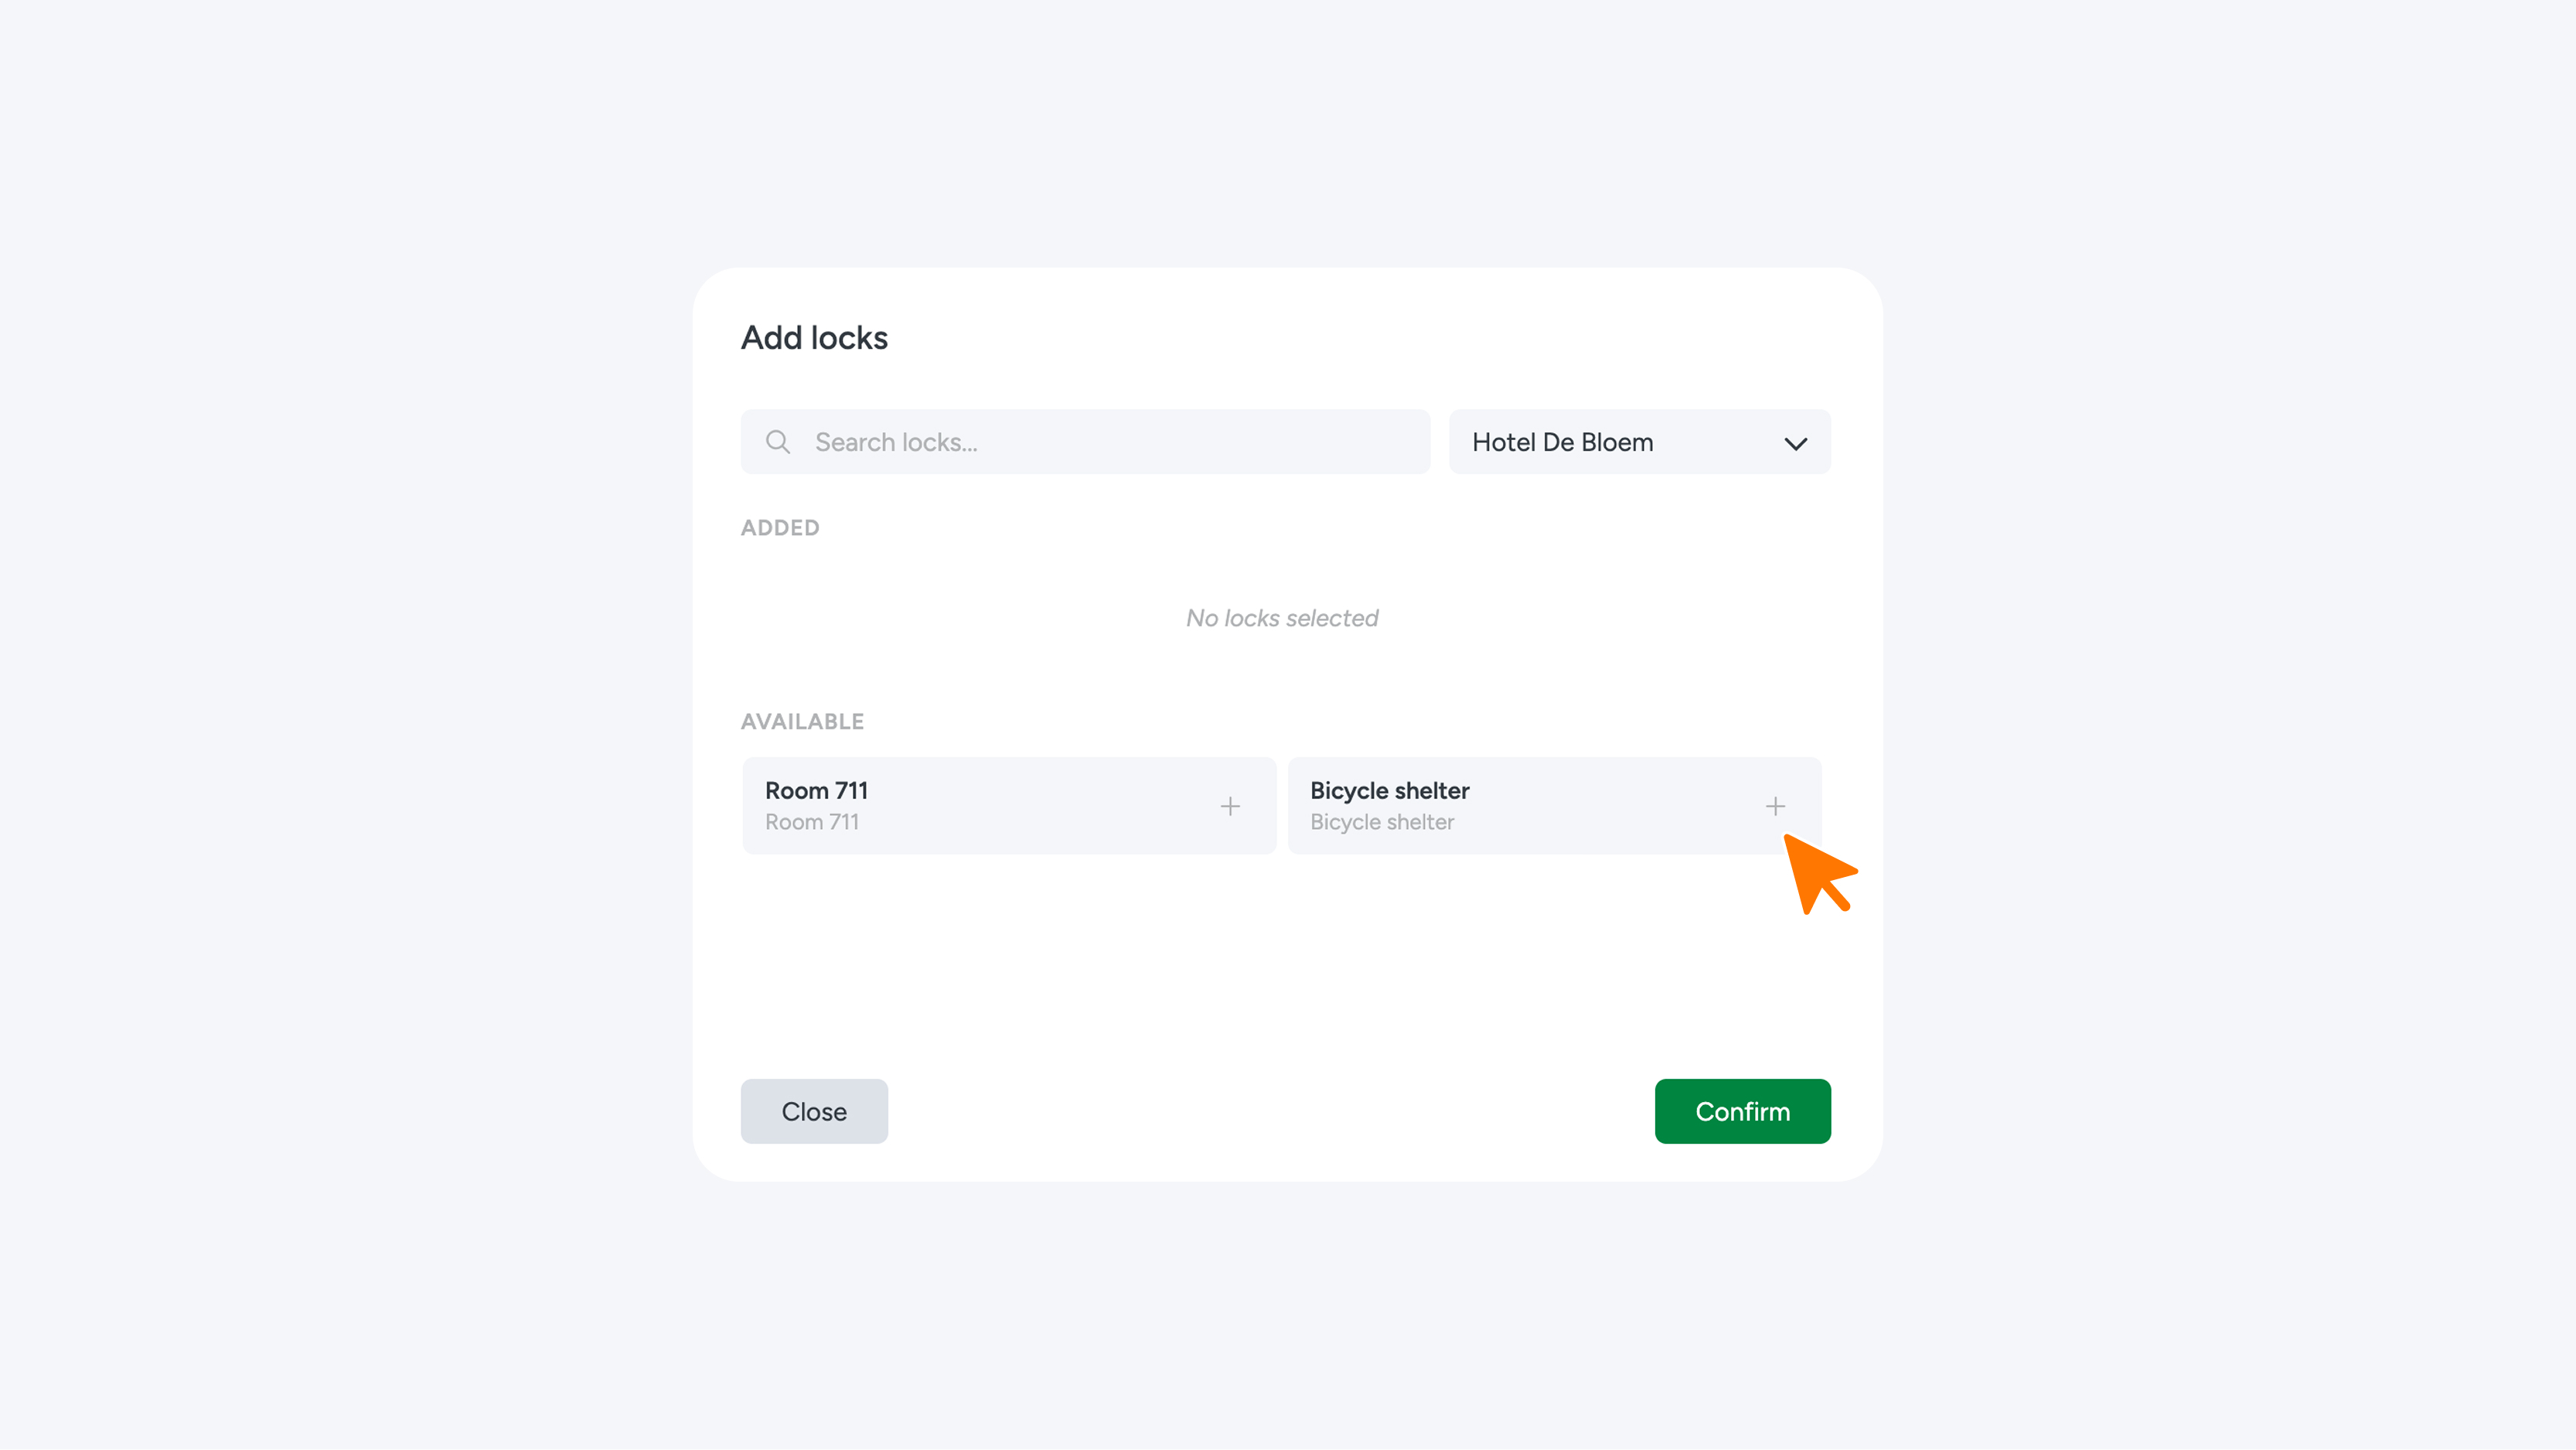
- A window will appear showing the full list of available areas. If needed, use the search bar at the top to quickly find the right area.
- Select the desired room or area and click ‘Confirm’.
Selected the wrong door by mistake?
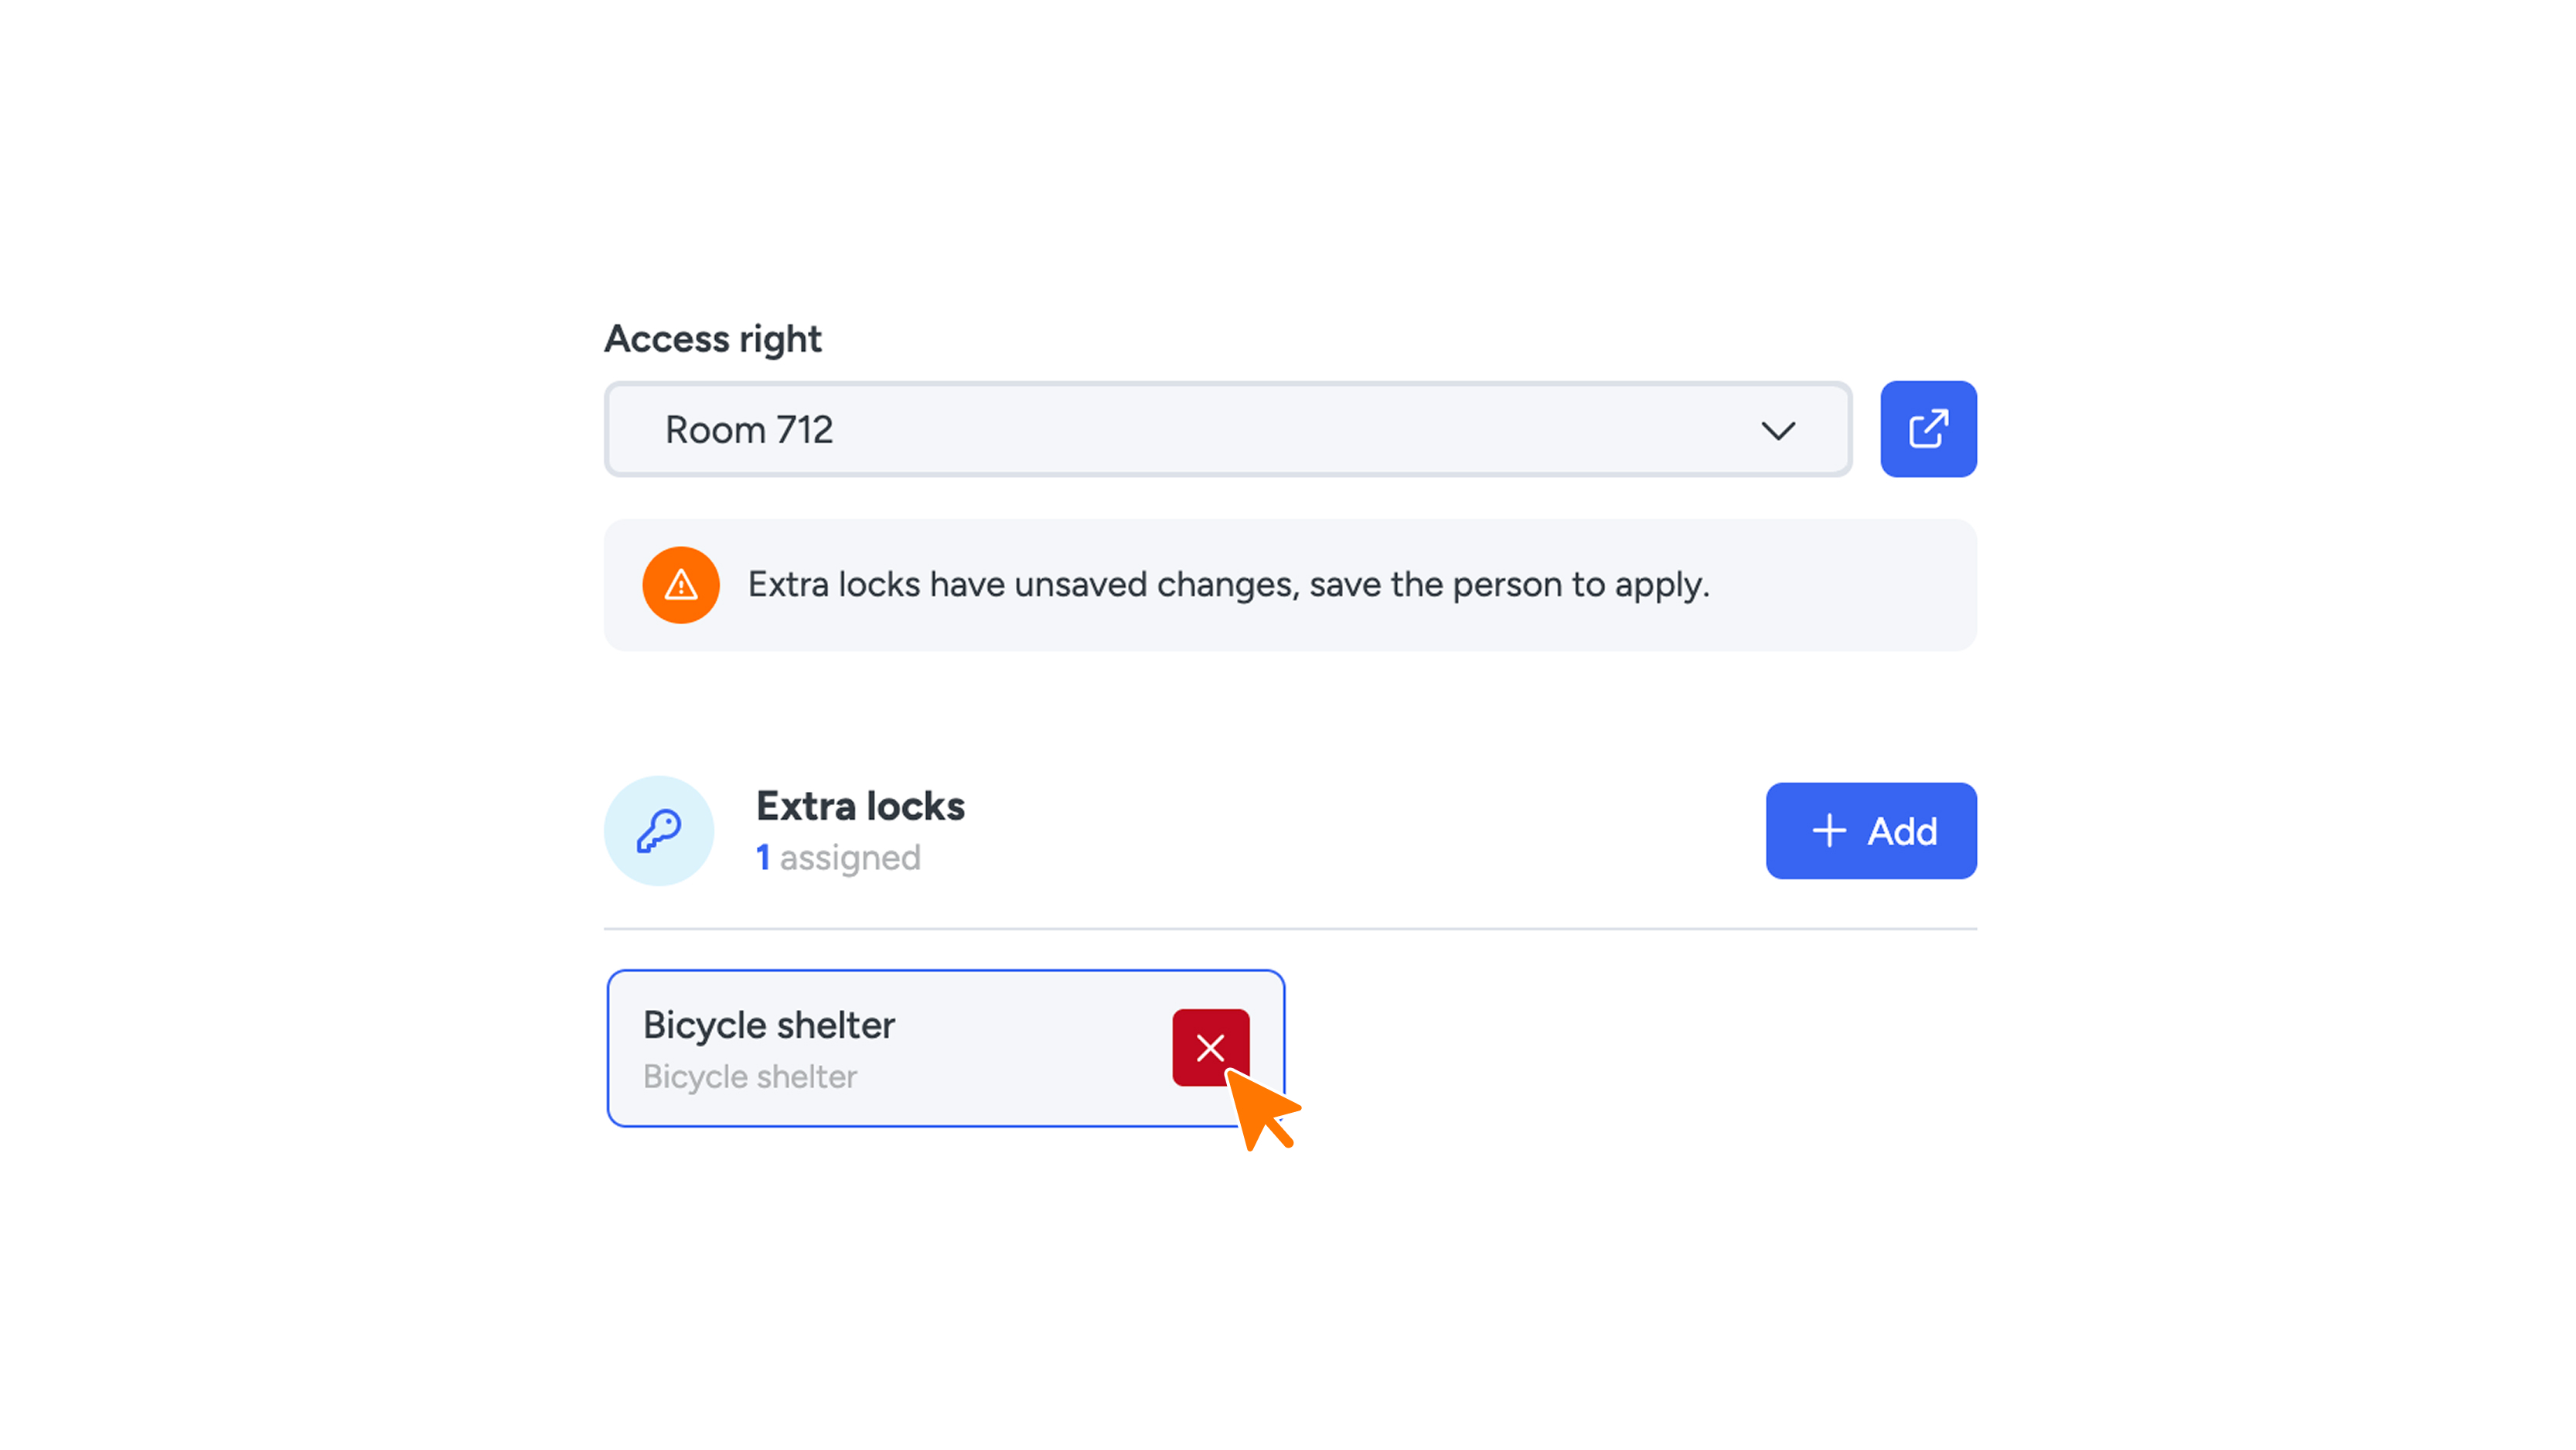
No problem! You can easily remove a selected door/storage by clicking the cross icon (x) next to the area's name.
Step 5 – Save and apply
Note: The changes are not yet permanently saved! Click the ‘Update’ button in the top right corner of the page to finalize the new settings. The guest's digital key will now be updated immediately.