Creating an iLOQ User
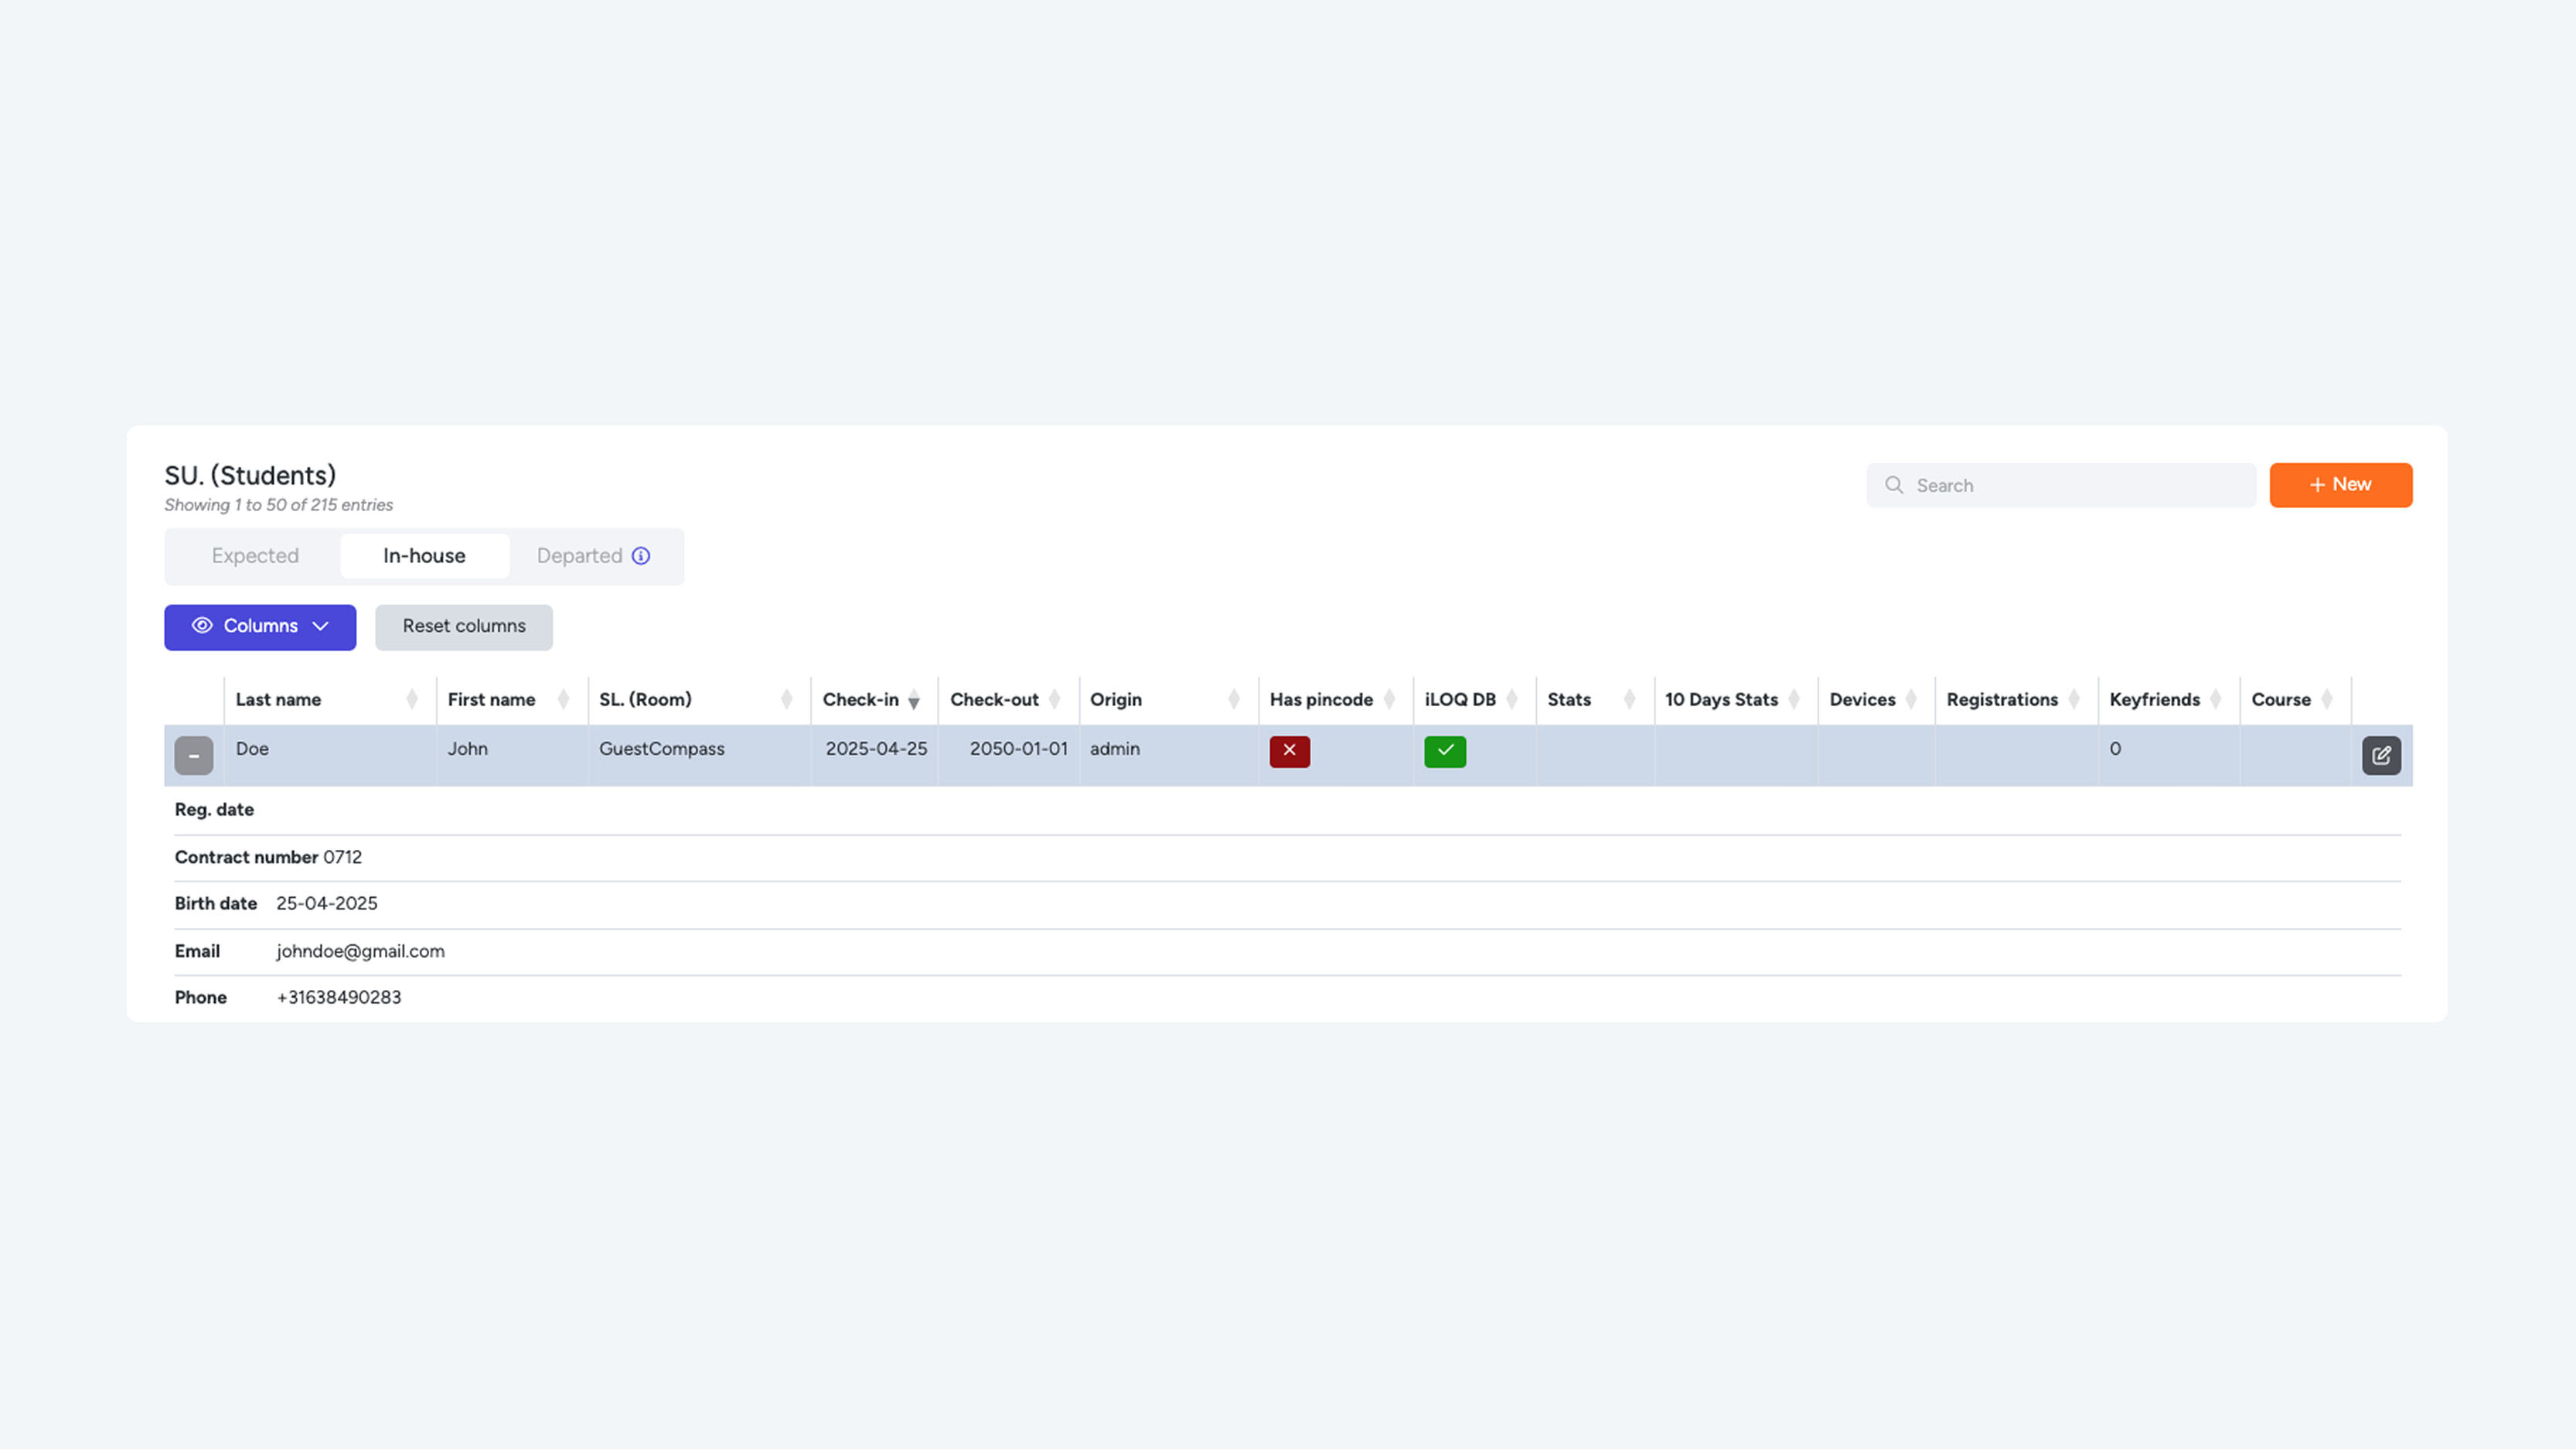
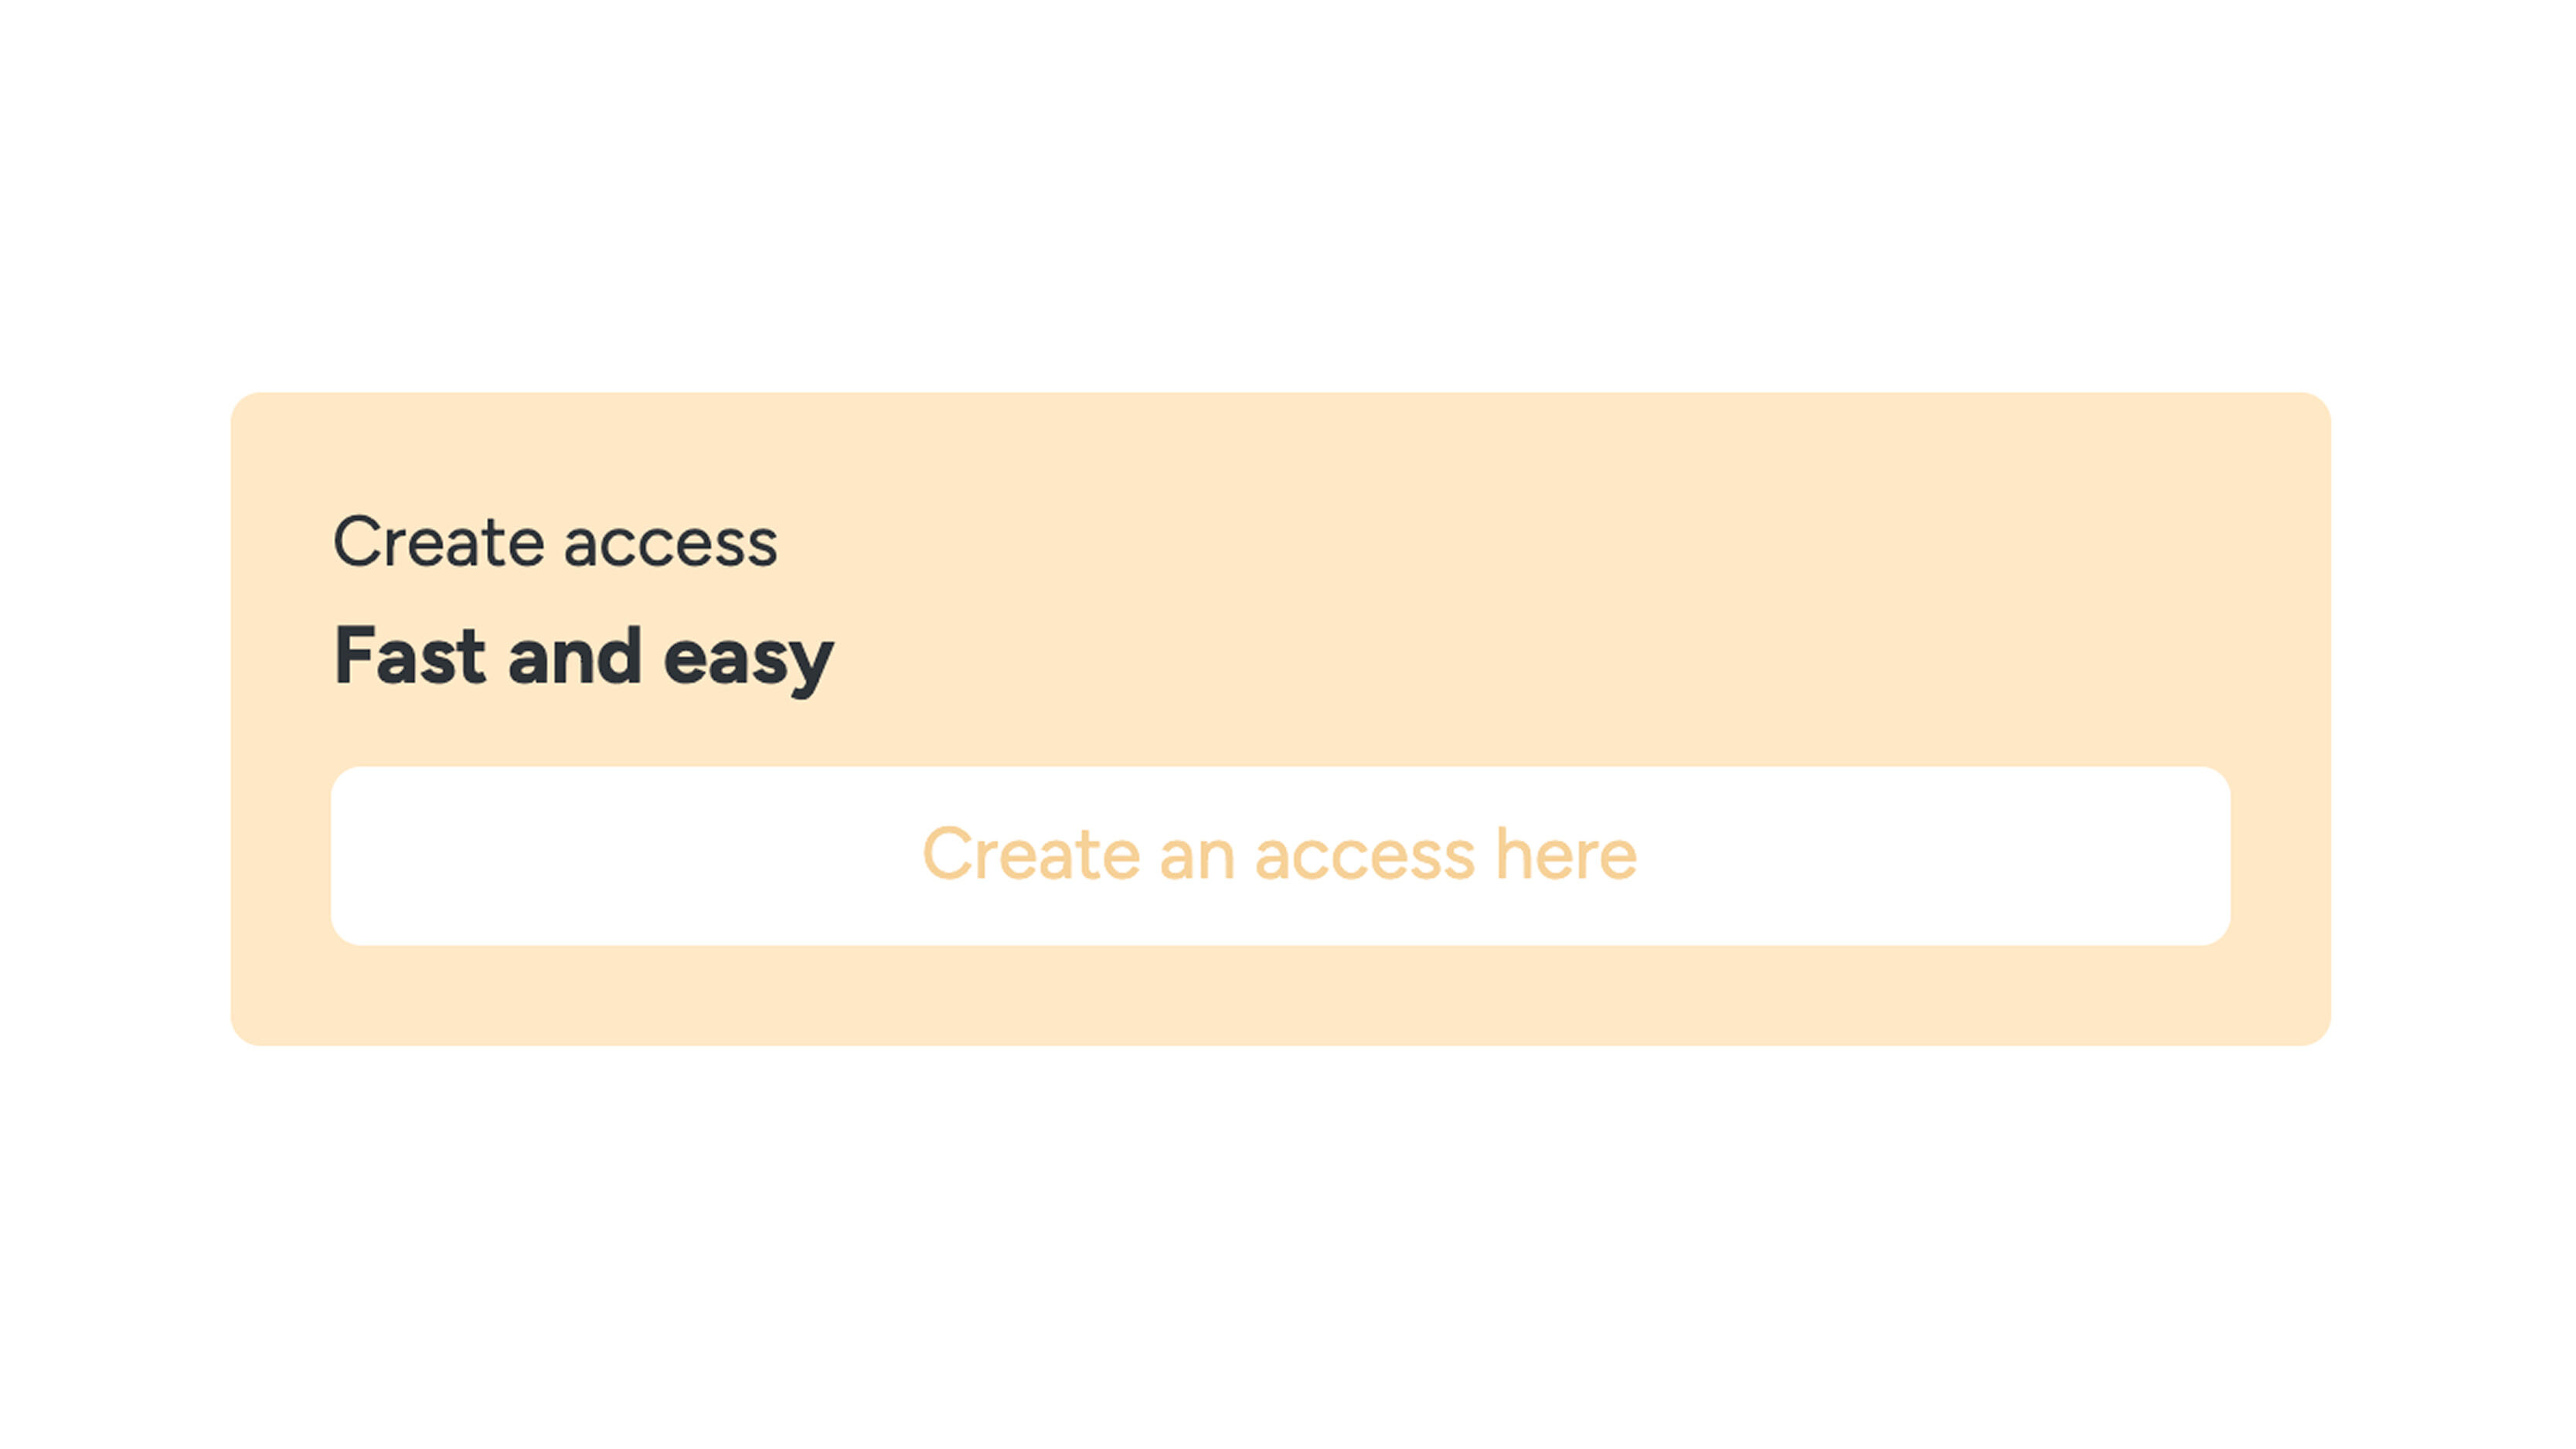
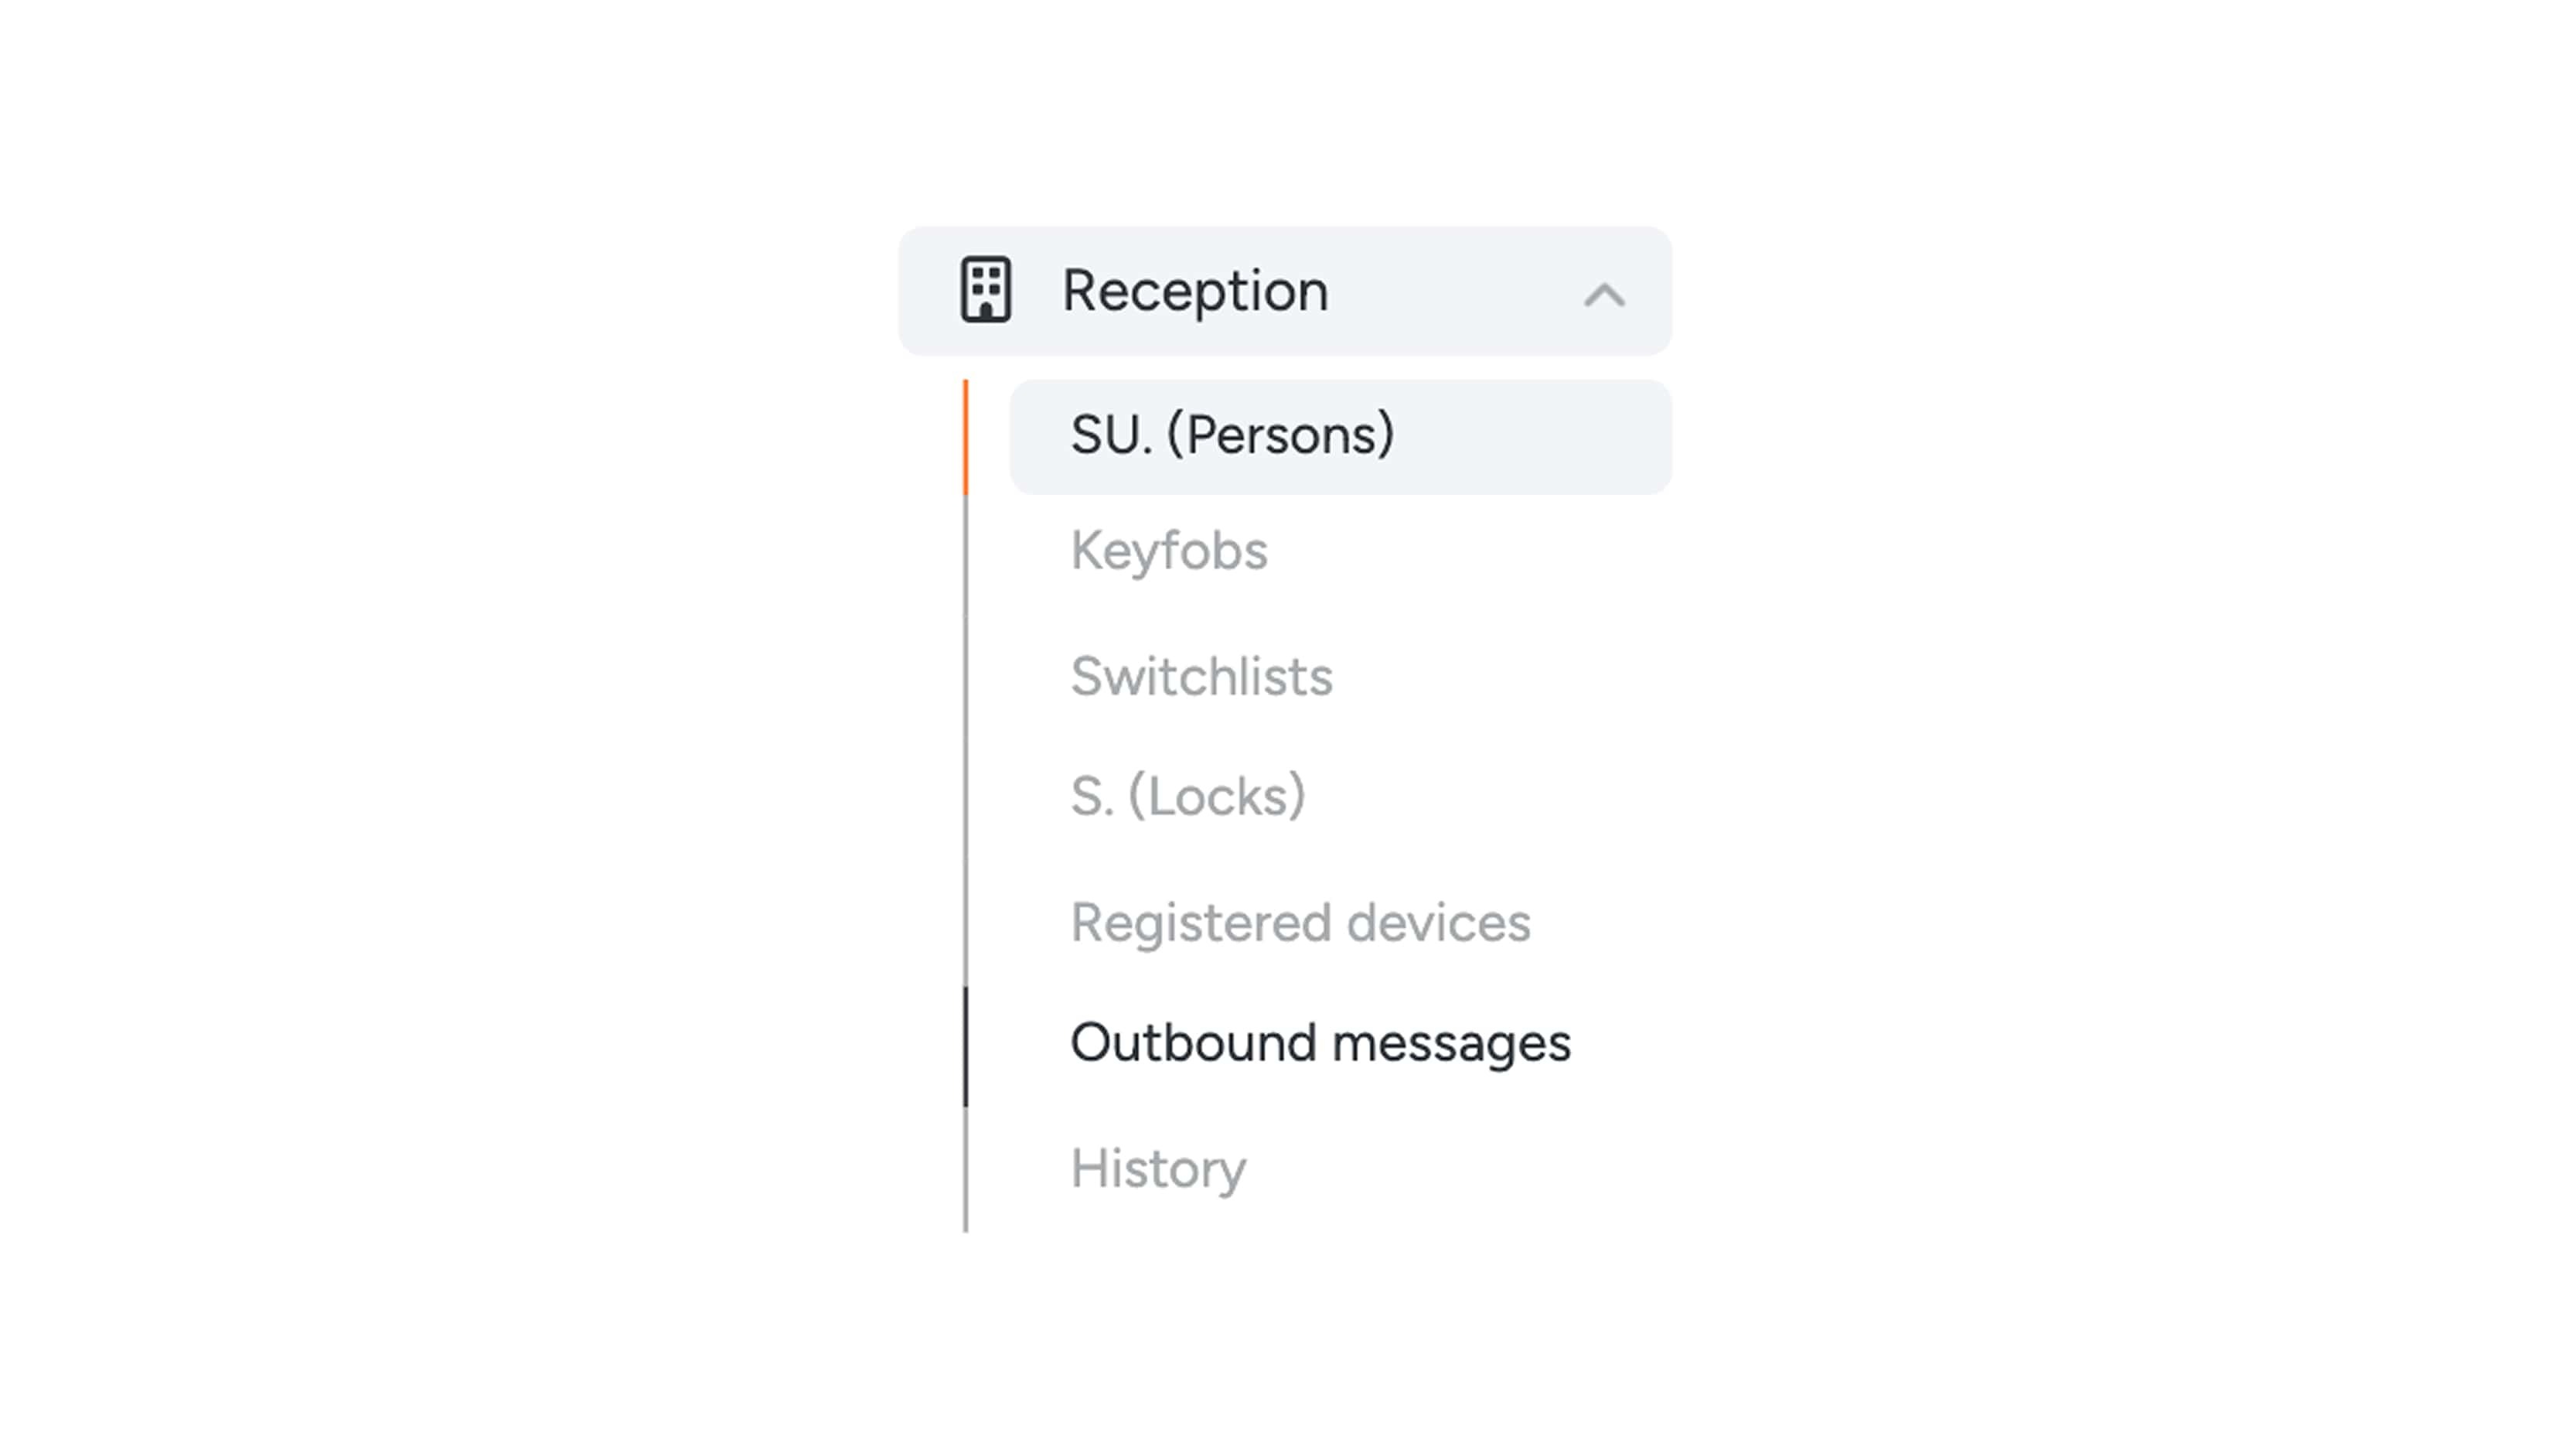
To grant a user access to doors, you create an access in the system. You can do this by clicking “Create an access here” on the dashboard, or by going through the menu to “Reception” > “Switch user (SU.)” and then clicking “+ New.”
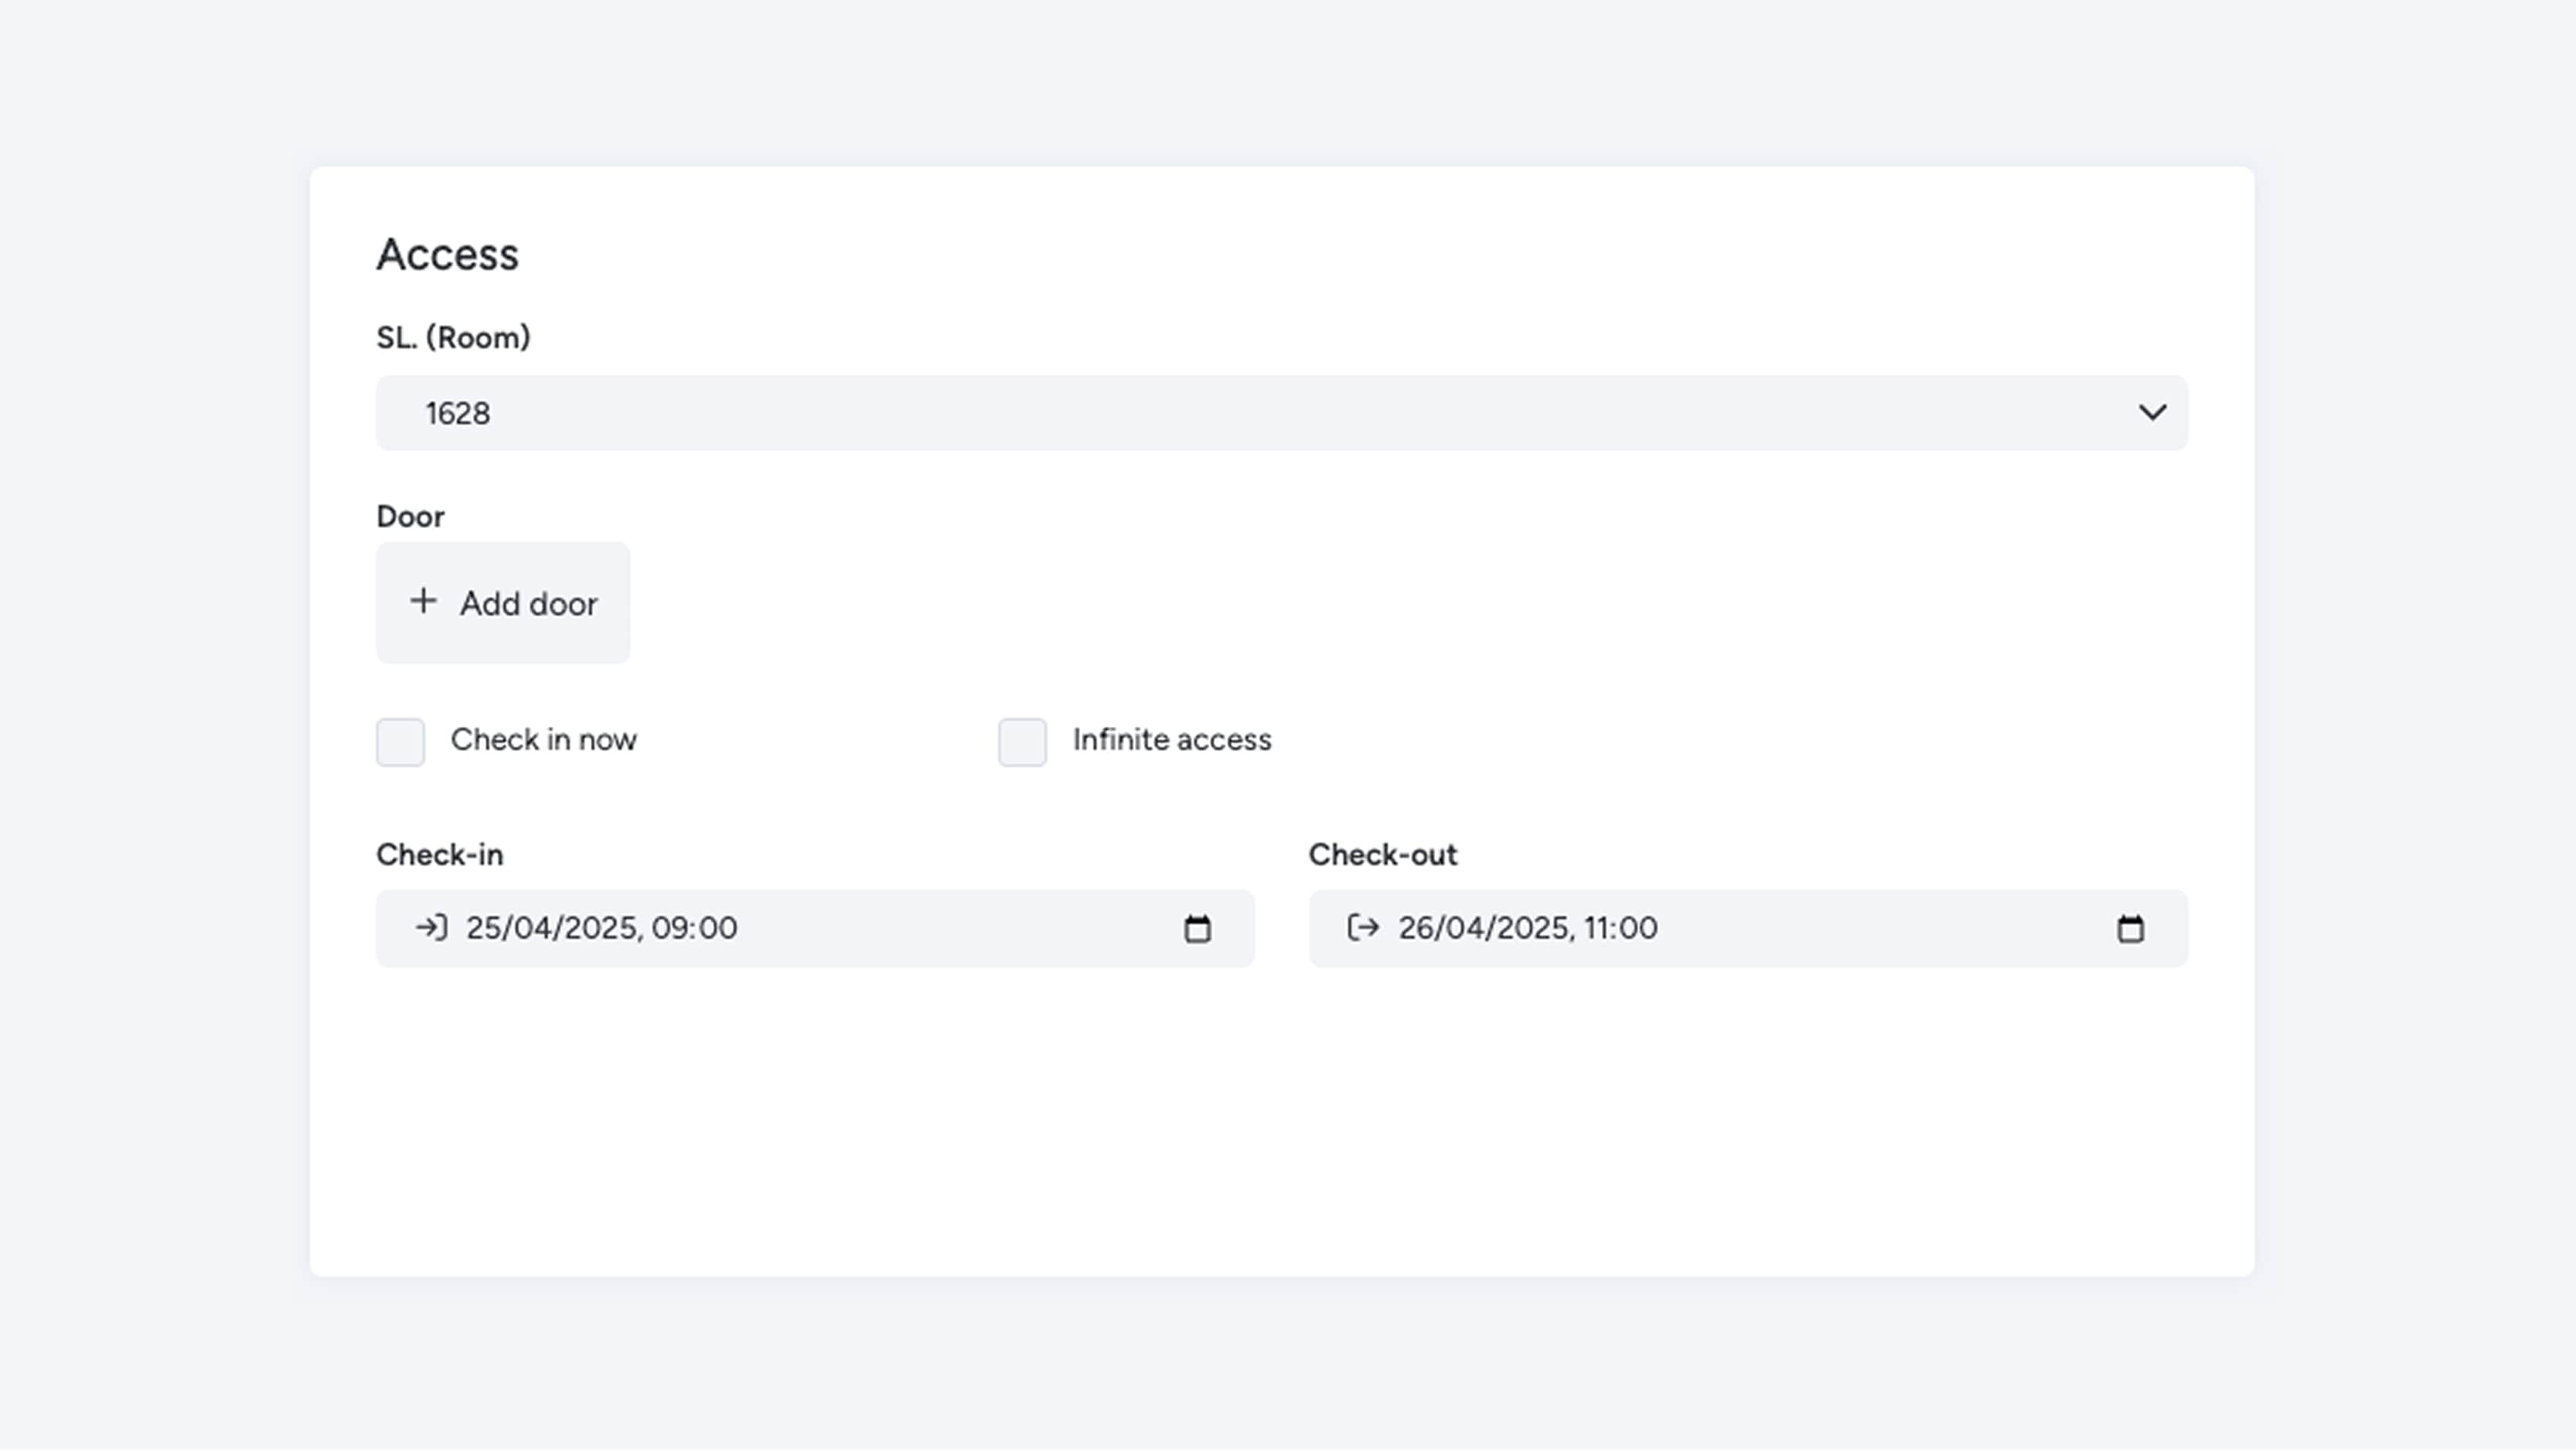
Select the room or area for which you want to grant access.
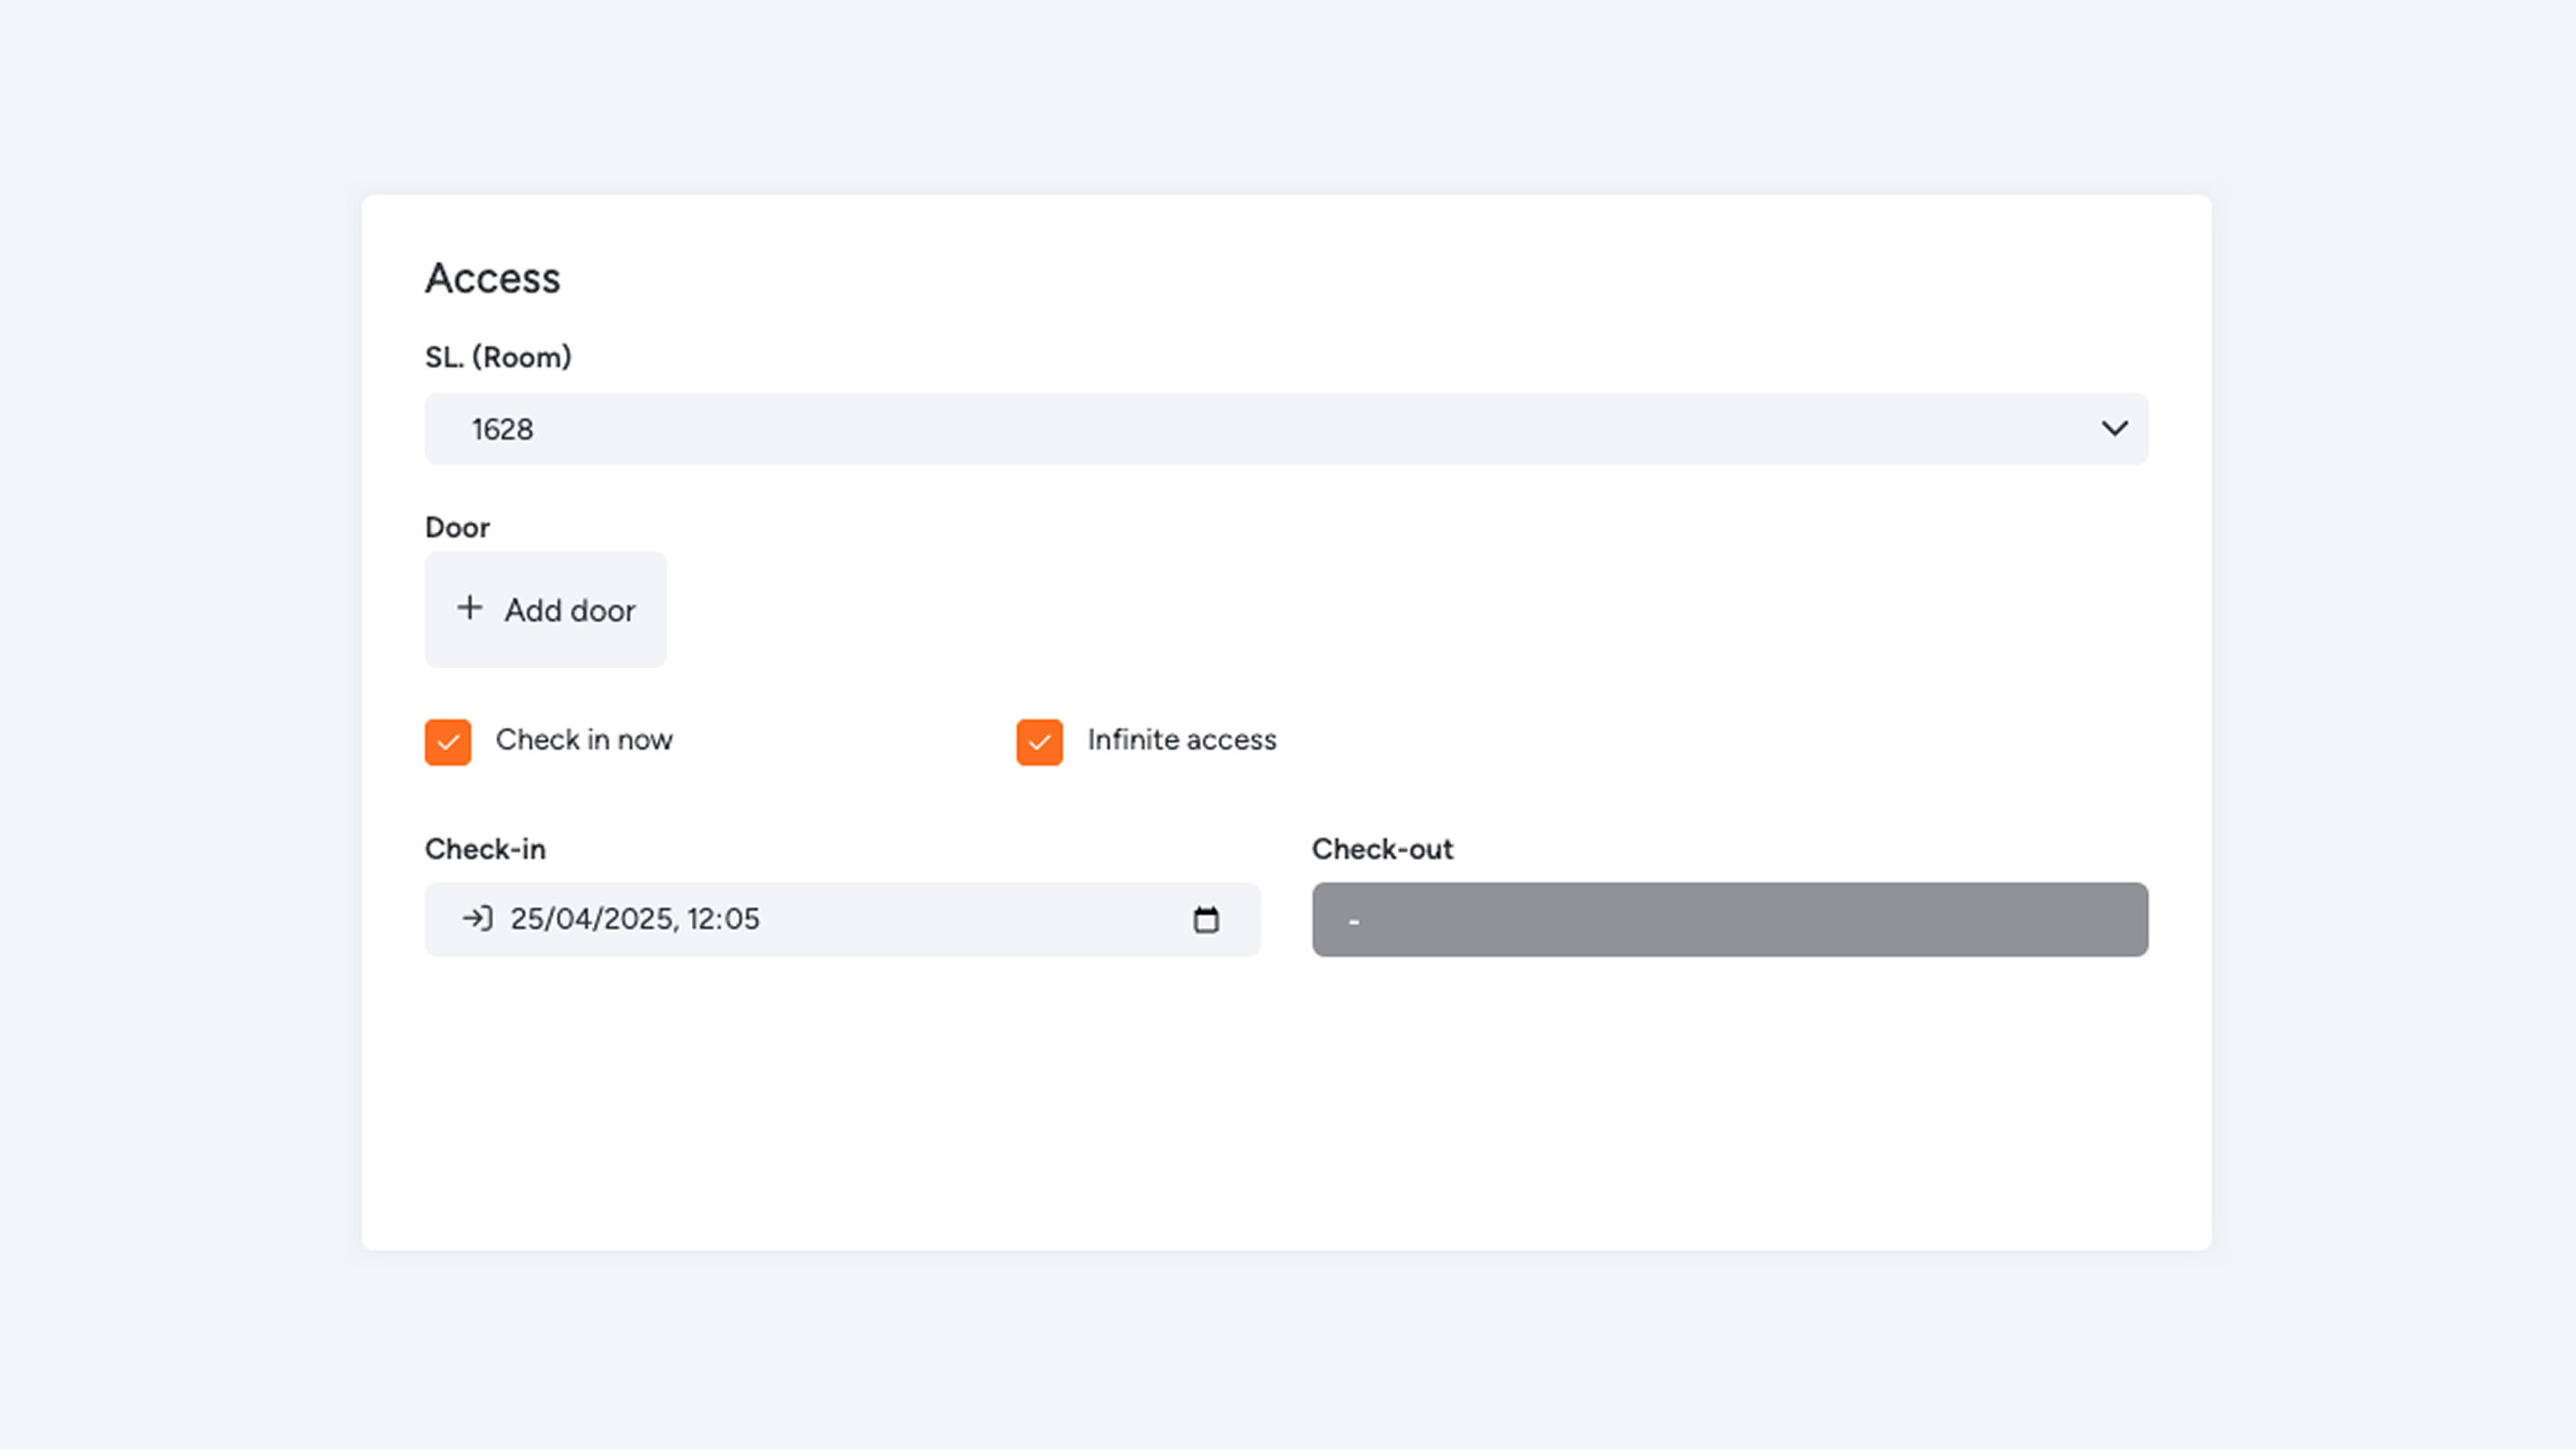
Choose the option “Check in now” if you want the access to start immediately.
If you want to grant access at a later time, you can manually set this in the “Check-in” field.
Under “Check-out,” you specify until when the access is valid. After this date and time, the digital keys will automatically expire.
Do you want to create access without an end date? Then select “Infinite access.” The user will then receive unlimited access and the check-out date will automatically be removed. The end-date field will be disabled.
Gebruikersgegevens invullen
Entering User Details
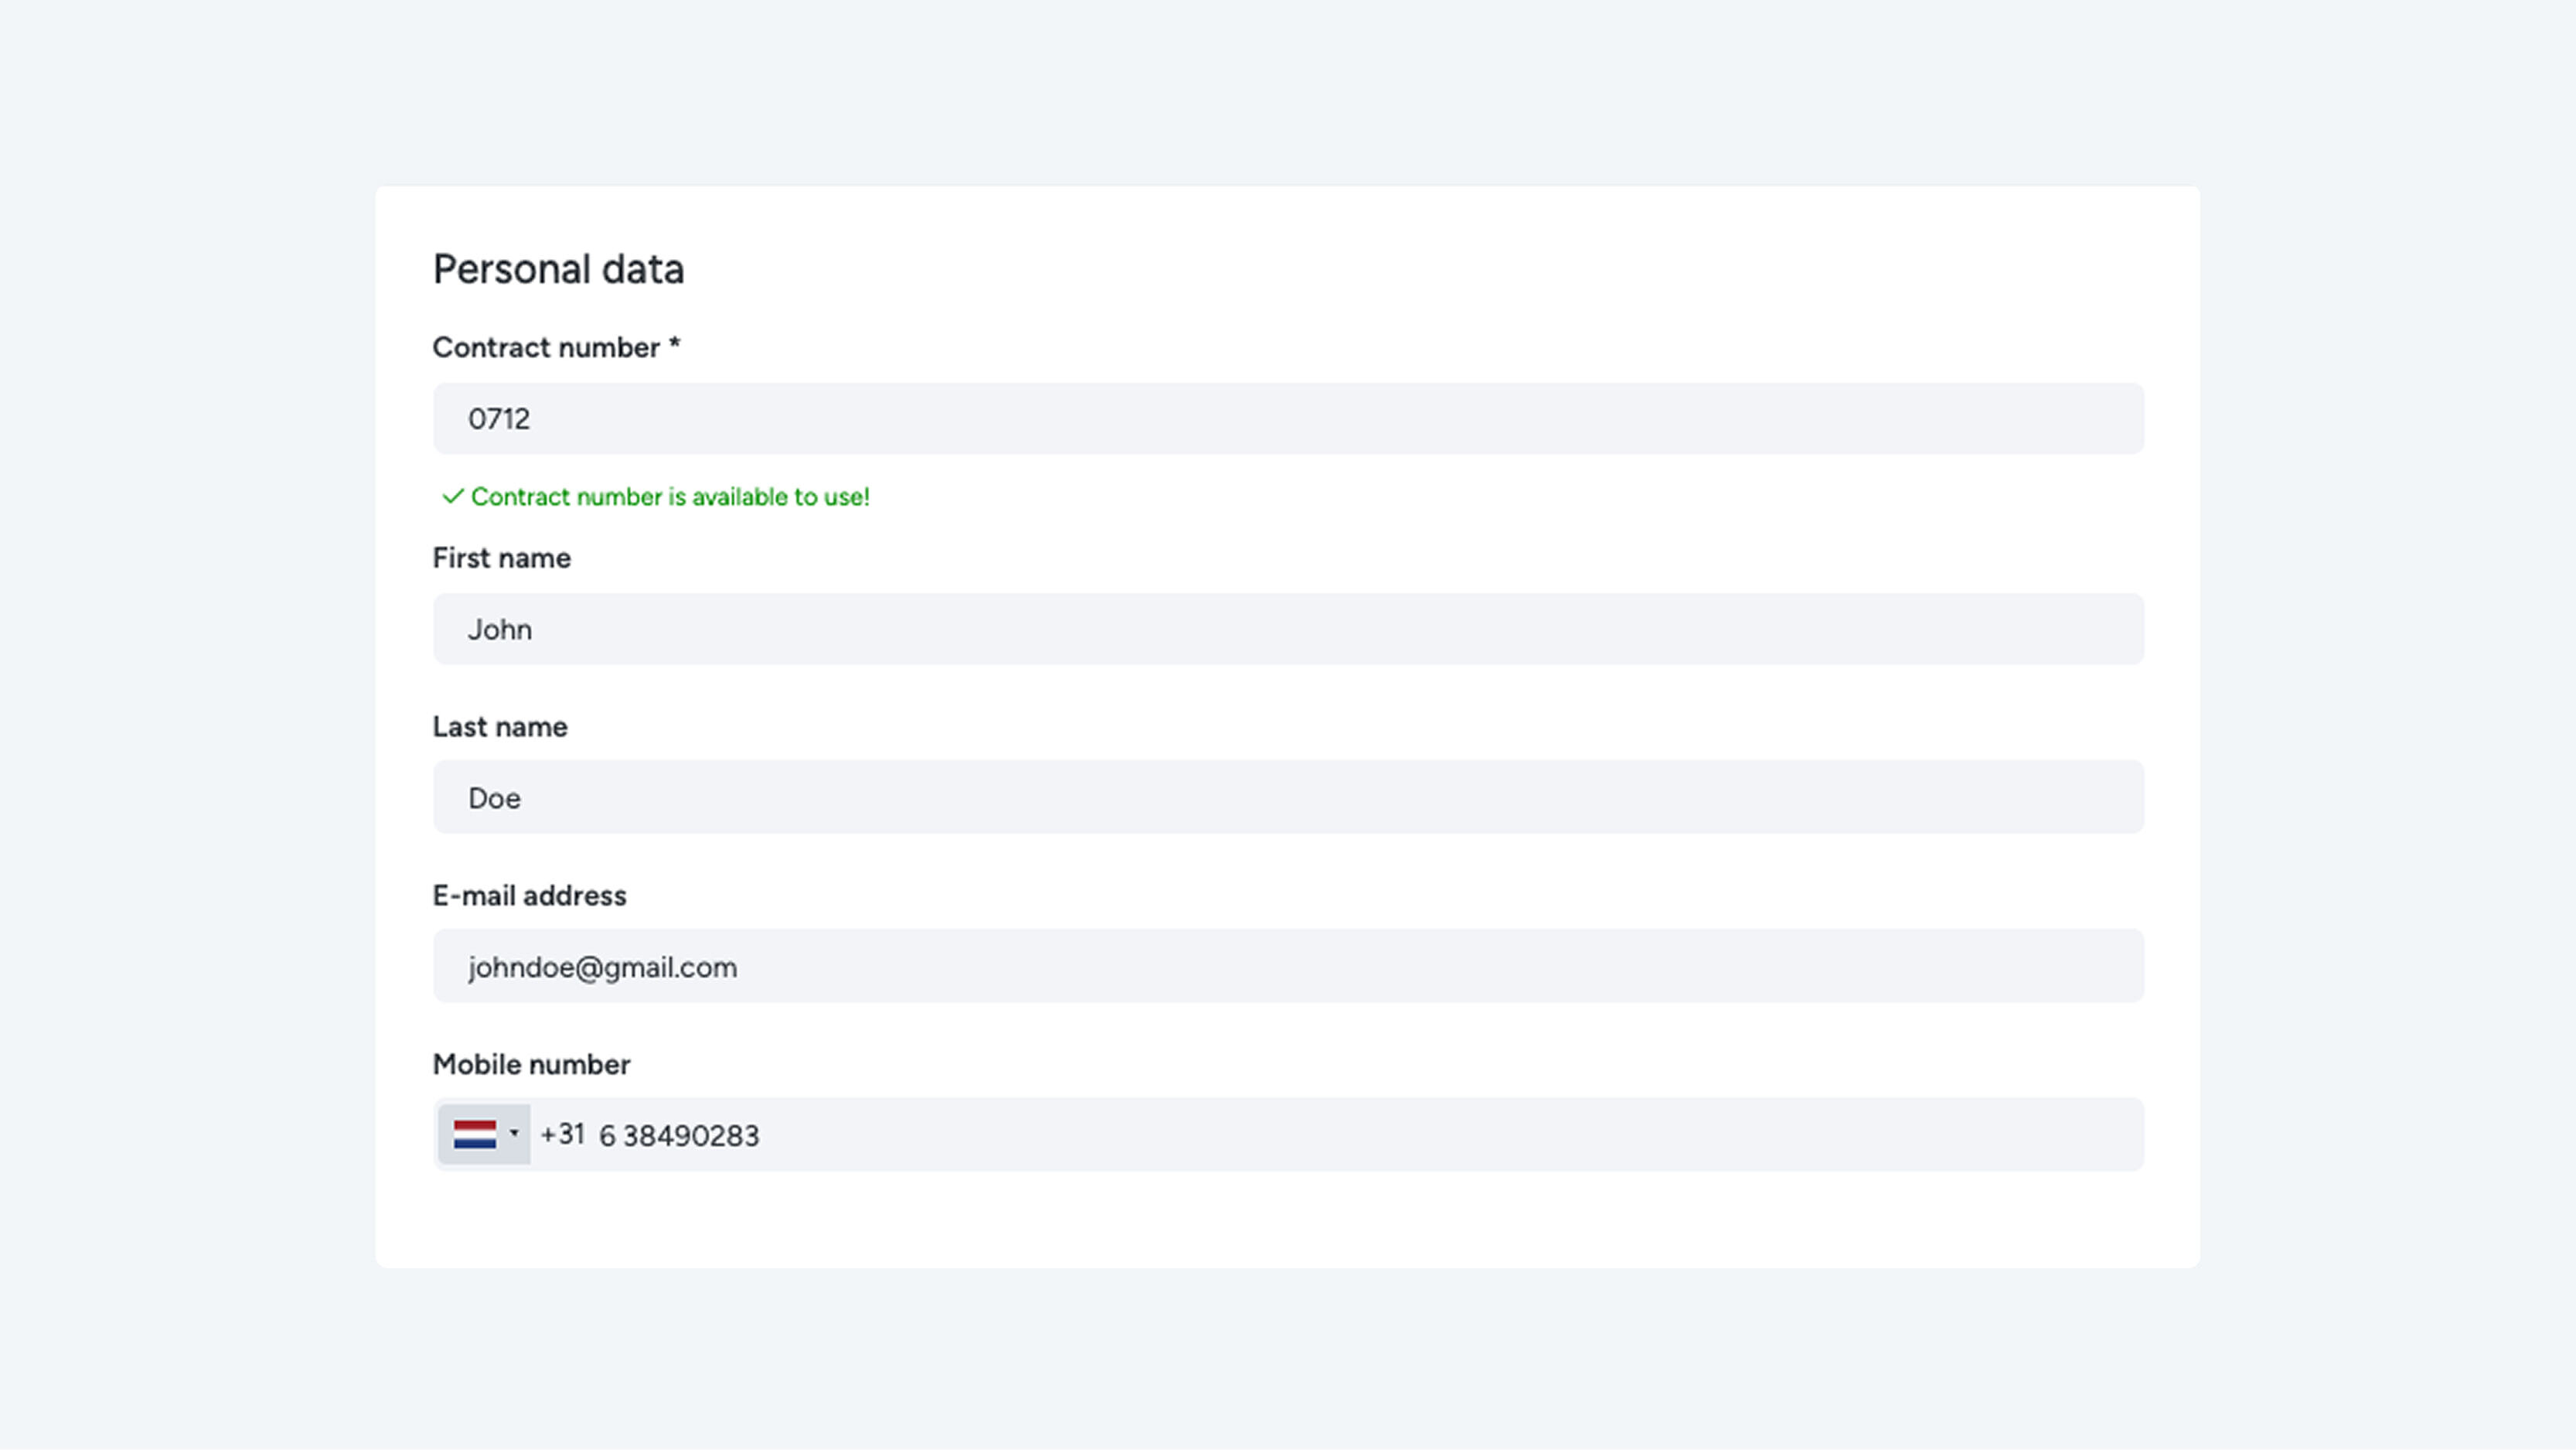
Once you have completed the general settings, enter the user’s personal details. Note: Please check these details carefully. If the information is incorrect, the user will not be able to register for the digital key.
Enter the following information:
- Contract number: You can create a contract number yourself, unless your employer uses fixed reference numbers that do not allow manual input. Always confirm this with your employer in advance. Examples of contract numbers are: 0001 or CRA-0001 (an abbreviation for craftsmen). The system will automatically indicate whether a contract number is already in use or still available for a new user.
- First name
- Last name
- Date of birth
- Email address
- Mobile phone number
Don’t forget to save the information once you are finished. After saving the user, many additional settings will become available.