Granting additional access
Give a user access to more than one switch list or to individual extra doors.
With Extra access, you give a user access to additional switch lists and individual doors on top of their own switch list. This is useful for a second apartment, a shared space or a bike storage area, for example. This page is for anyone who manages users and their access in Connect.
Where can you find Extra access?
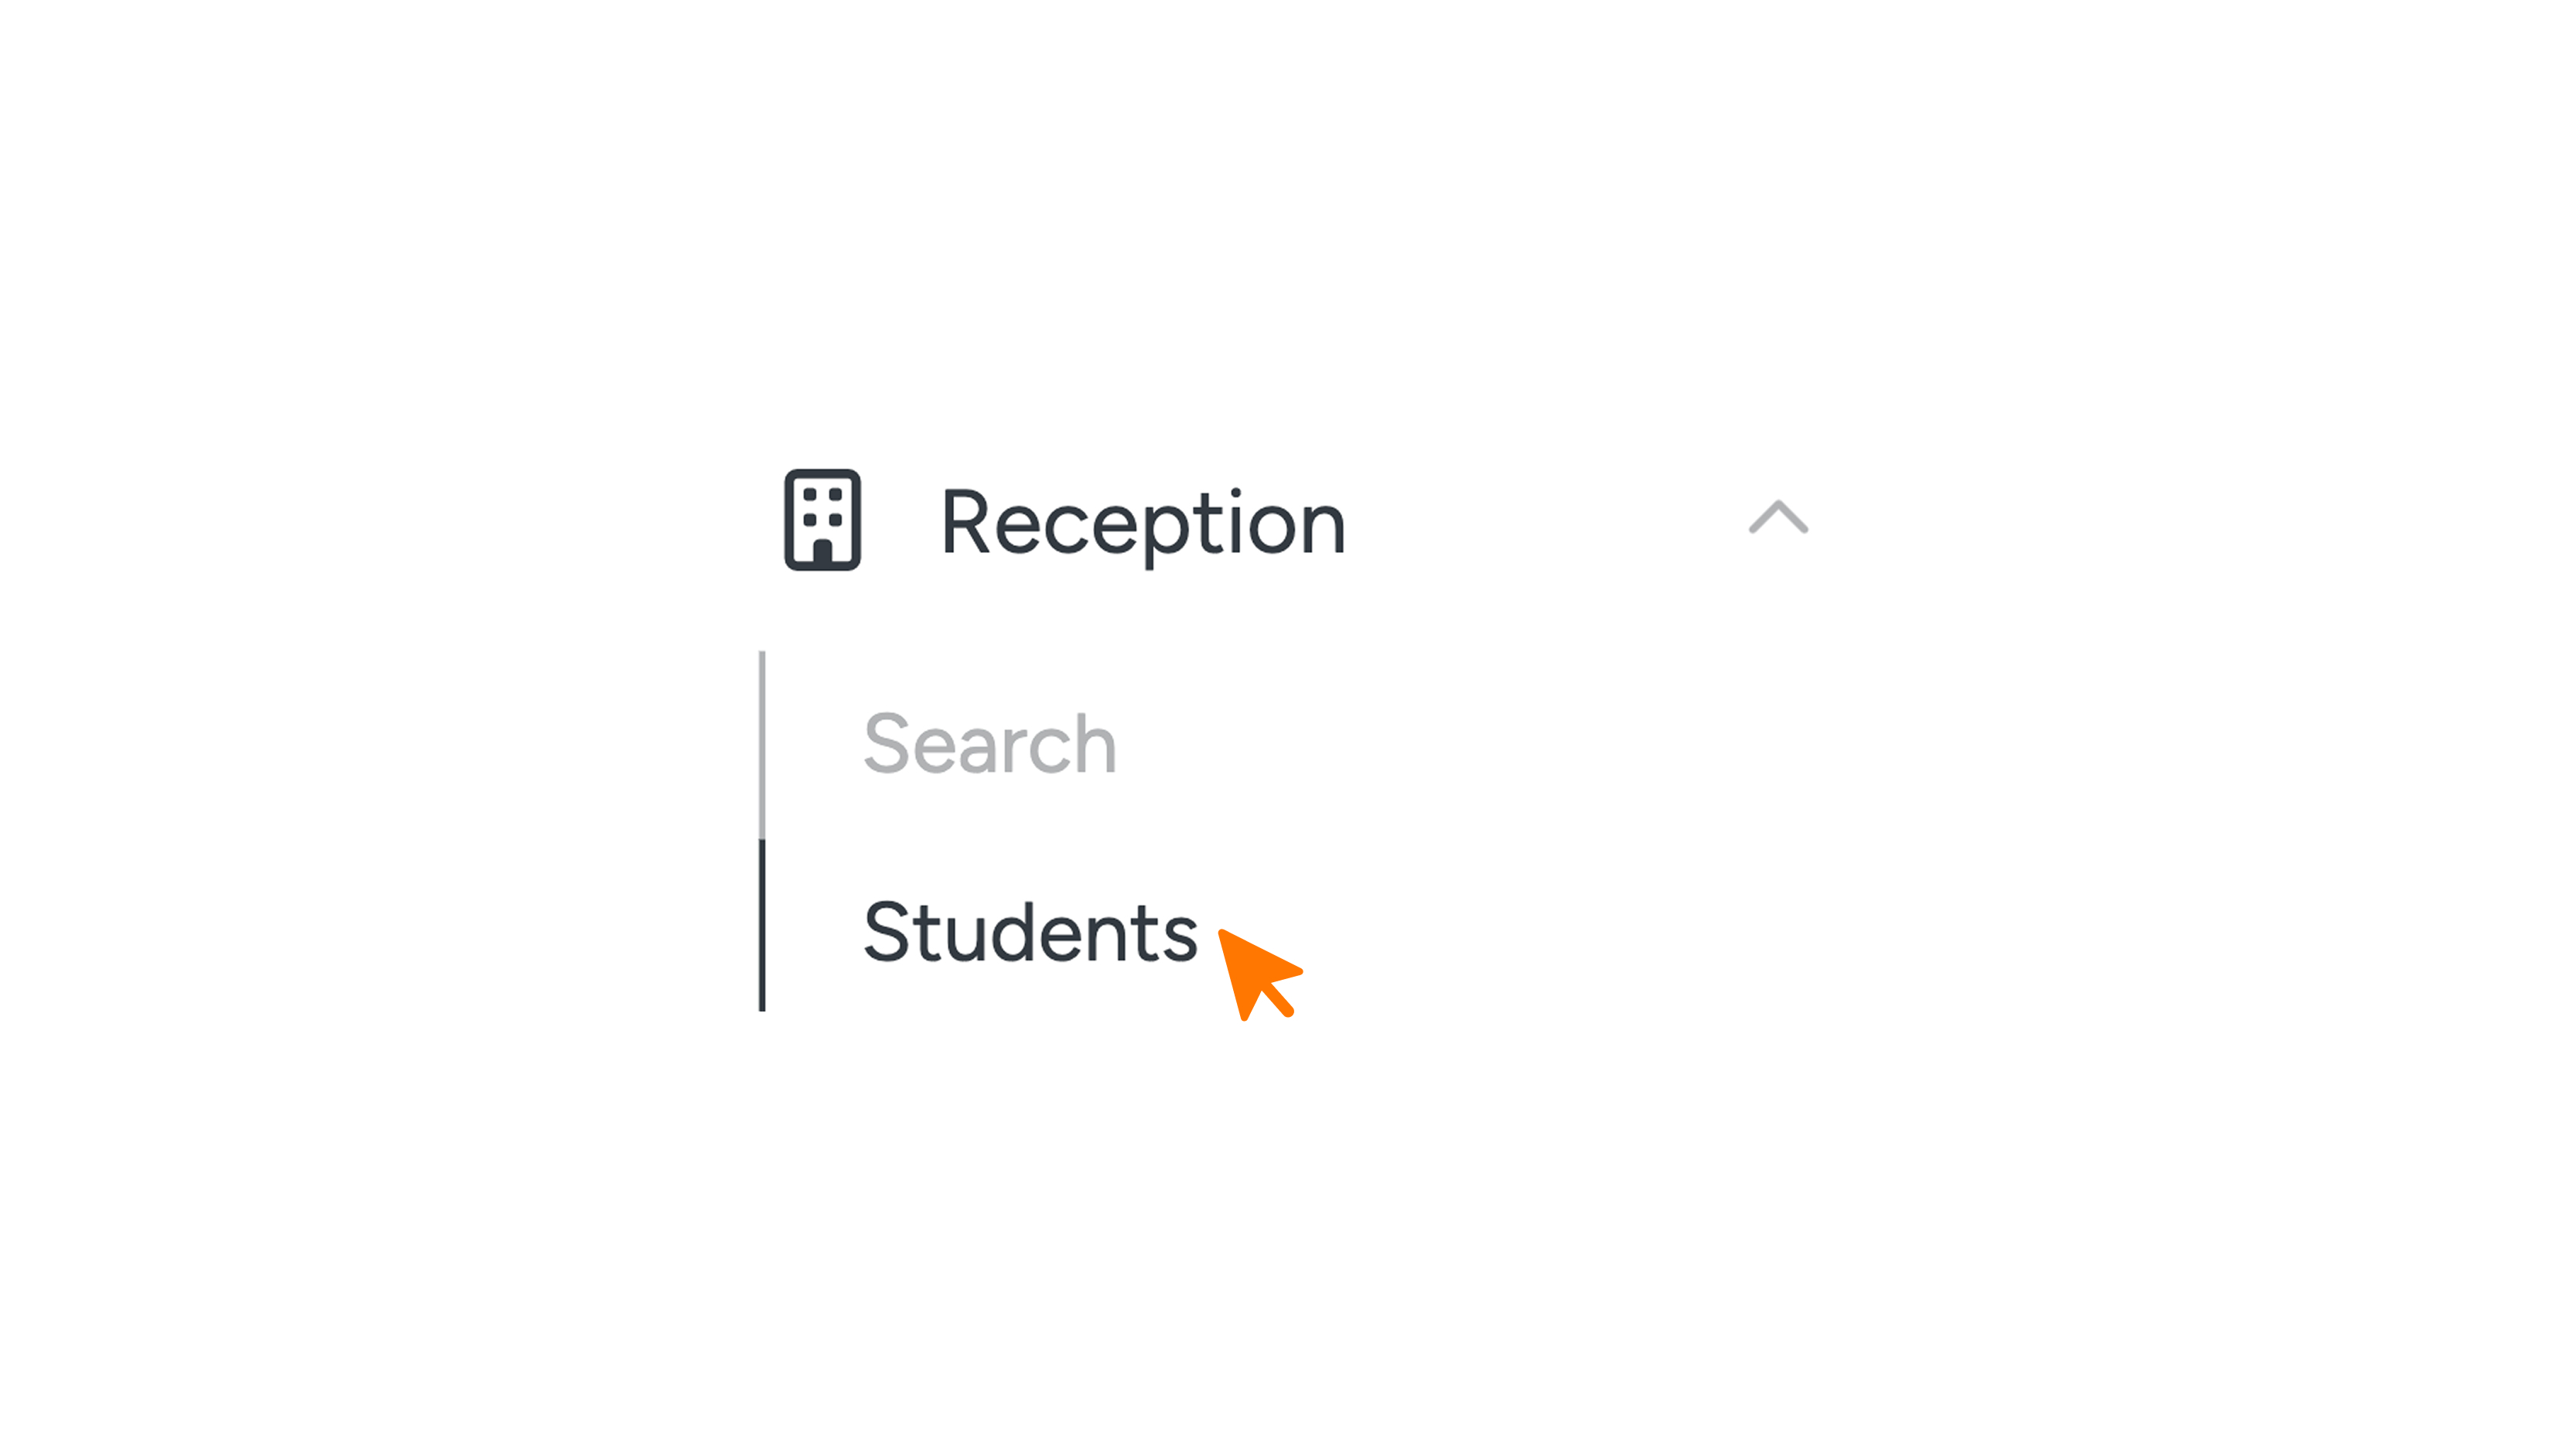
- In the menu, go to 'Reception' > 'Students' or 'Persons'.
- Find the user in the table.
- Click the pencil icon.
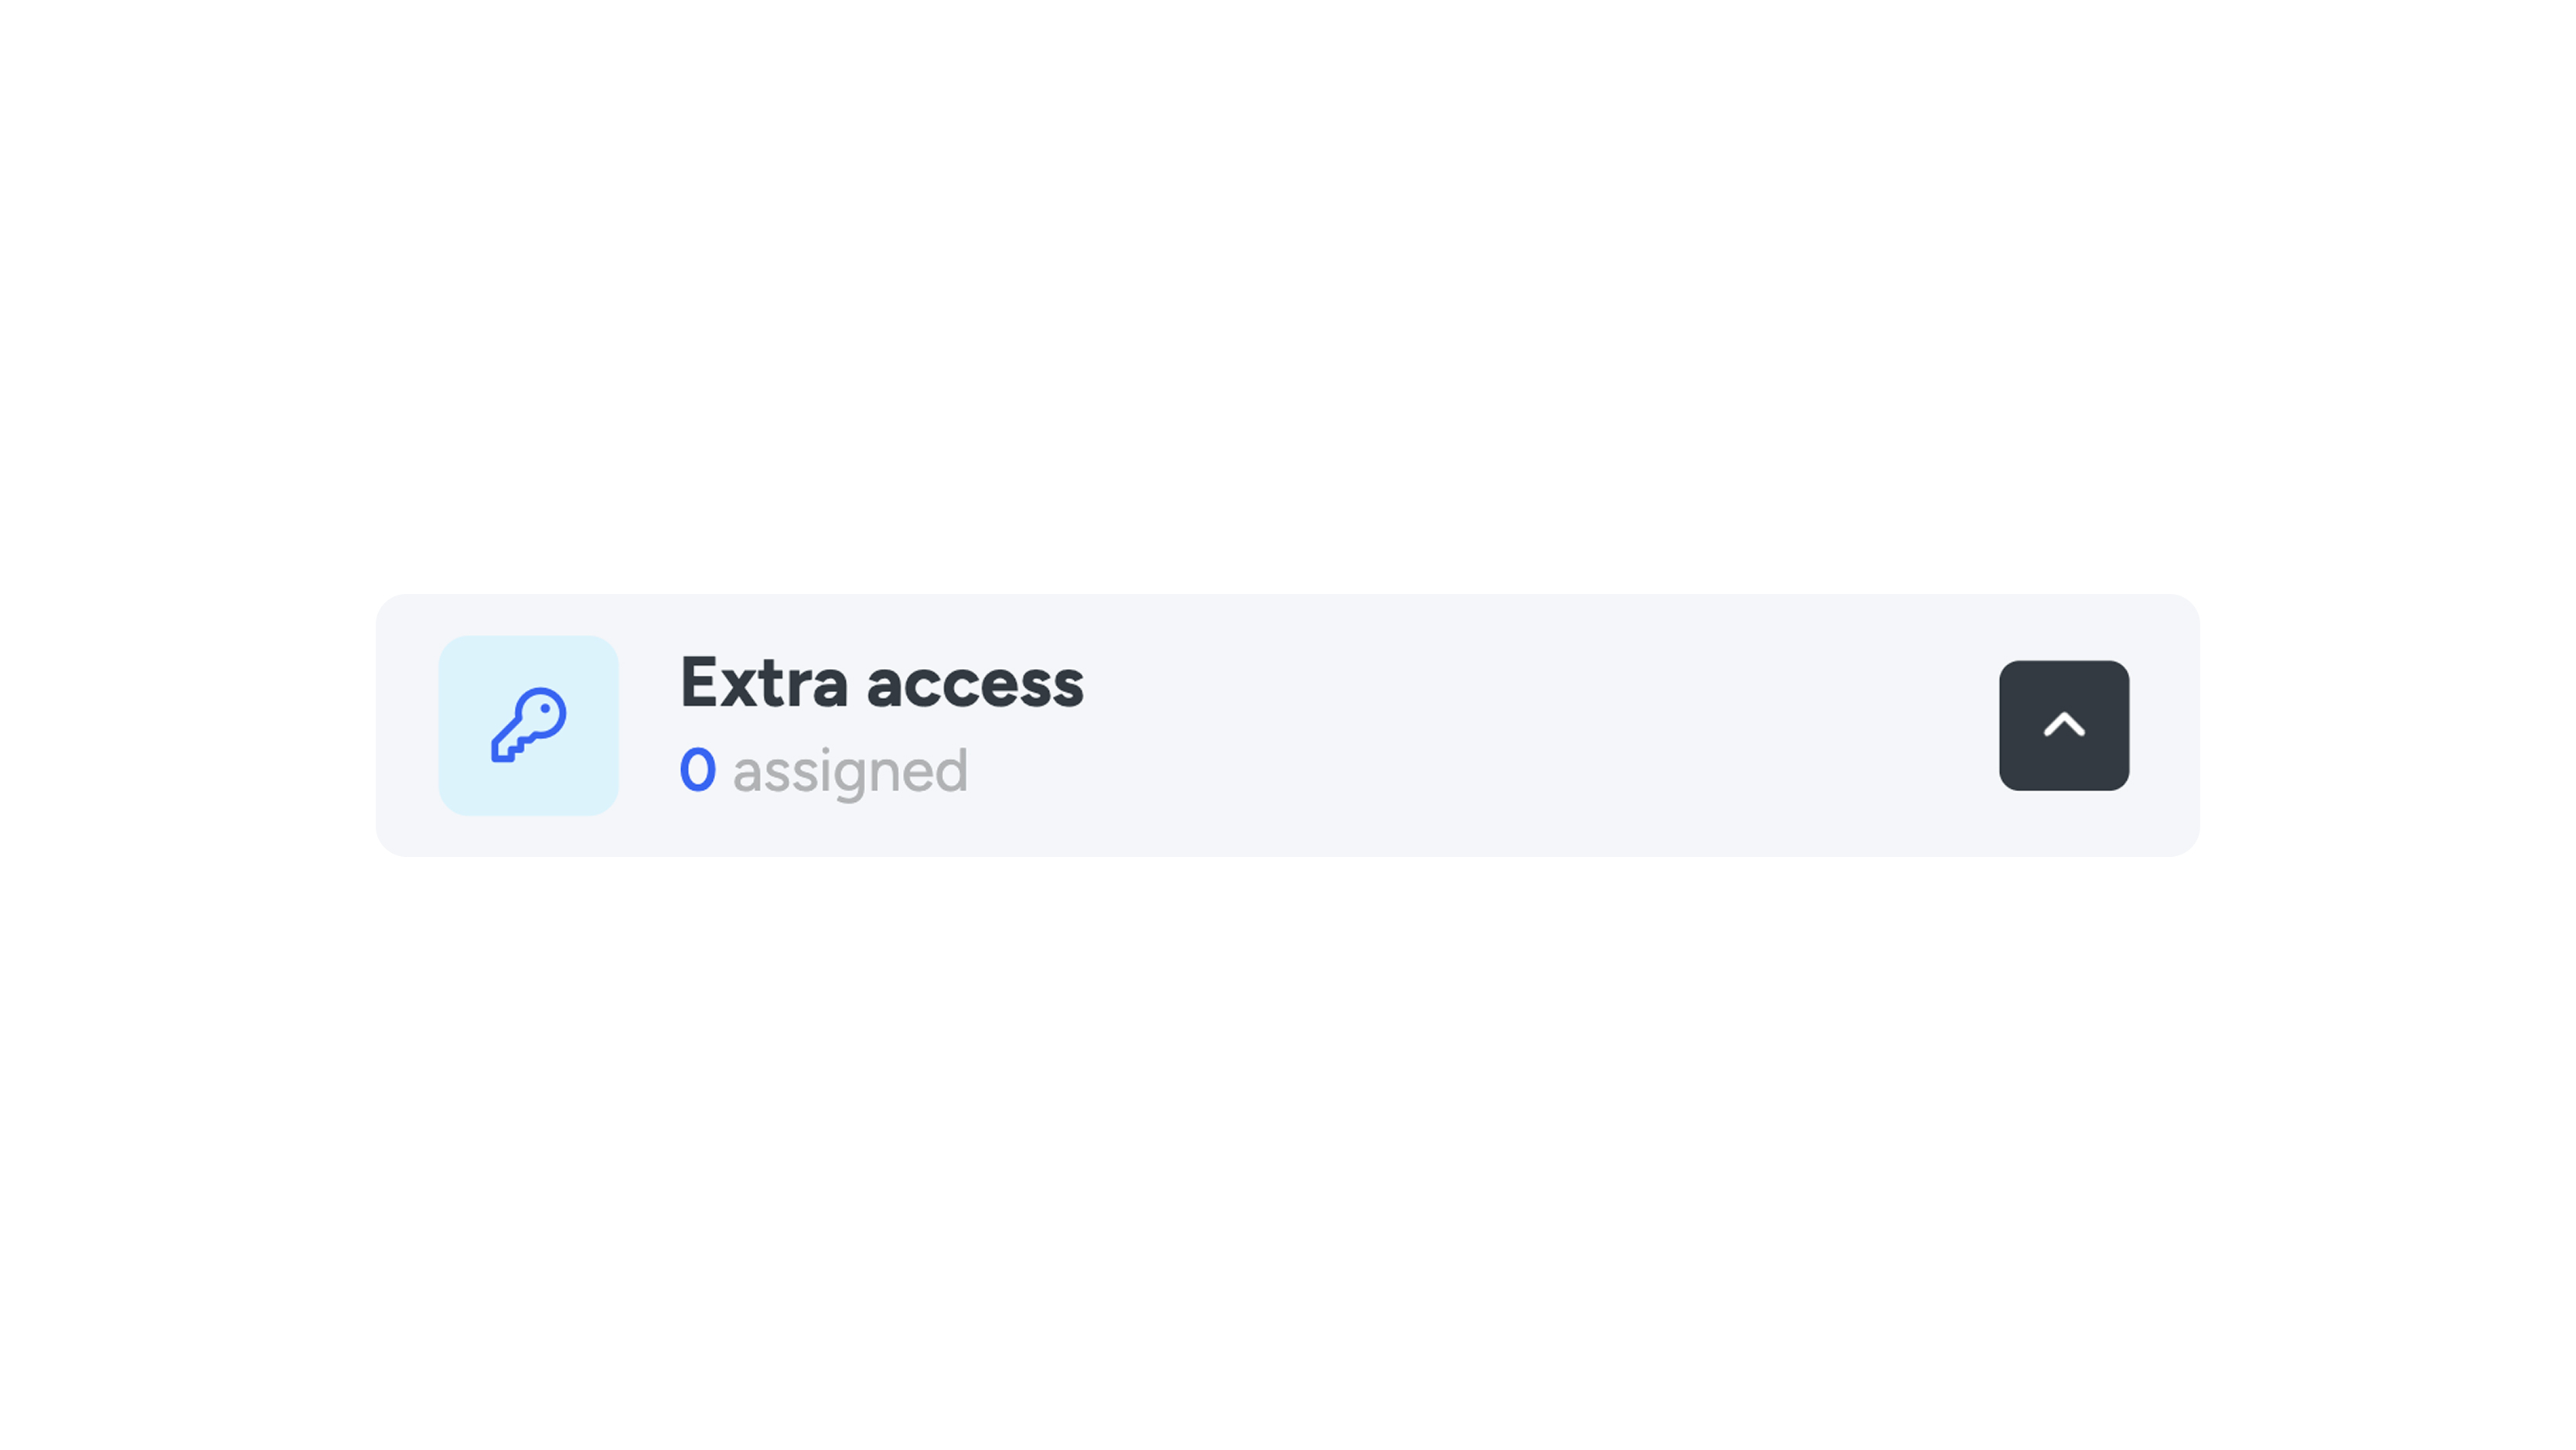
- Click the 'Extra access' heading to expand it.
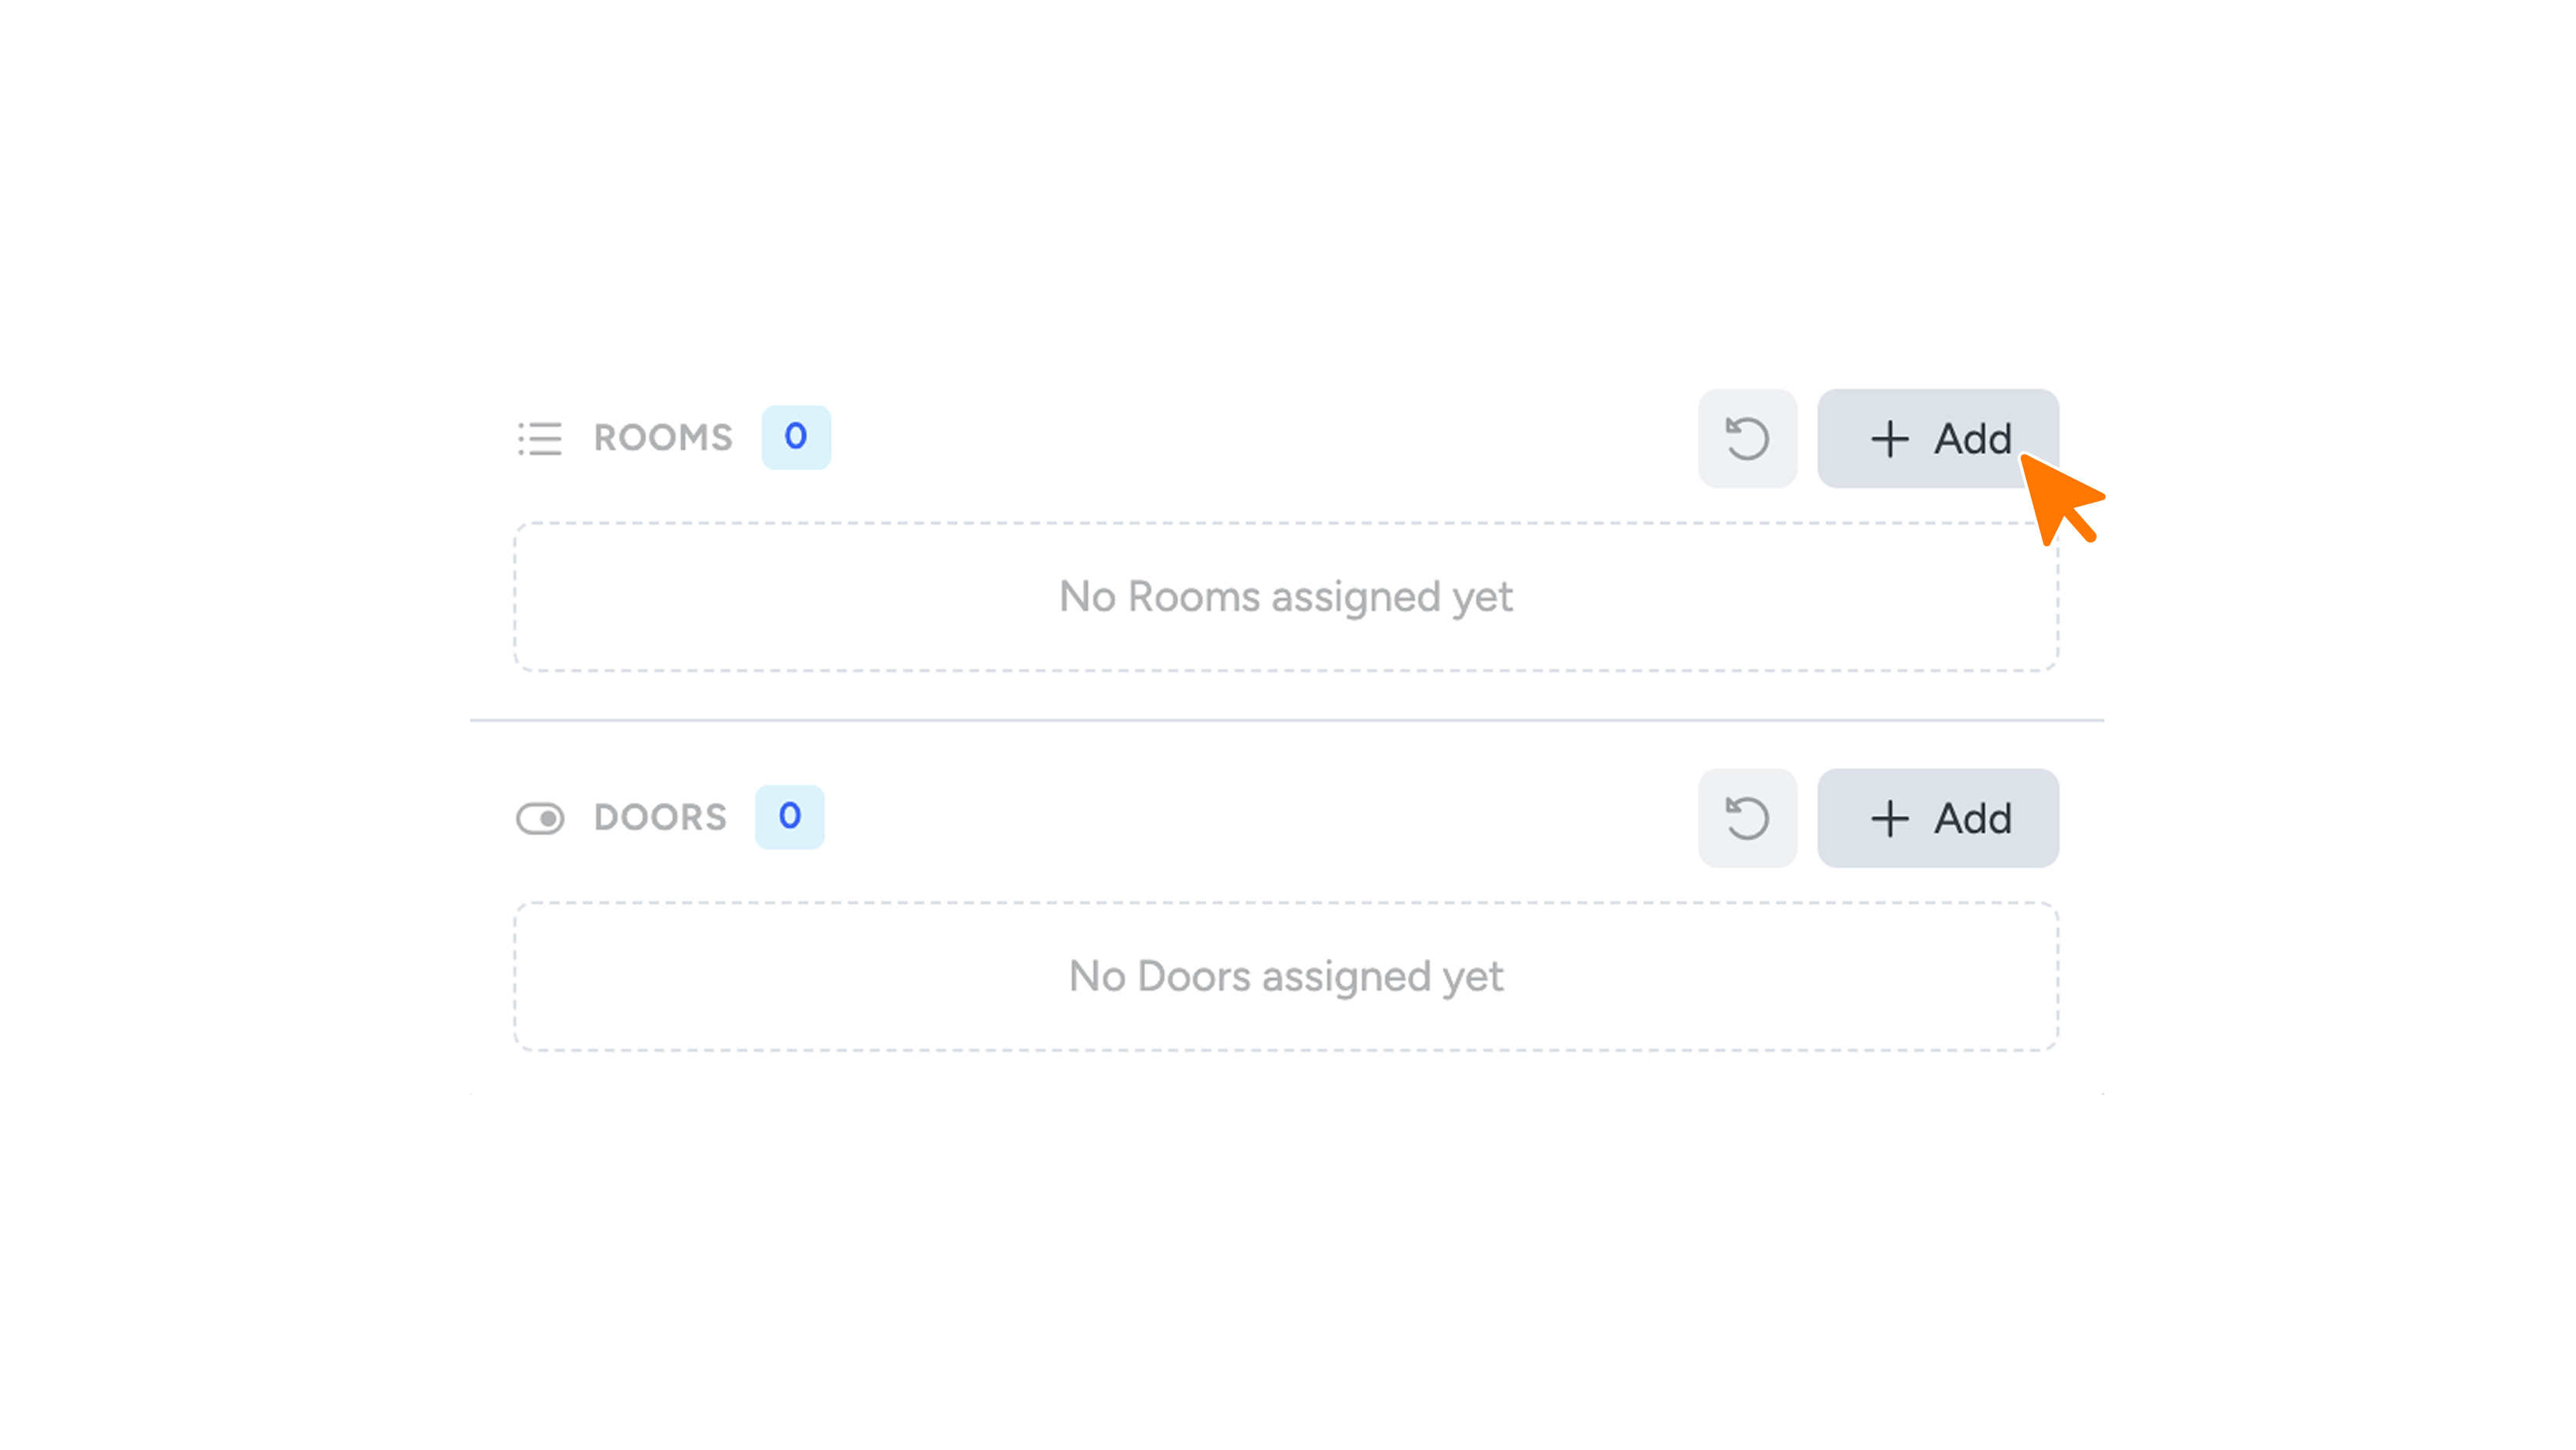
You'll see two lists:
- Switchlists: entire switch lists the user has access to on top of their own switch list.
- Switches: individual doors the user has extra access to.
Note: these lists may have a different name for you, such as 'Rooms' or 'Doors'. This depends on the terms your company uses.
Adding extra access
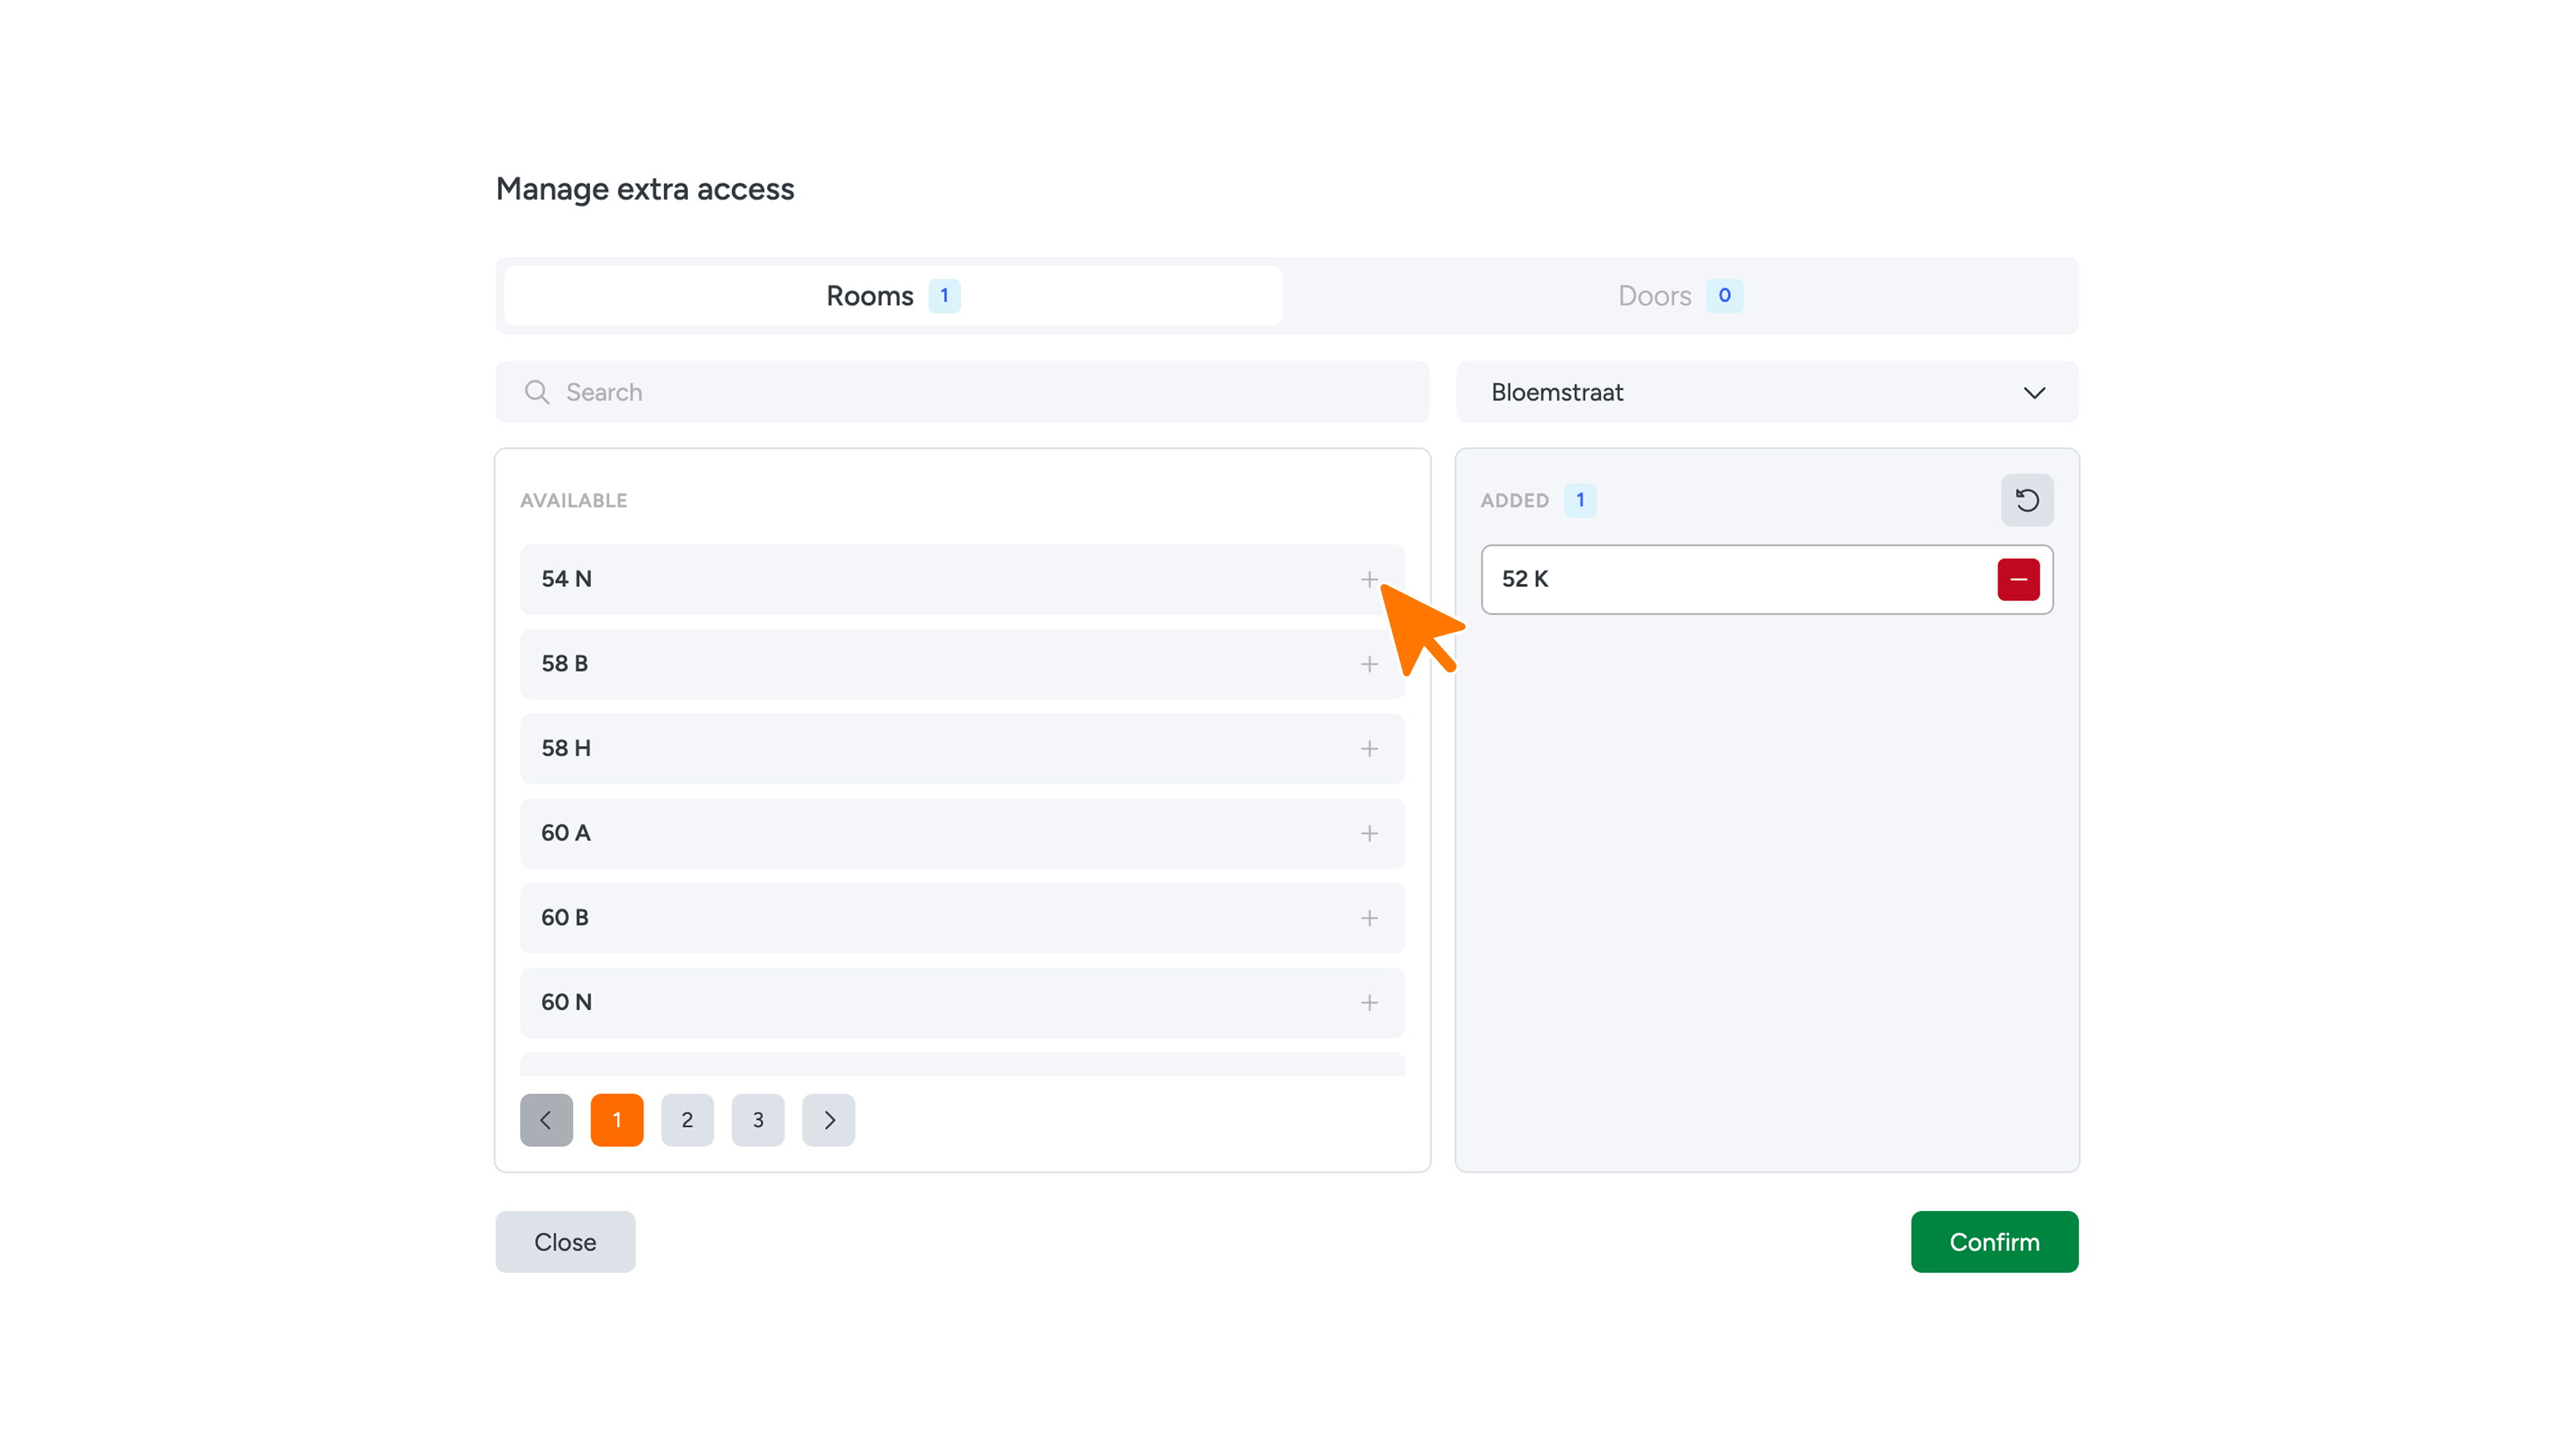
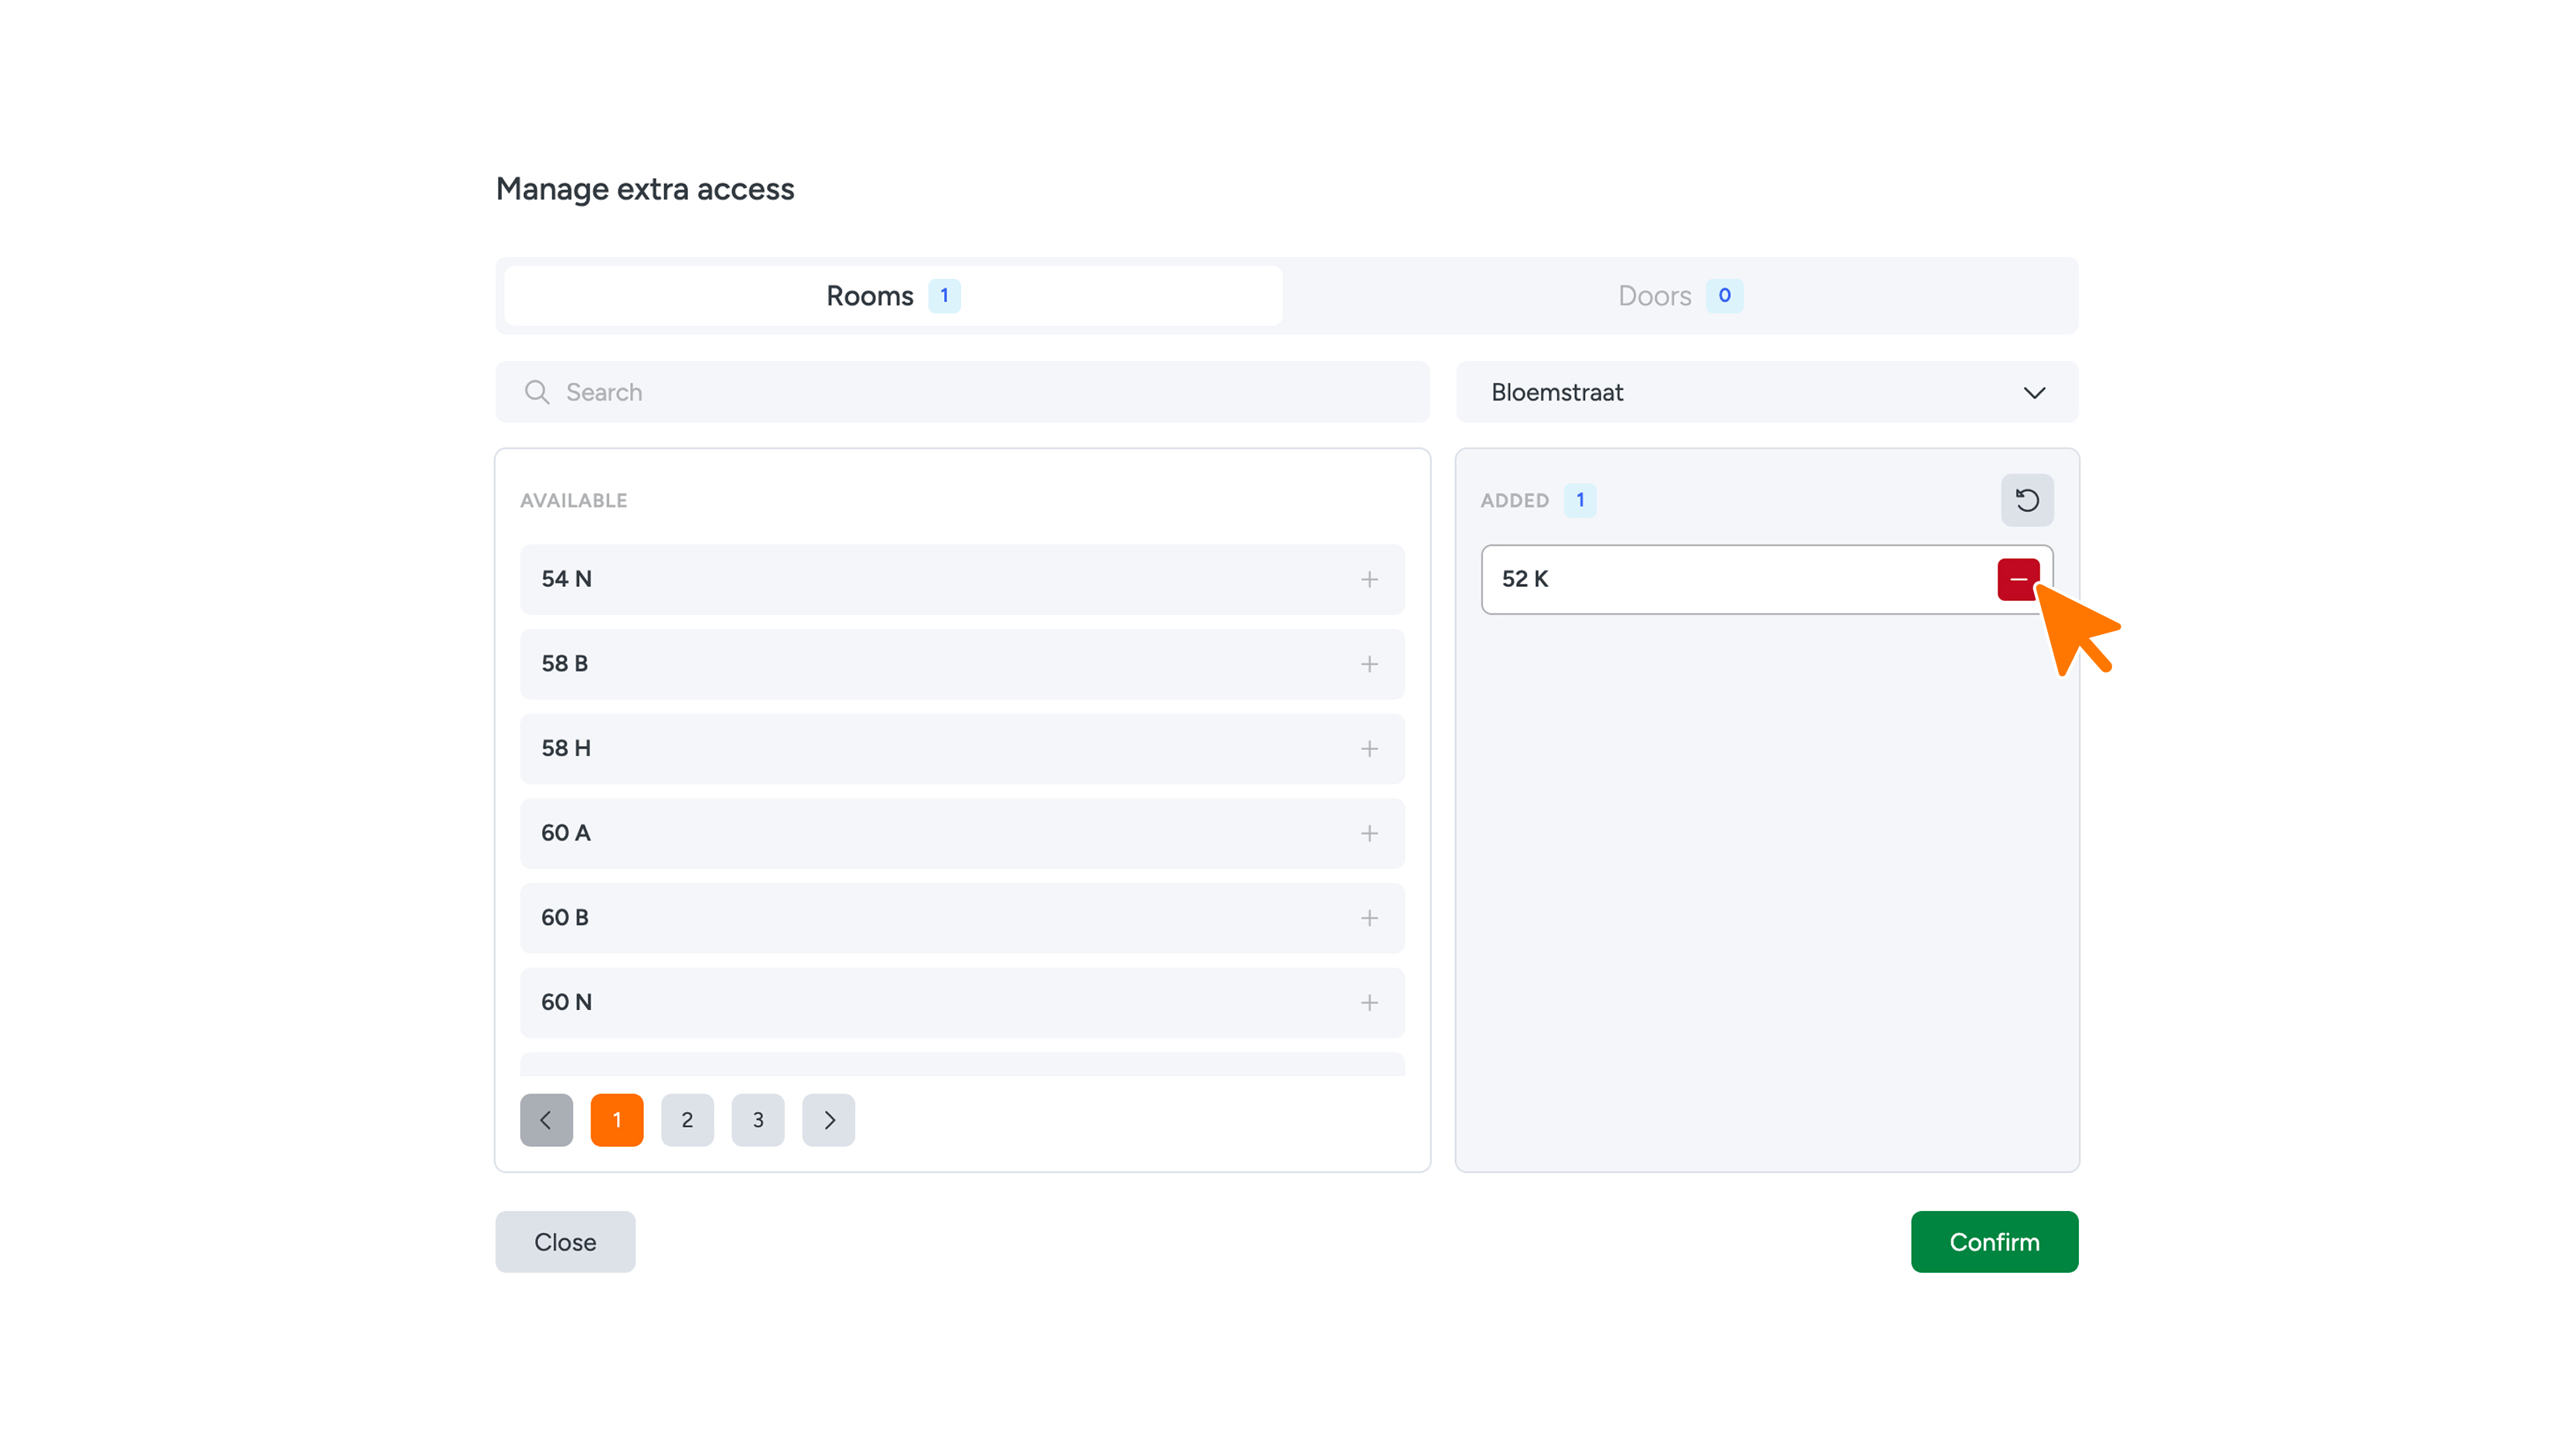
- Click '+ Add' next to the list you want to add to.
- At the top, choose the tab with the switch lists or the switches.
- Use the search bar to find the right switch list or door.
- In the 'Available' column, choose the switch list or door you want to add.
- Check in the 'Added' column that everything is there.
- Click 'Confirm'.
- Click 'Update' in the top right to save the user.
Note: your changes only take effect once you save the user. Until then, you'll see a message that Extra access has unsaved changes.
Removing extra access
- Click the cross (x) next to the switch list or door.
- Click 'Update' in the top right.
Removed something by mistake? Click the arrow next to '+ Add'. The list goes back to how it was when you last saved the user.
What does the user notice?
- Webapp: the locks from the extra switch lists appear below the locks from their own switch list.
- Digital key: the extra switch lists are included in the access of the iLOQ key.
- Times: for a lock that's only in an extra switch list, the times of that extra switch list apply.
