Managing Users: Creating and Register
Creating a User
Once a web app is activated, you can add users and assign specific roles. Follow the steps below to grant a new colleague access.
Step 1: Navigate to Users
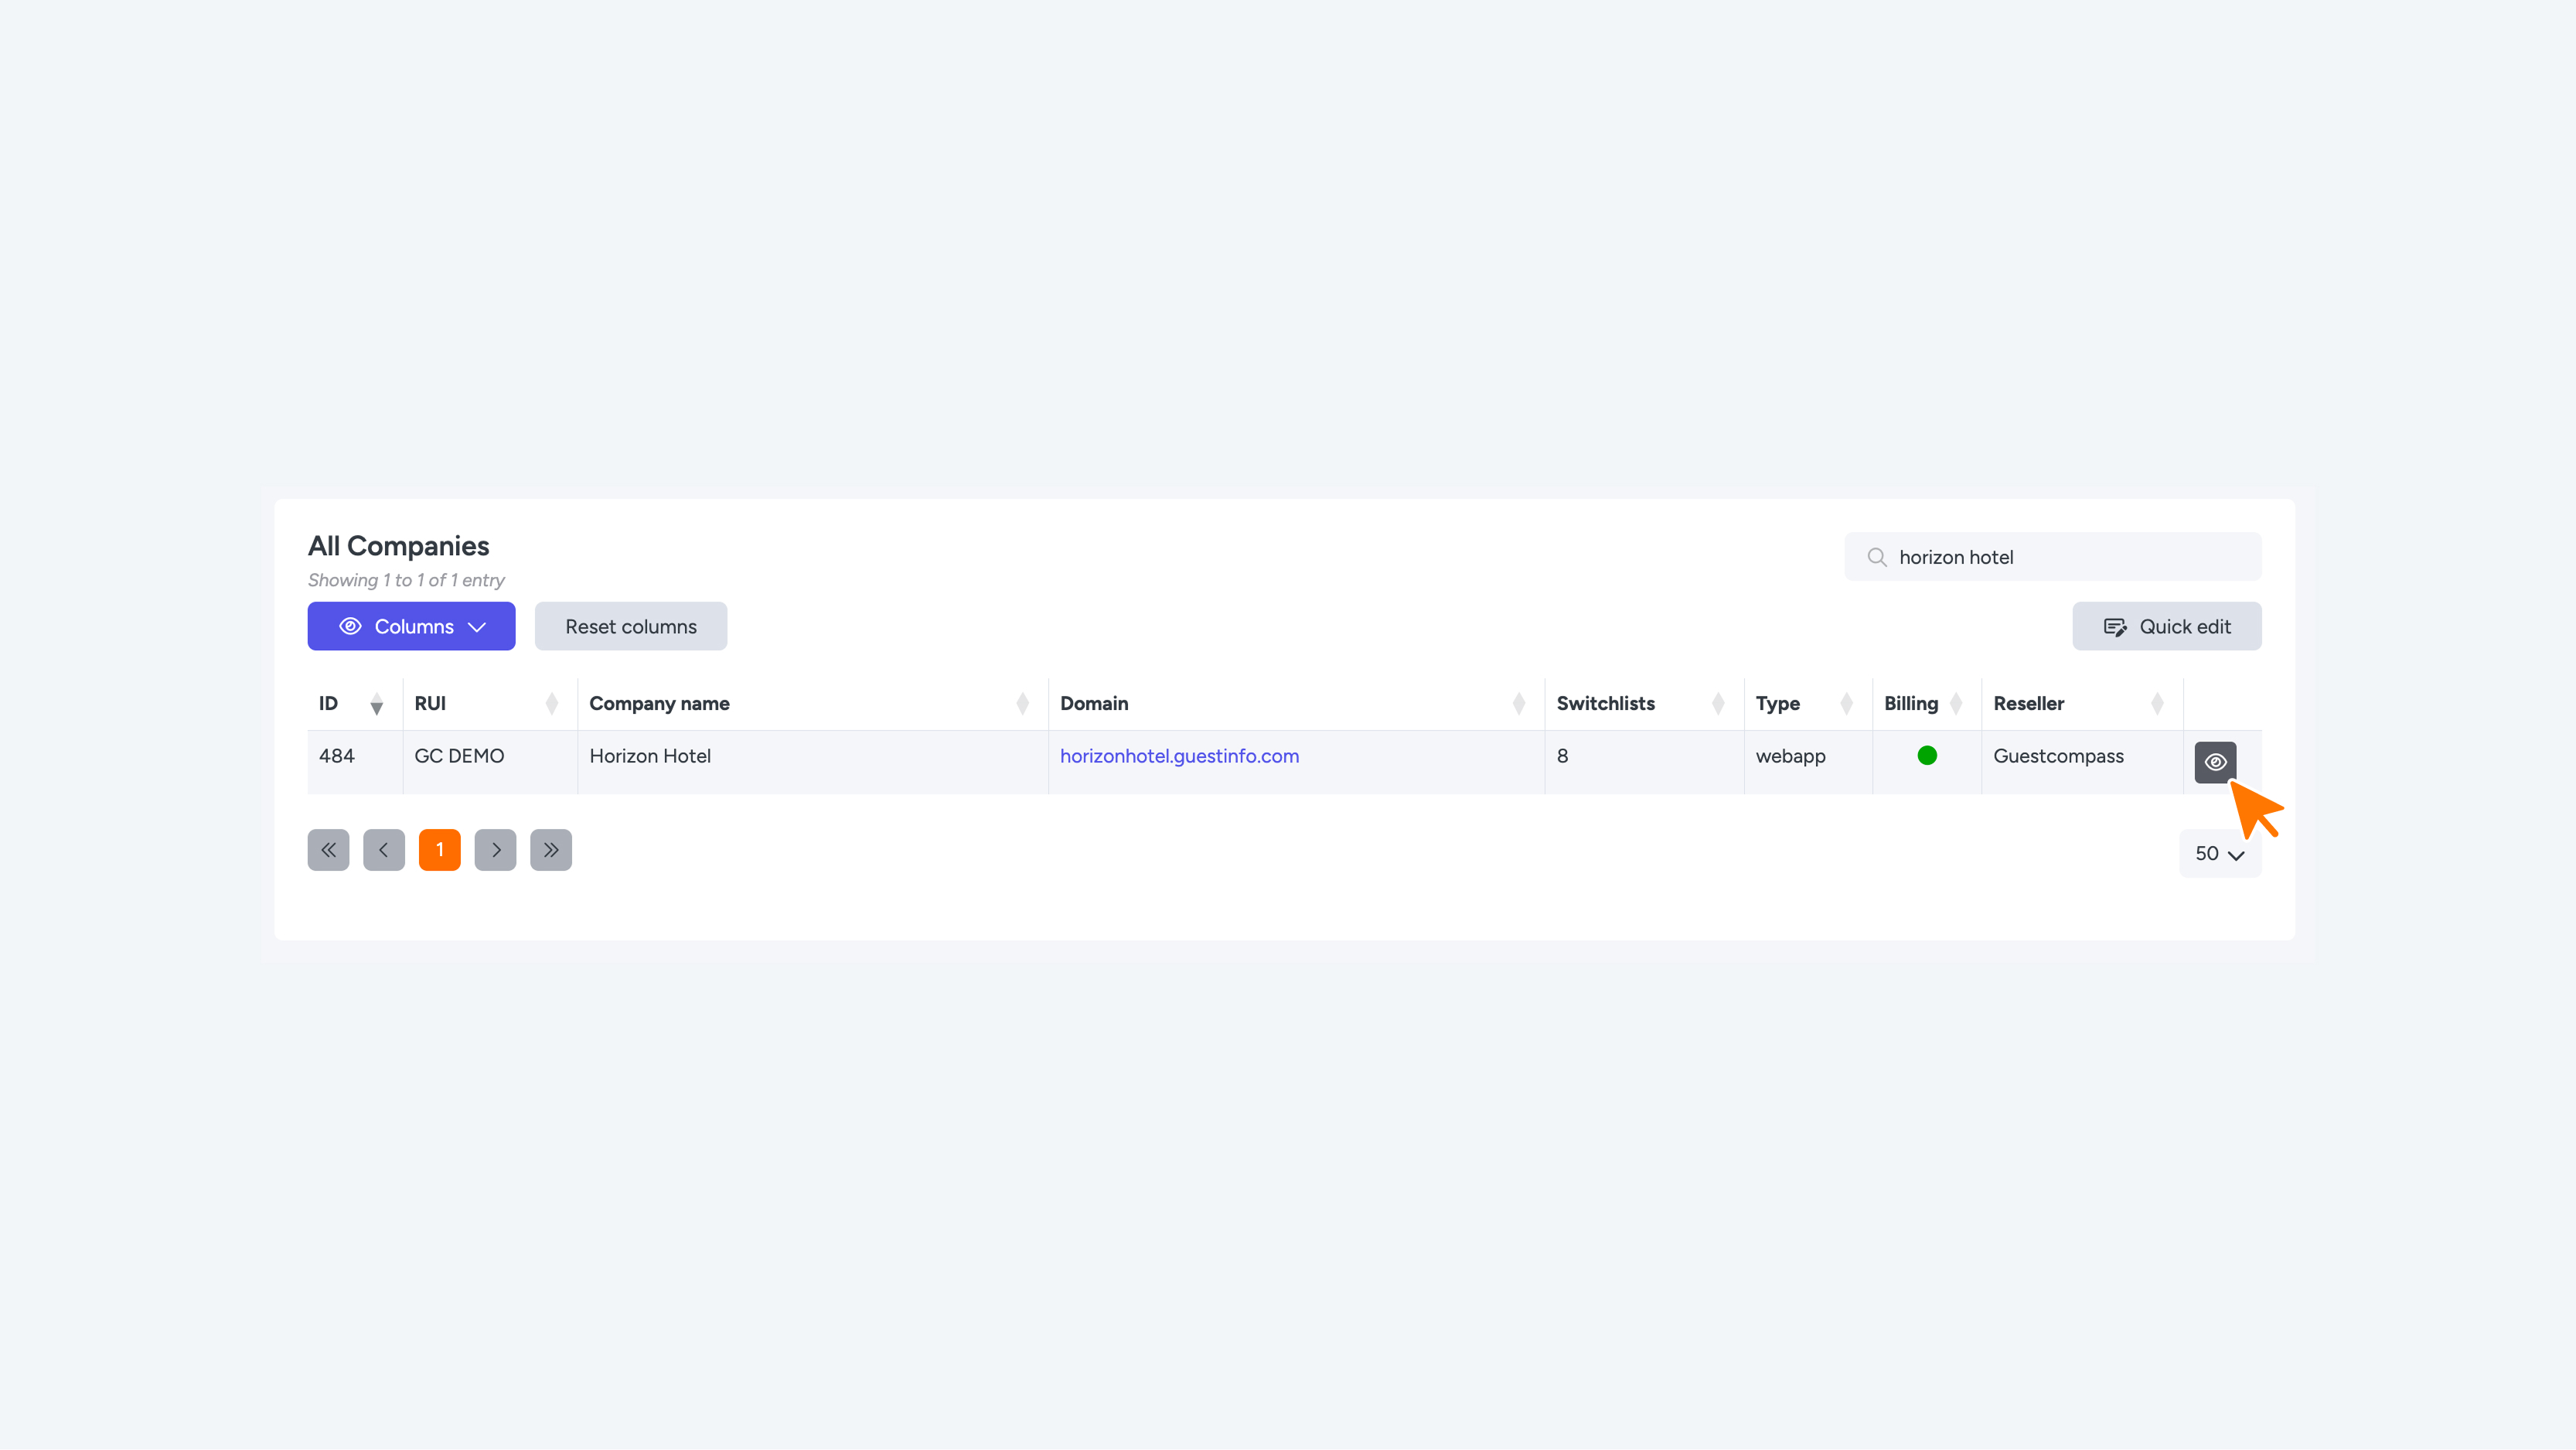
- Select your Company in the table to open the dashboard.
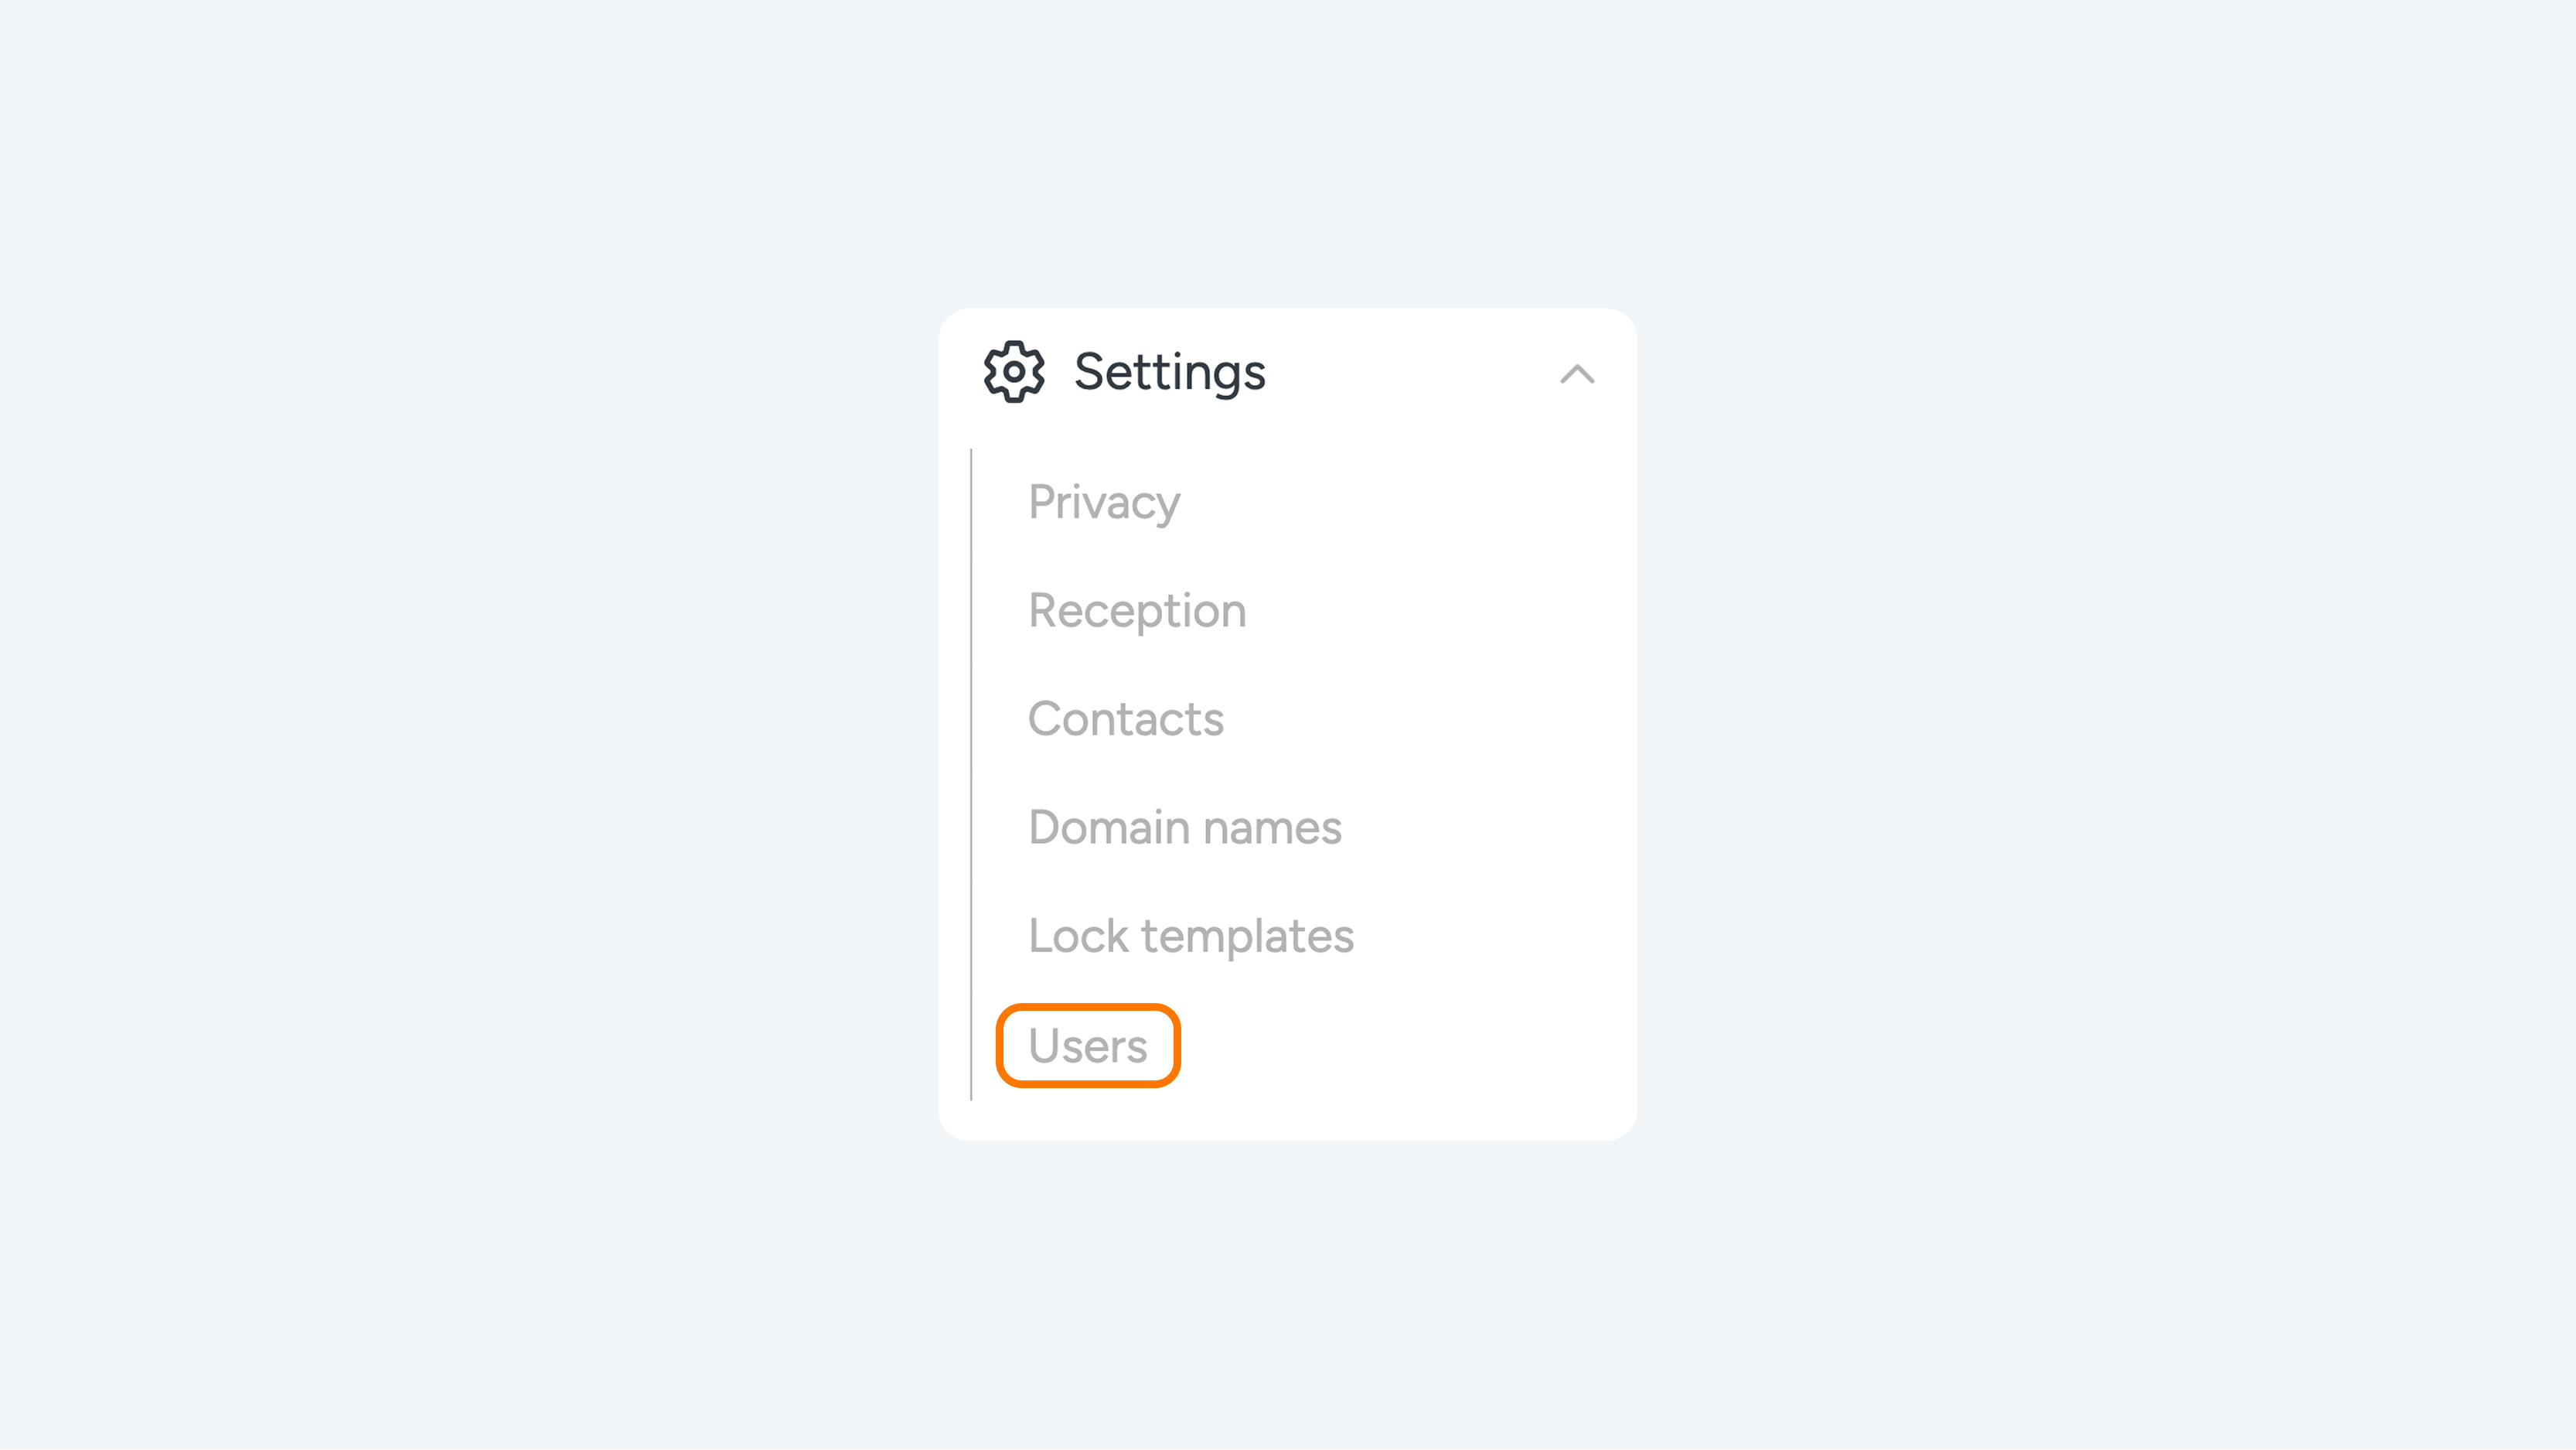
- In the left-hand menu, go to Settings.
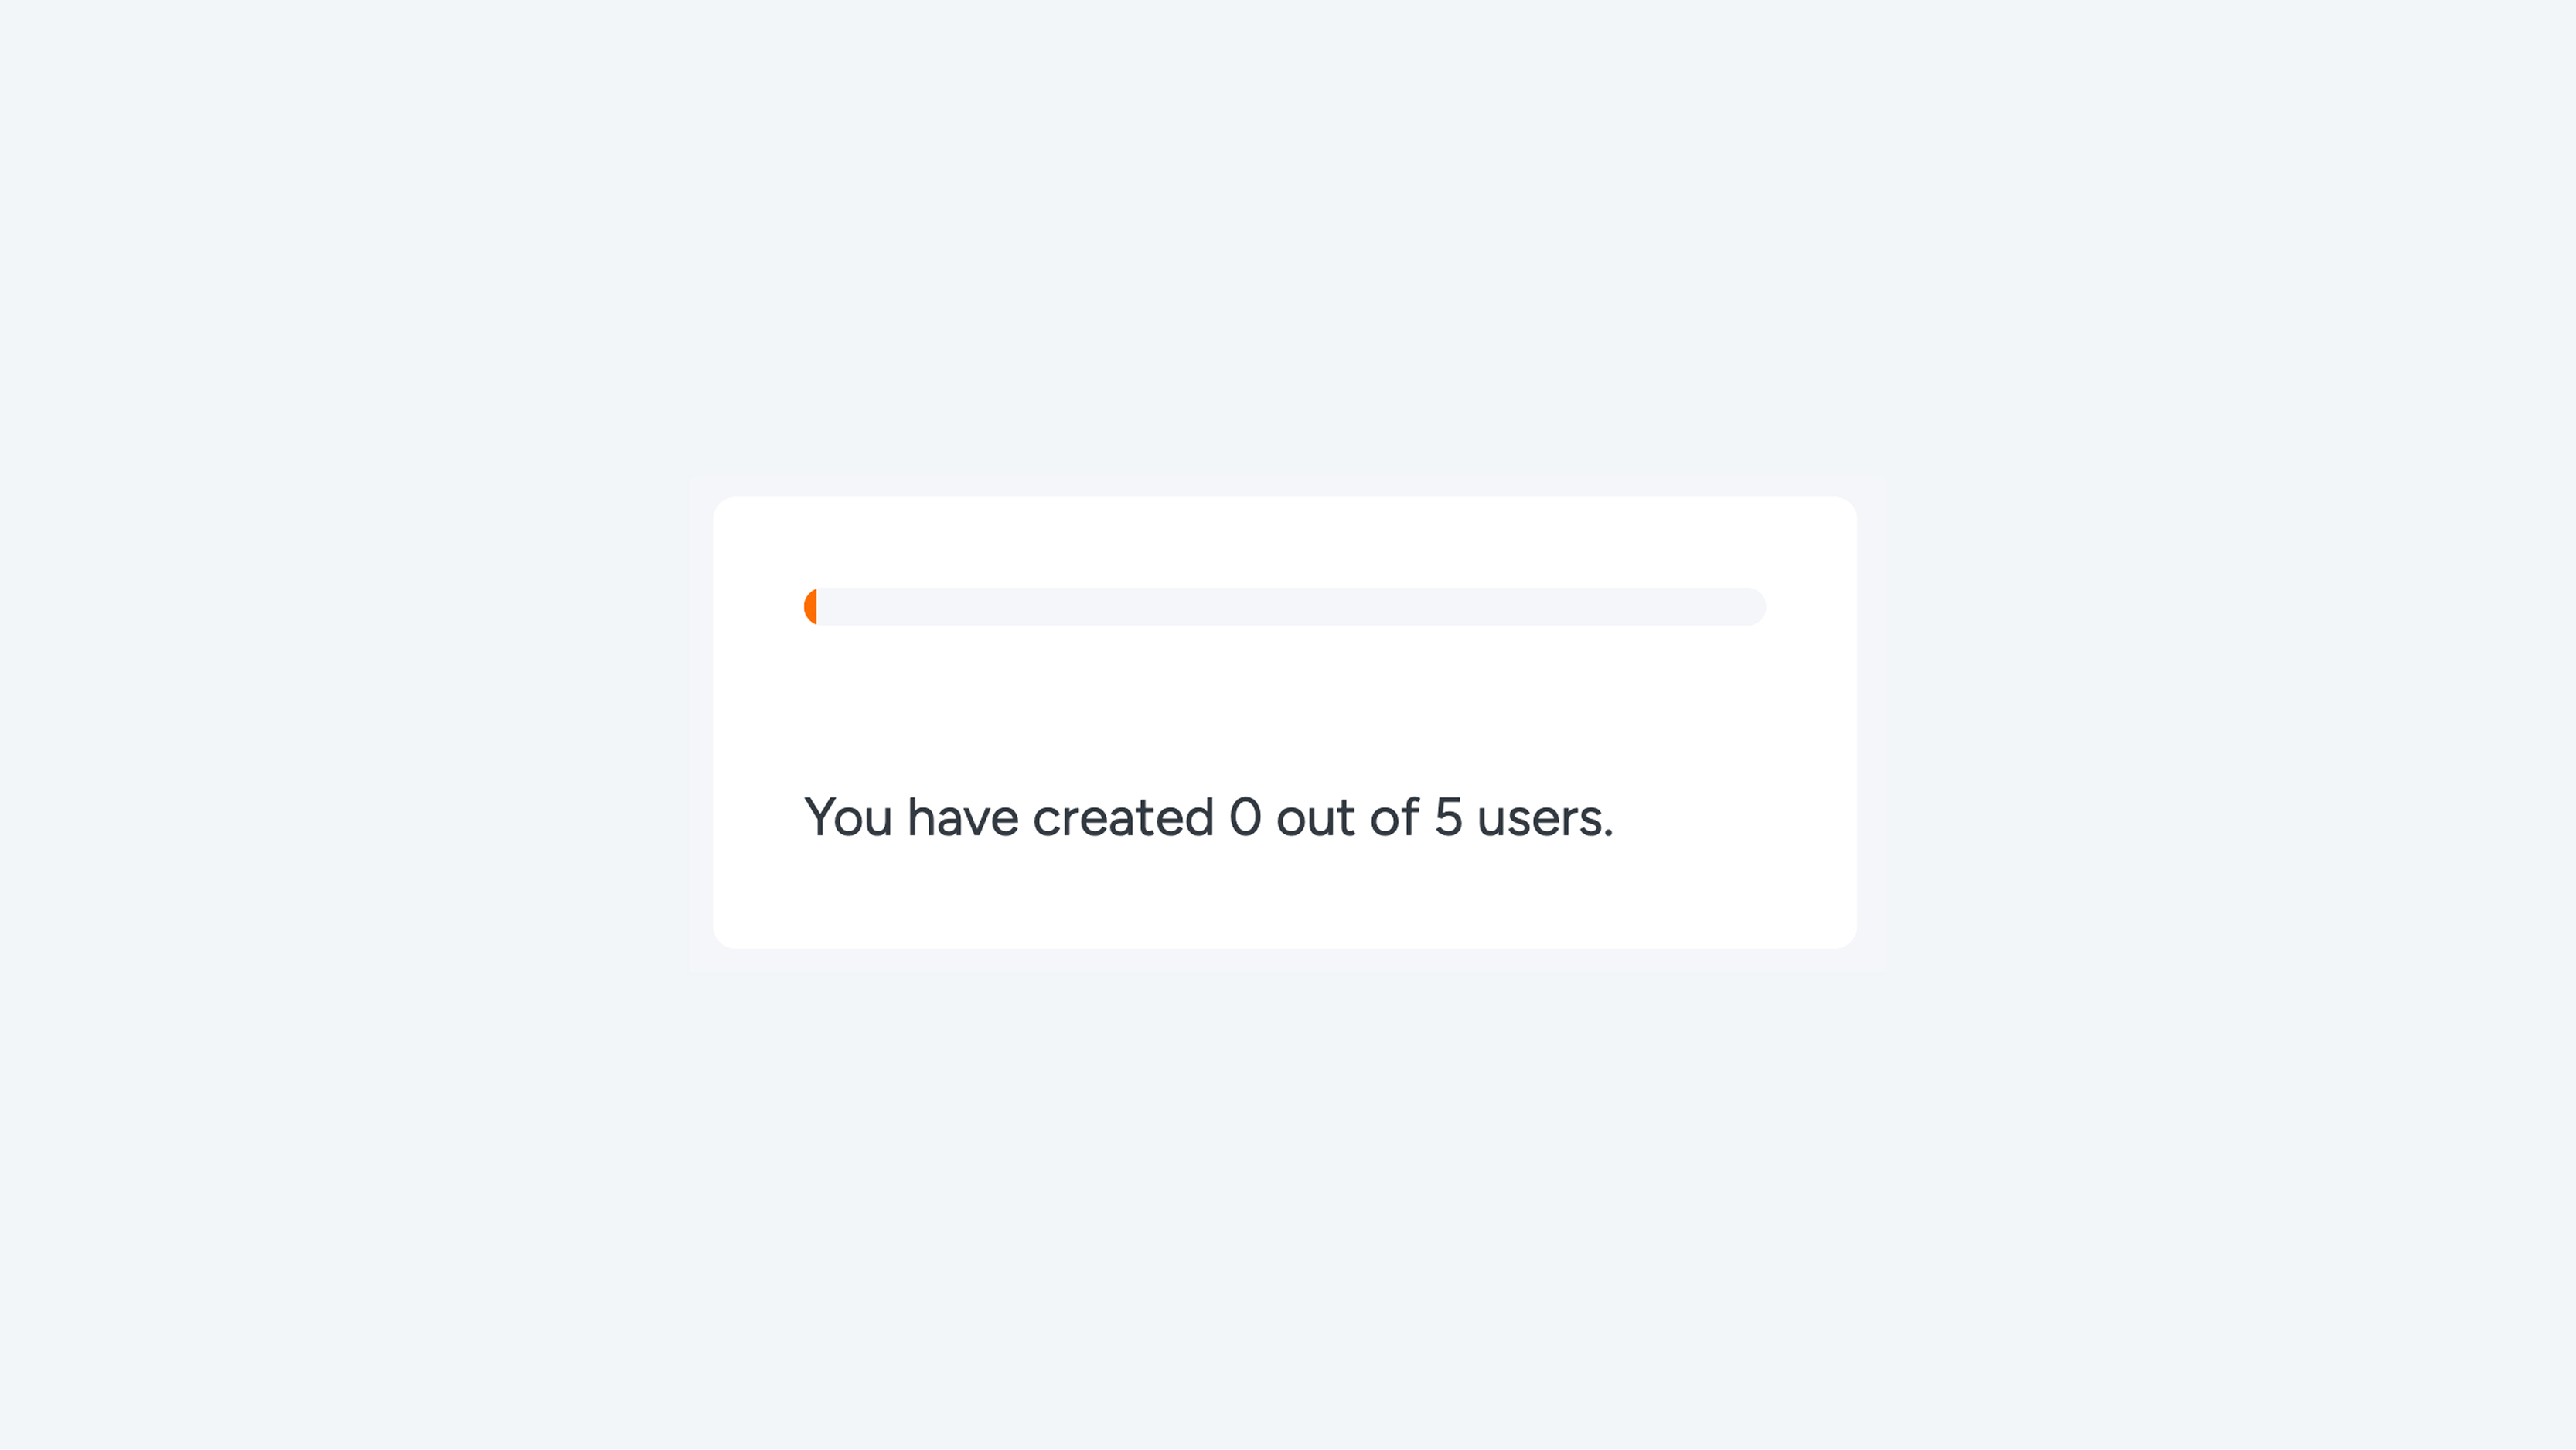
- Click on Users. Here, you will see an immediate overview of the current number of users and remaining licenses.
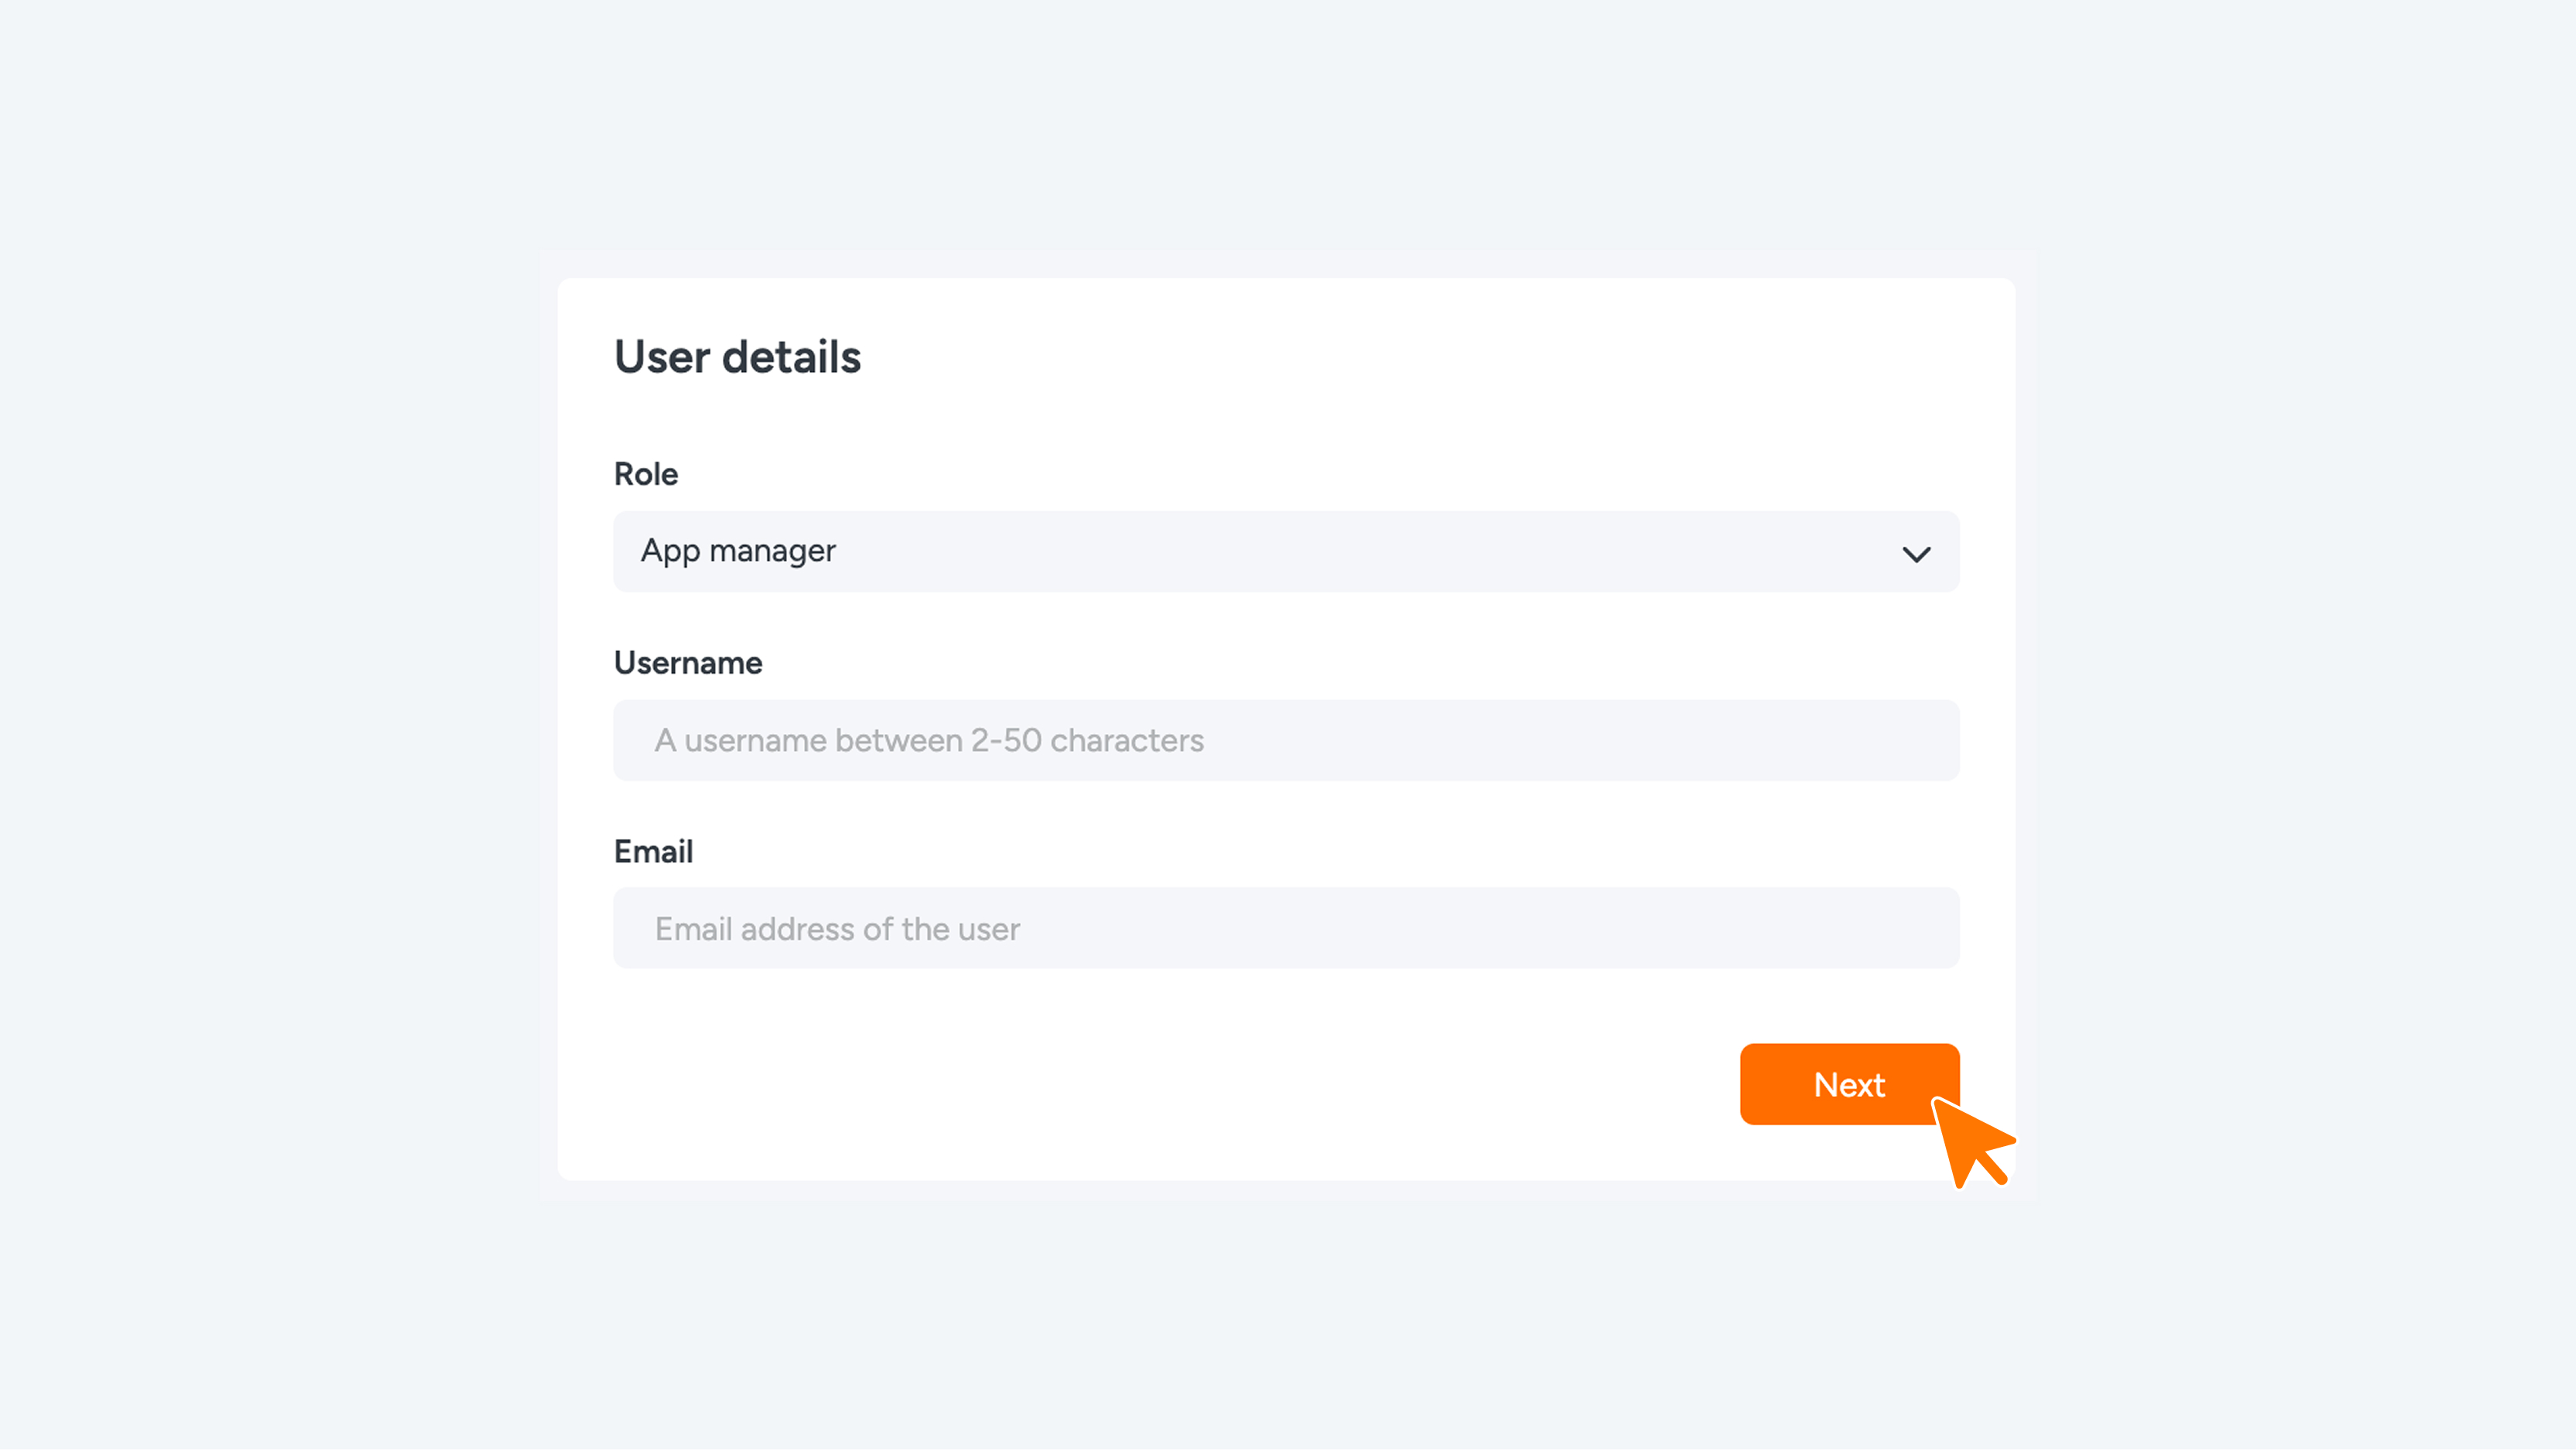
Step 2: Enter Details
- Click the New button.
- Select the desired role from the dropdown menu (see the overview below for the differences between roles).
- Enter the Username and email address, then click Next.
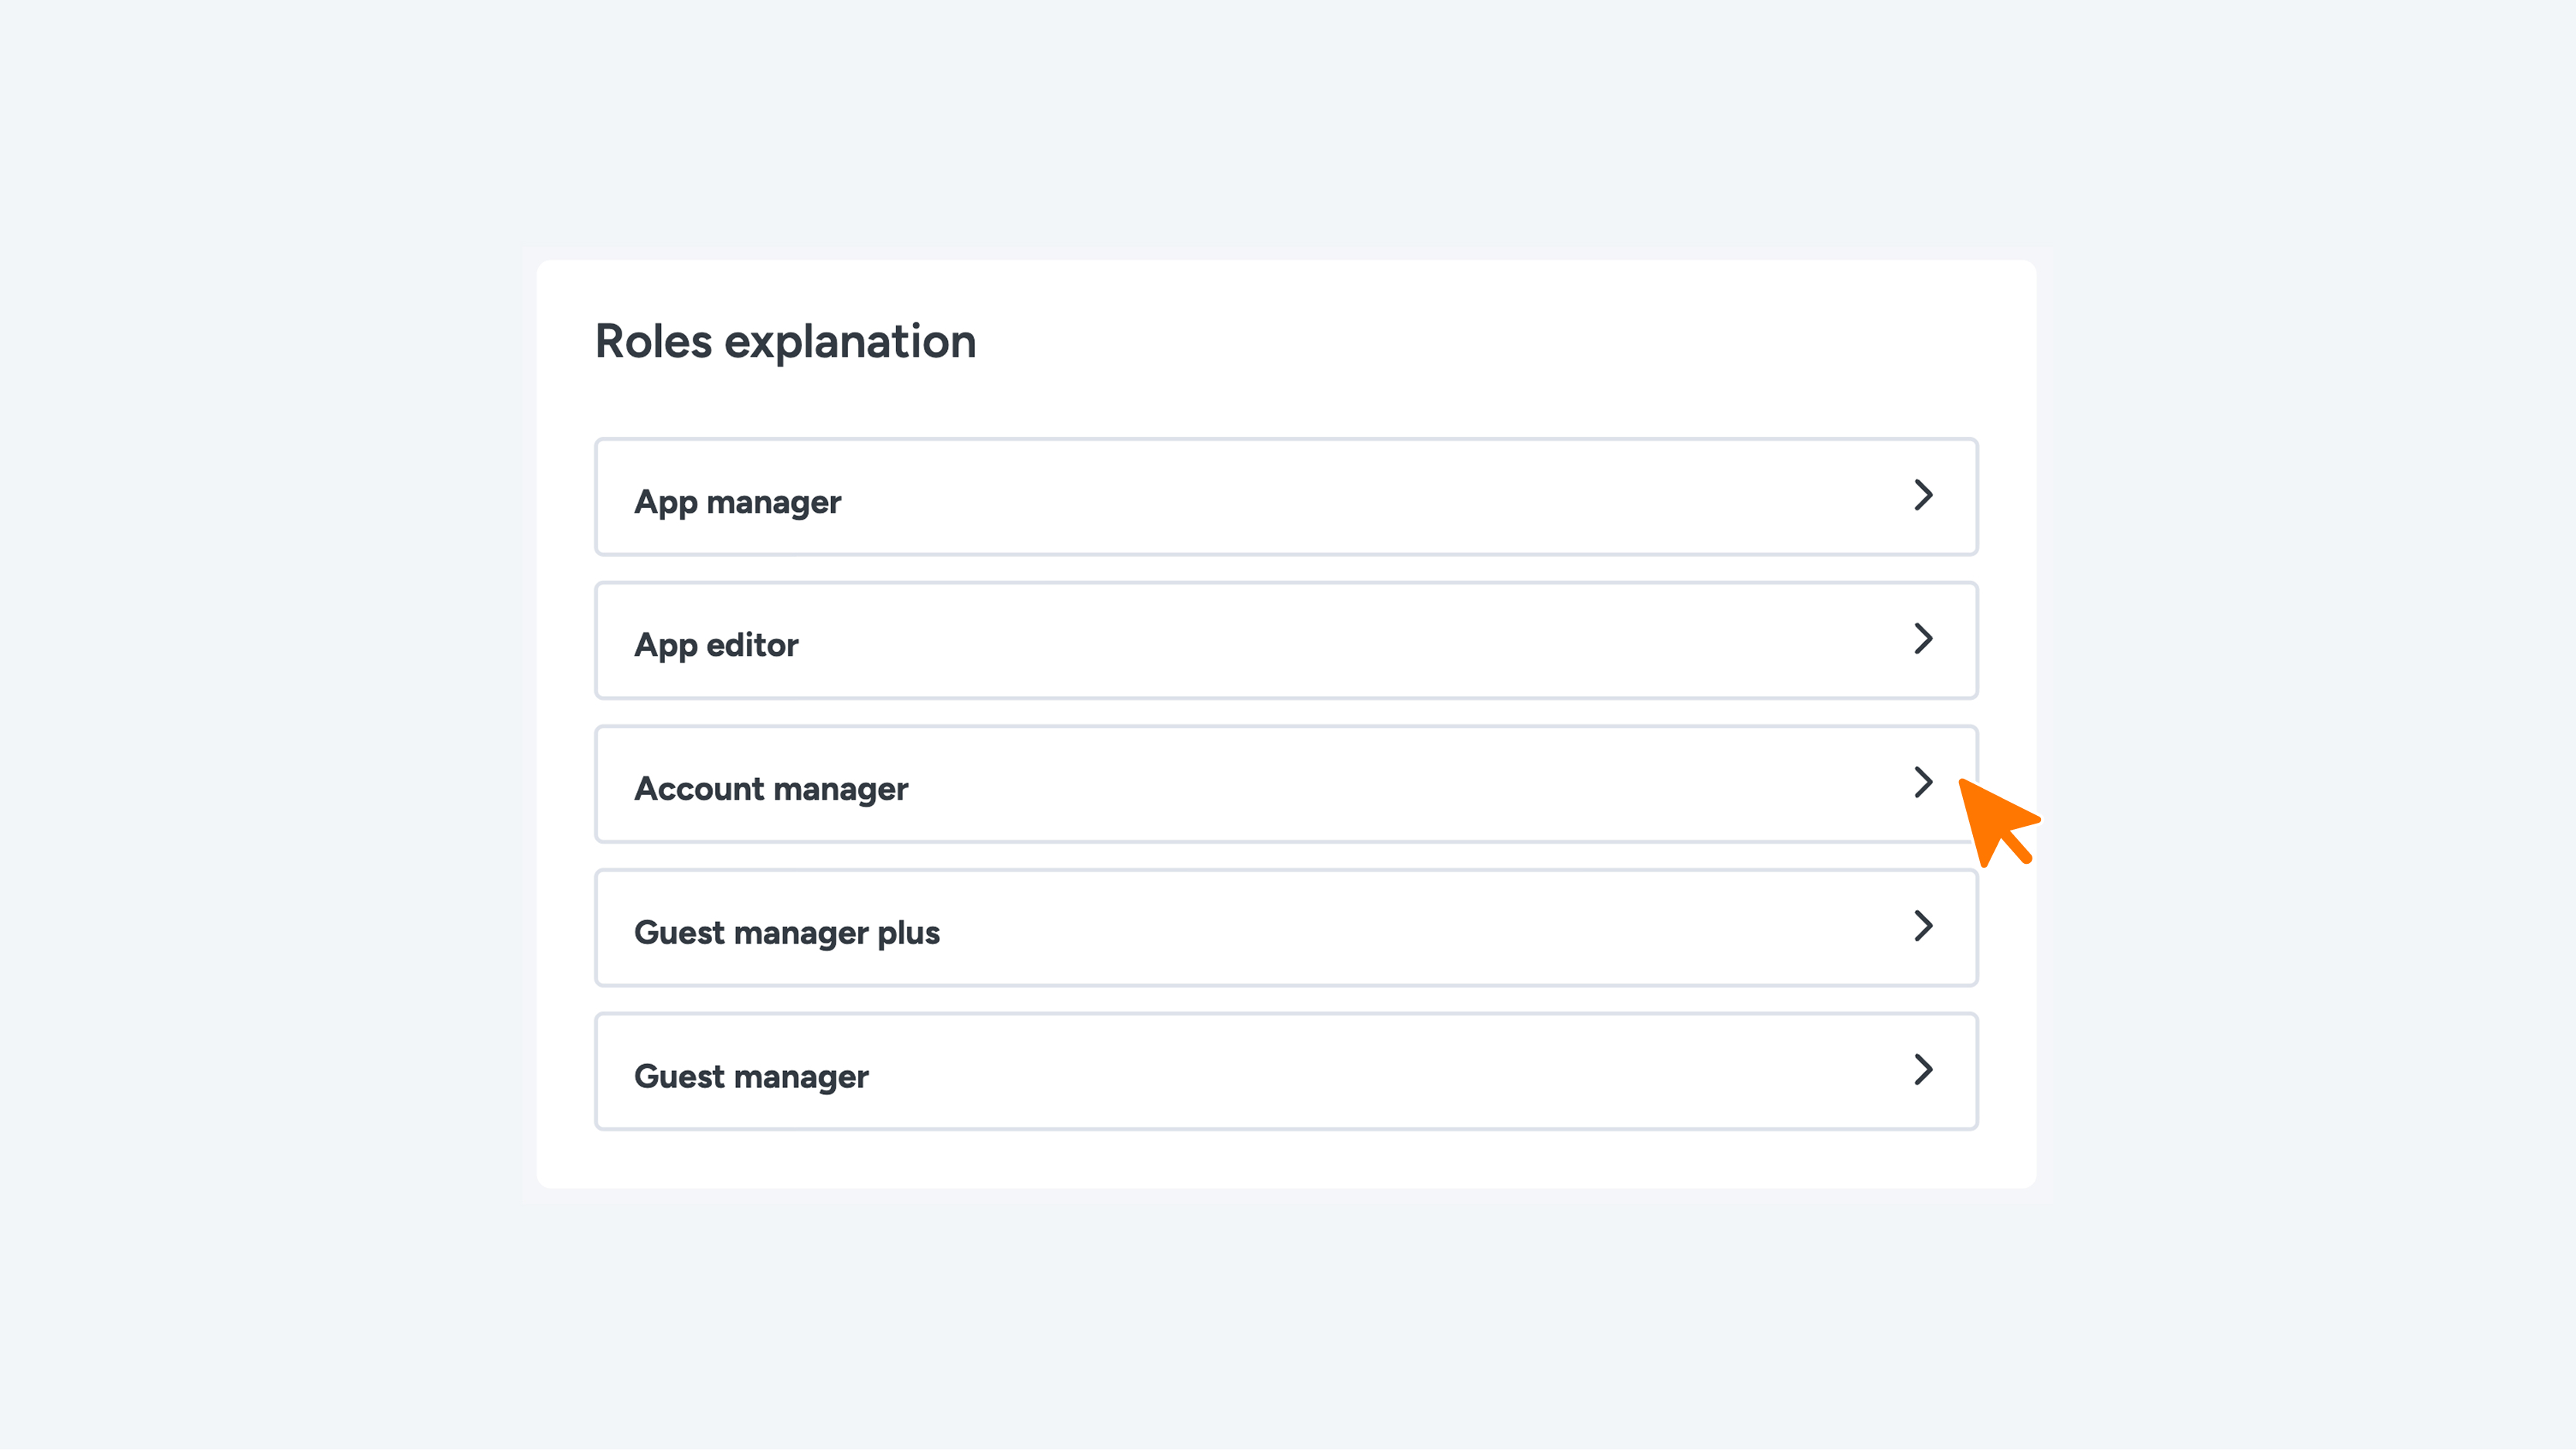
User Roles in Connect
- Guest Manager: Assign this role to a user responsible for managing guest access by distributing digital keys. This role may include limits on the number of keys they can issue or restrict access to specific areas of the company.
- Guest Manager Plus: Assign this role to a user who manages all guests and digital keys across multiple access rights. This role offers broader permissions, including unlimited guest management and key issuance.
- Account Manager: Assign this role to a user responsible for managing accounts and digital access for an entire company or a specific zone within the company.
- App Editor: Assign this role to a user responsible for editing and managing content within the web app. App Editors can update content but do not have the authority to change system settings or user permissions.
- App Manager: Assign this role to a user who handles web app settings and user access management. App Managers are responsible for maintaining the app's technical functionality and ensuring it runs smoothly in line with user needs.
- Company: Assign this role to a user who manages access, users, and settings for one or more companies. Company users have control over their own operations and can make adjustments in the web app to suit their specific business processes.
Step 3: Assign Permissions
- Select the company (or companies) for which the user should have editing rights.
- Click Next.
Note: The user has now been created. A registration email will be sent automatically to the provided address. The user must set their own password via the link in the email.
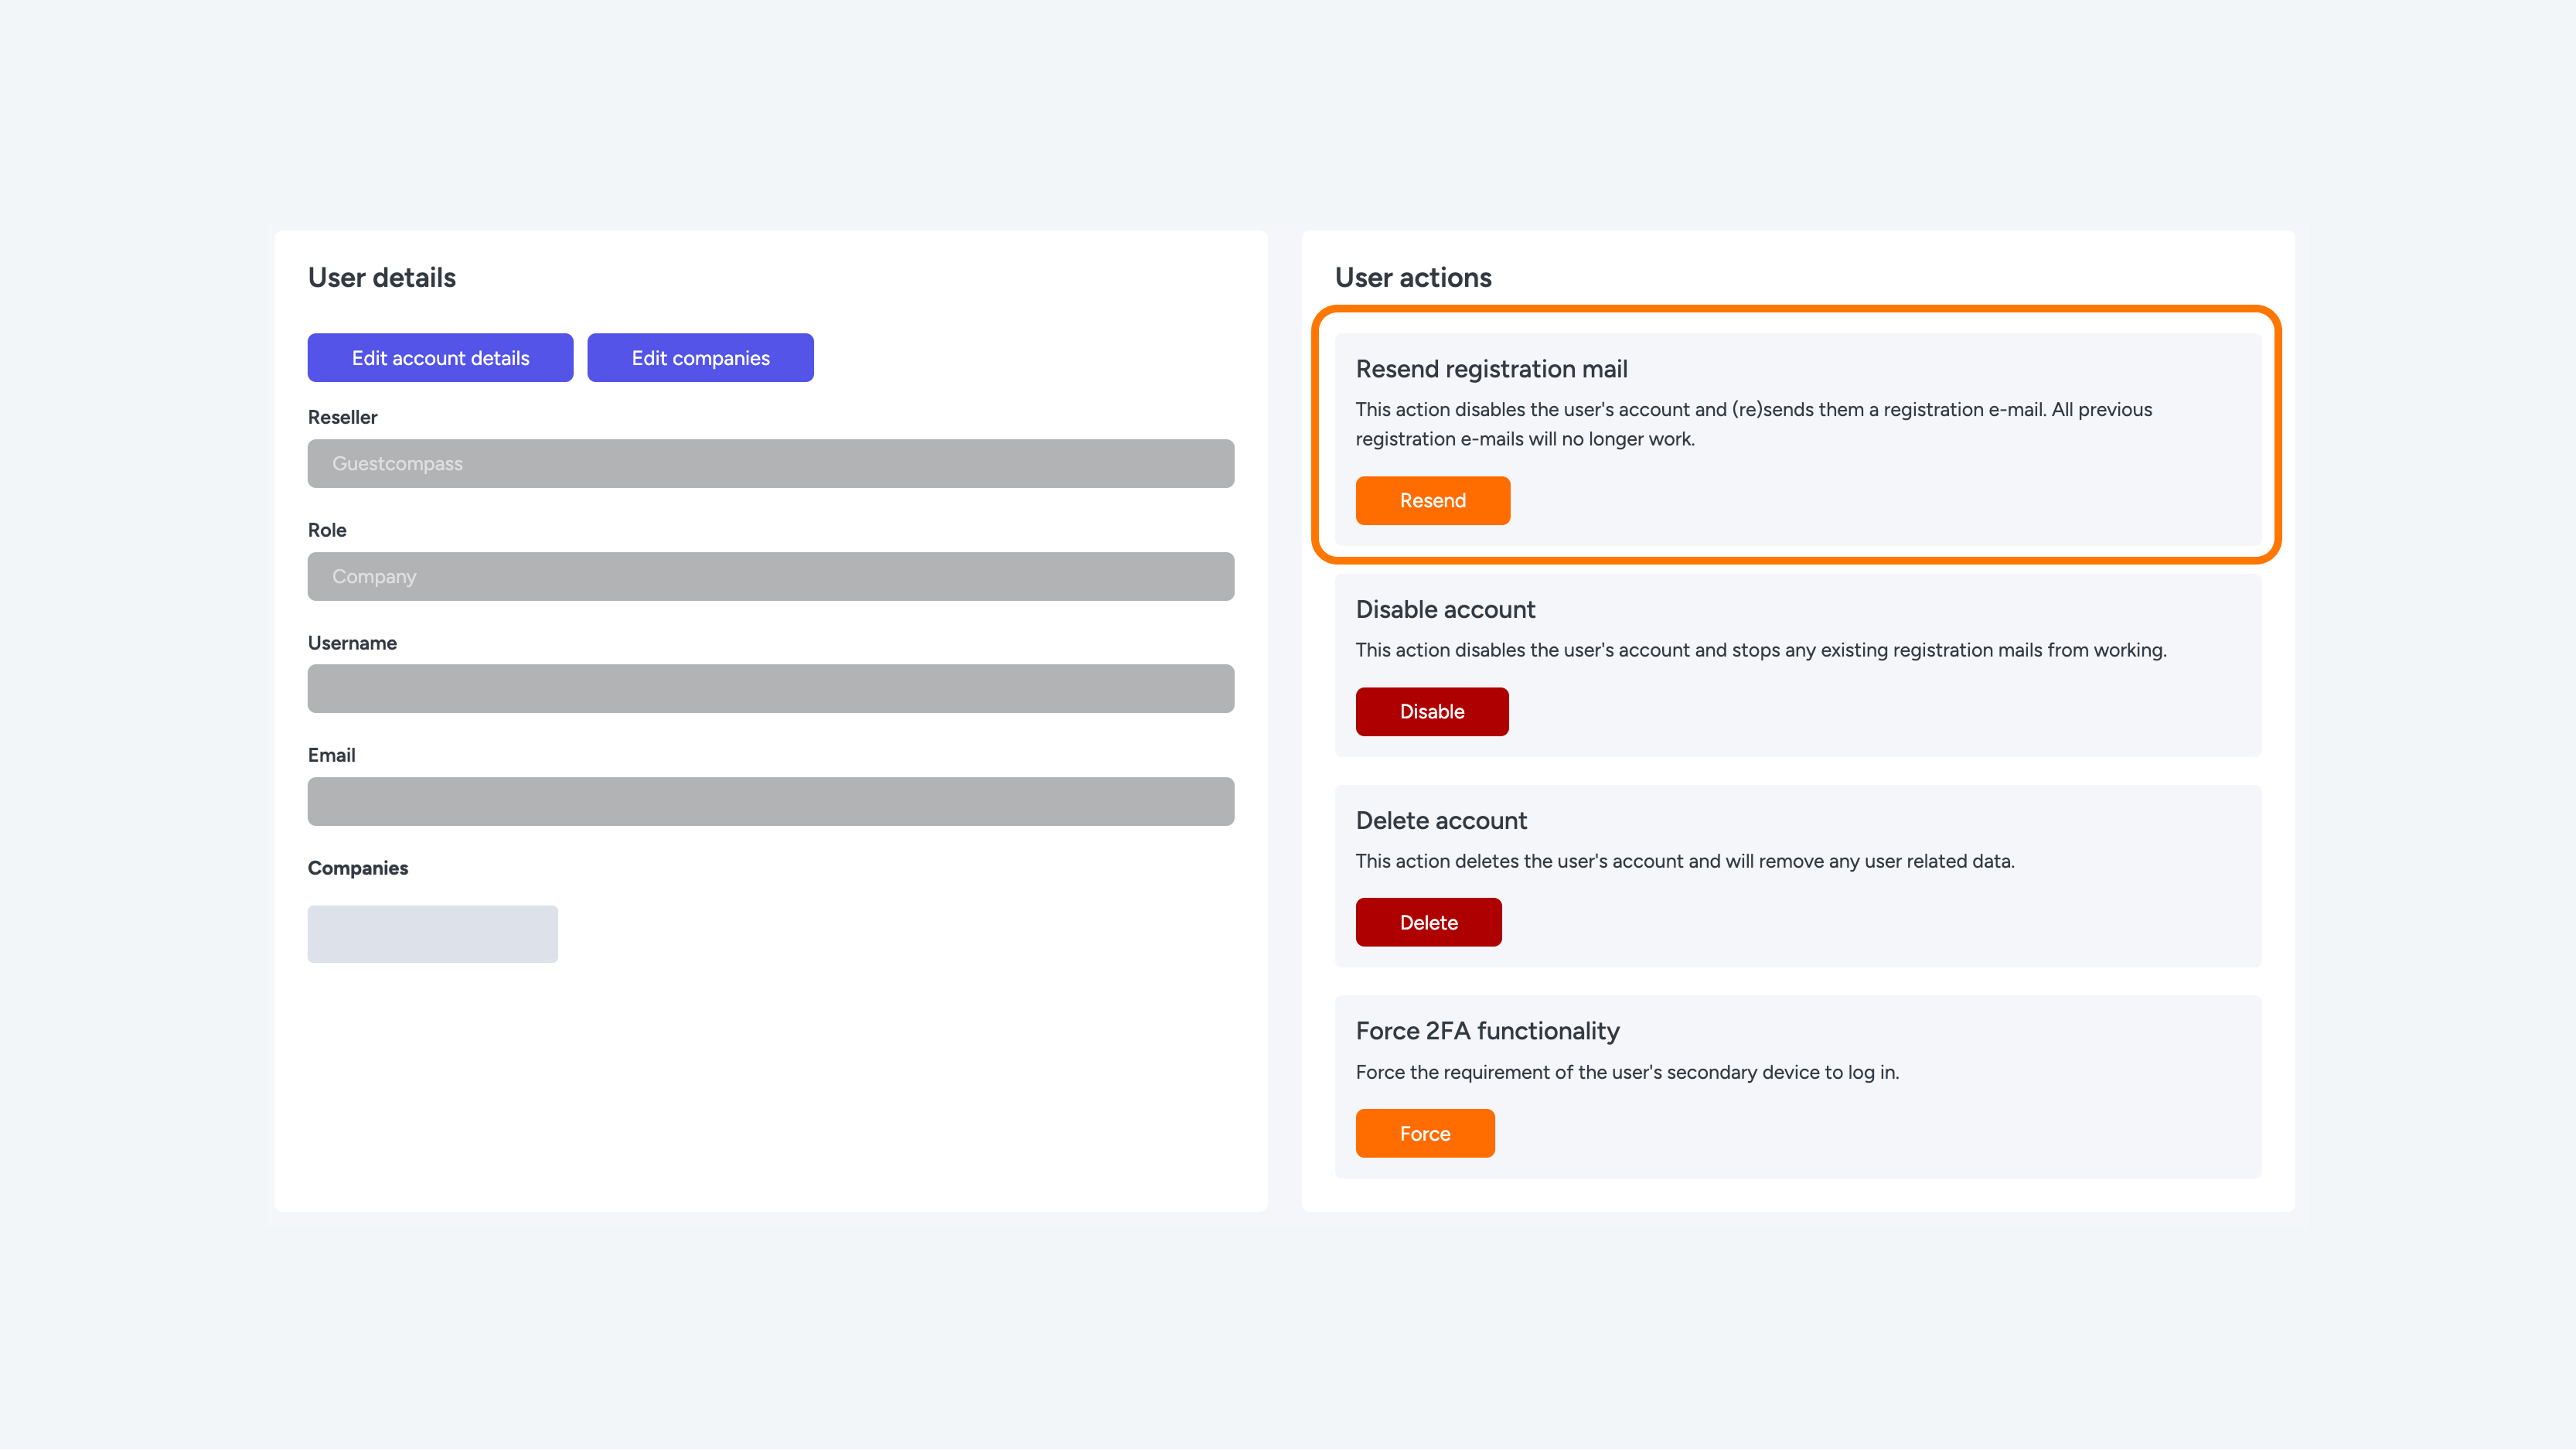
Resending the Registration Email
If you need to resend a registration email to a user, follow these steps:
- Go to Settings in the menu and select Users.
- Locate the relevant user in the table and click the pencil icon (Edit).
- In the top right corner, under the 'User actions' heading, click the Resend button next to the 'Resend registration mail' option.
The registration email has now been sent.