Import users from a spreadsheet
Add or update all your users at once with an Excel or CSV file.
With the manual import, you add all your users to Connect at once by uploading a spreadsheet. There’s no need to create users one by one or to set up an automatic file integration. This is especially useful if you work with iLOQ and keep track of your users in a spreadsheet yourself.
You can use the import for two things:
- Adding new users, for example at the start of a rental period or academic year.
- Updating existing users, for example when a check-out date changes.
Connect uses the contract number to tell new users from existing ones.
Note: GuestCompass needs to set up the sheet importer for your company first. Don’t see the Sheet importer menu item? Contact us at support@guestcompass.nl
Step 1: Open the manual import
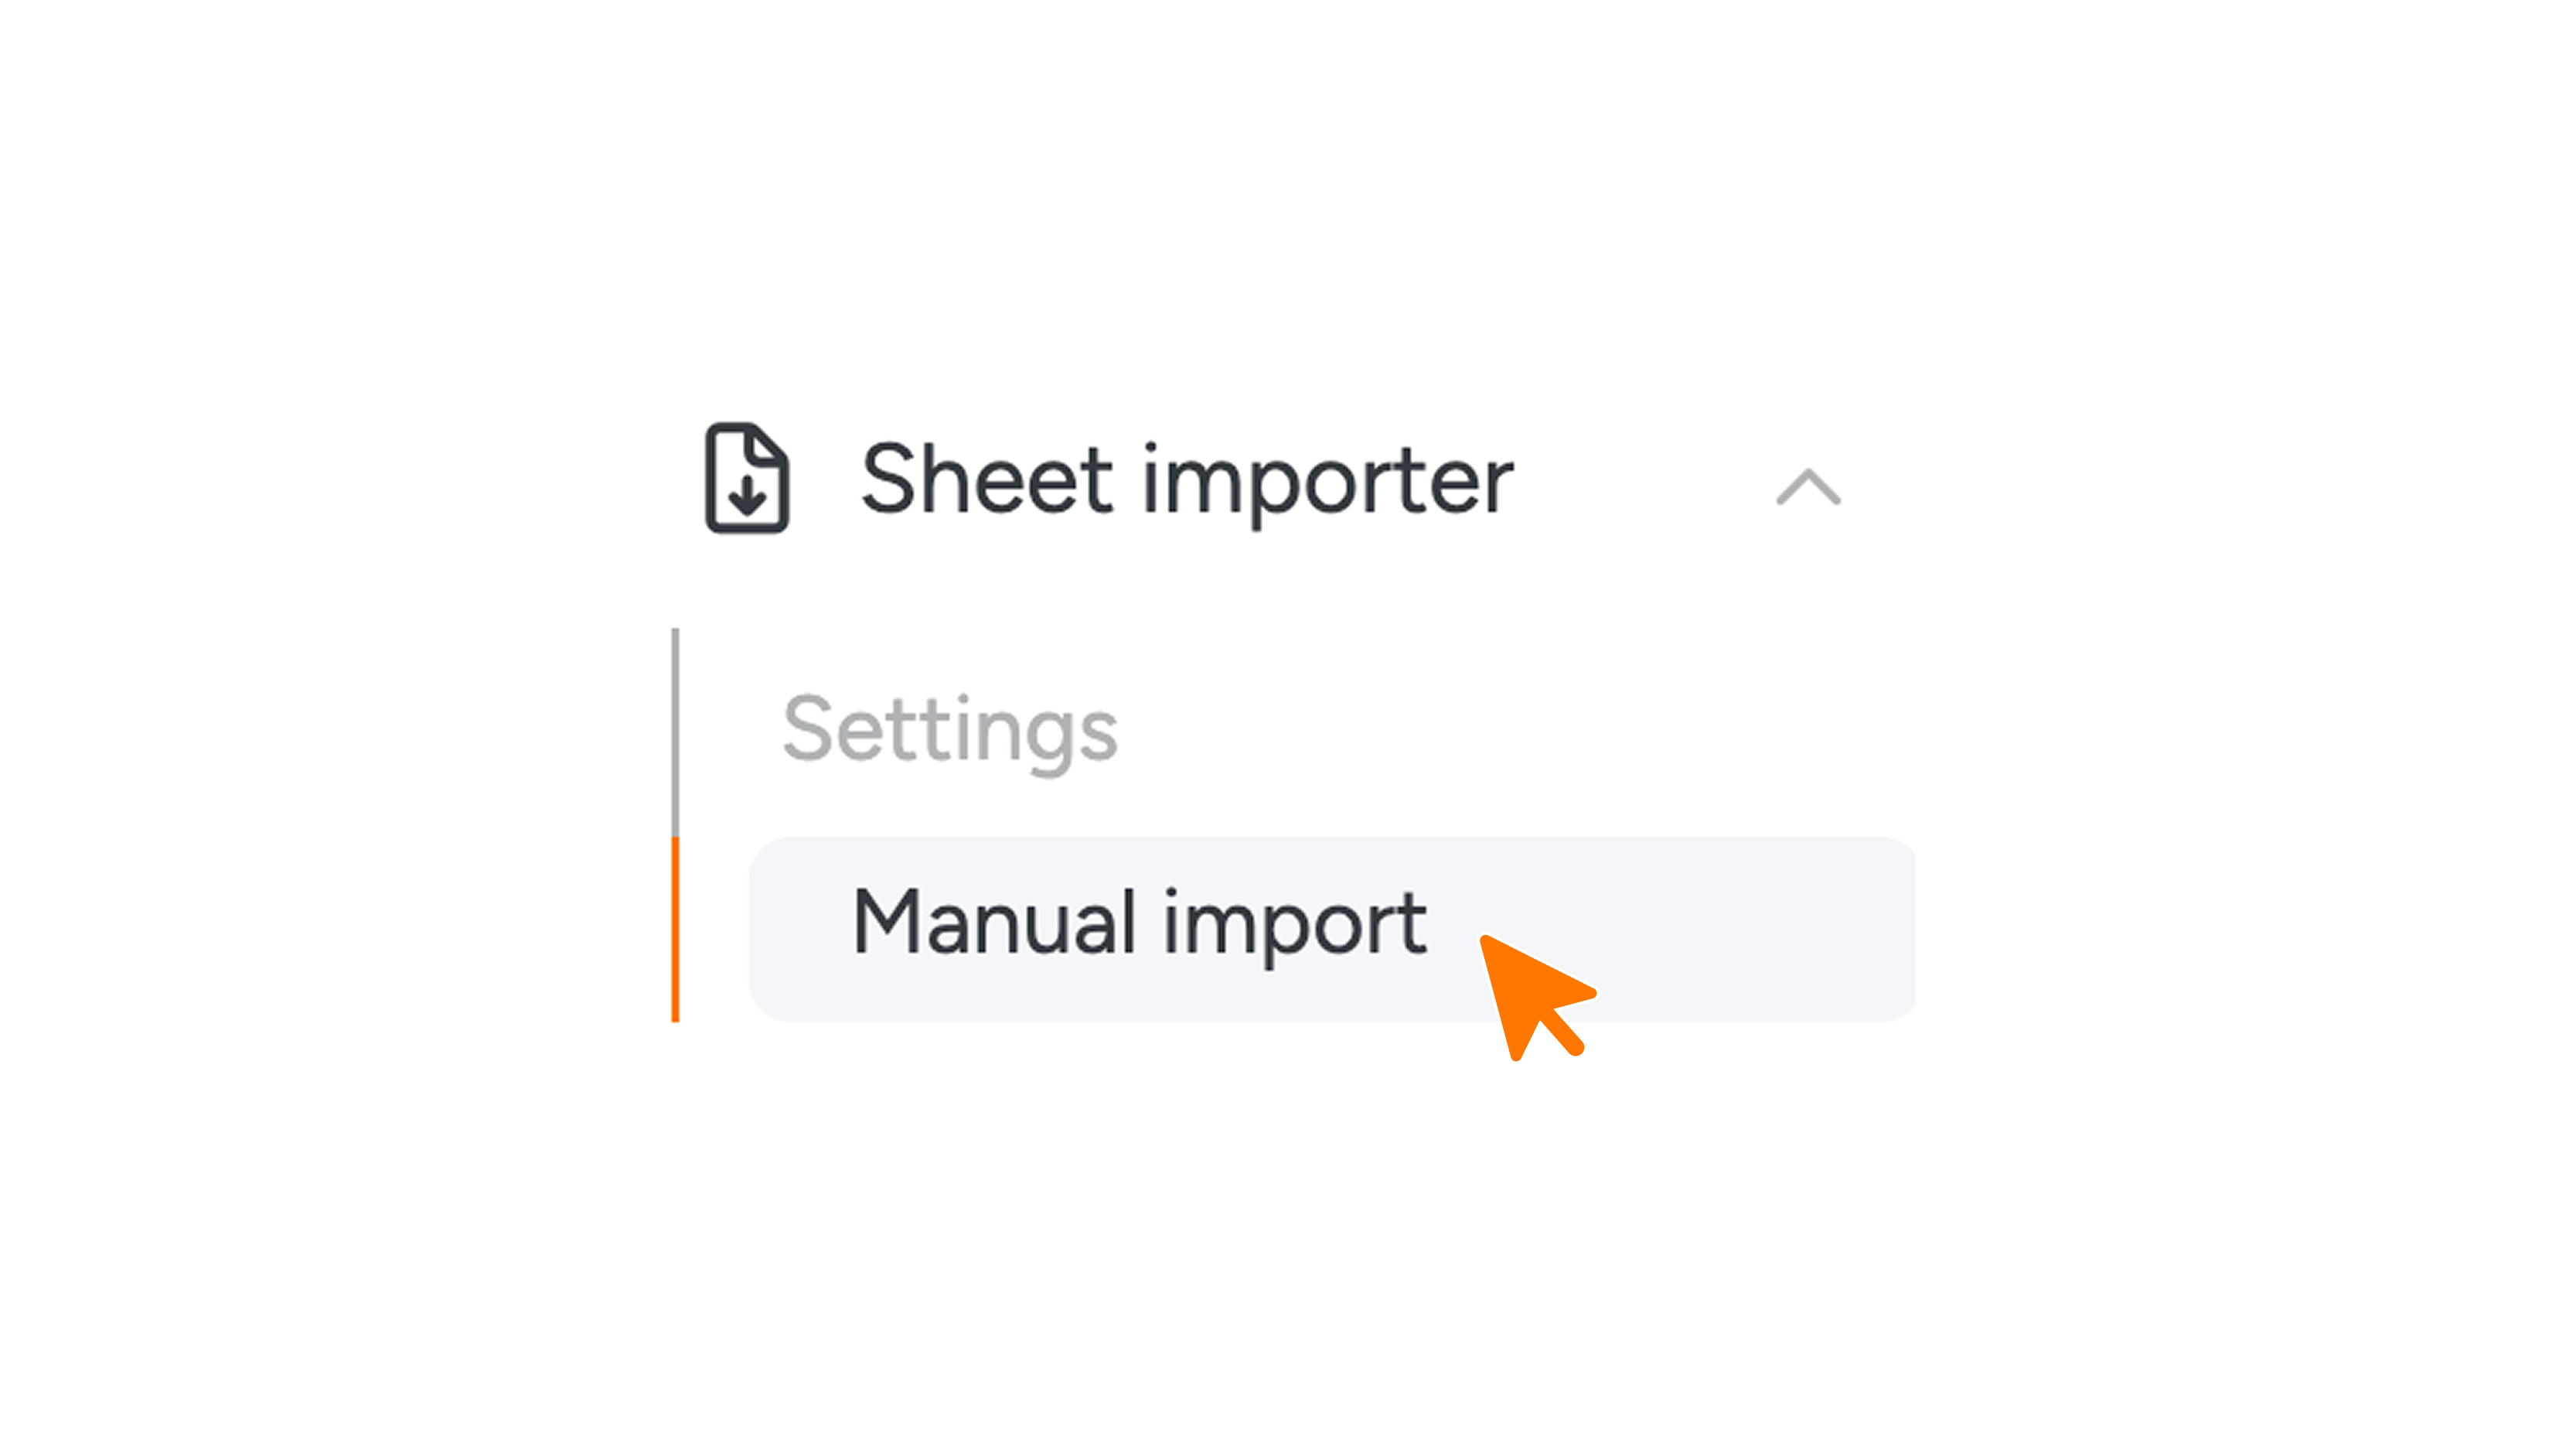
- In the menu, click Sheet importer.
- Click Manual import.
The image below also shows the Settings option in the menu. Only admins have access to this option.
At the top of the page, you’ll see which file types you can upload, such as .xlsx and .csv. Other file types aren’t accepted.
Step 2: Download the template
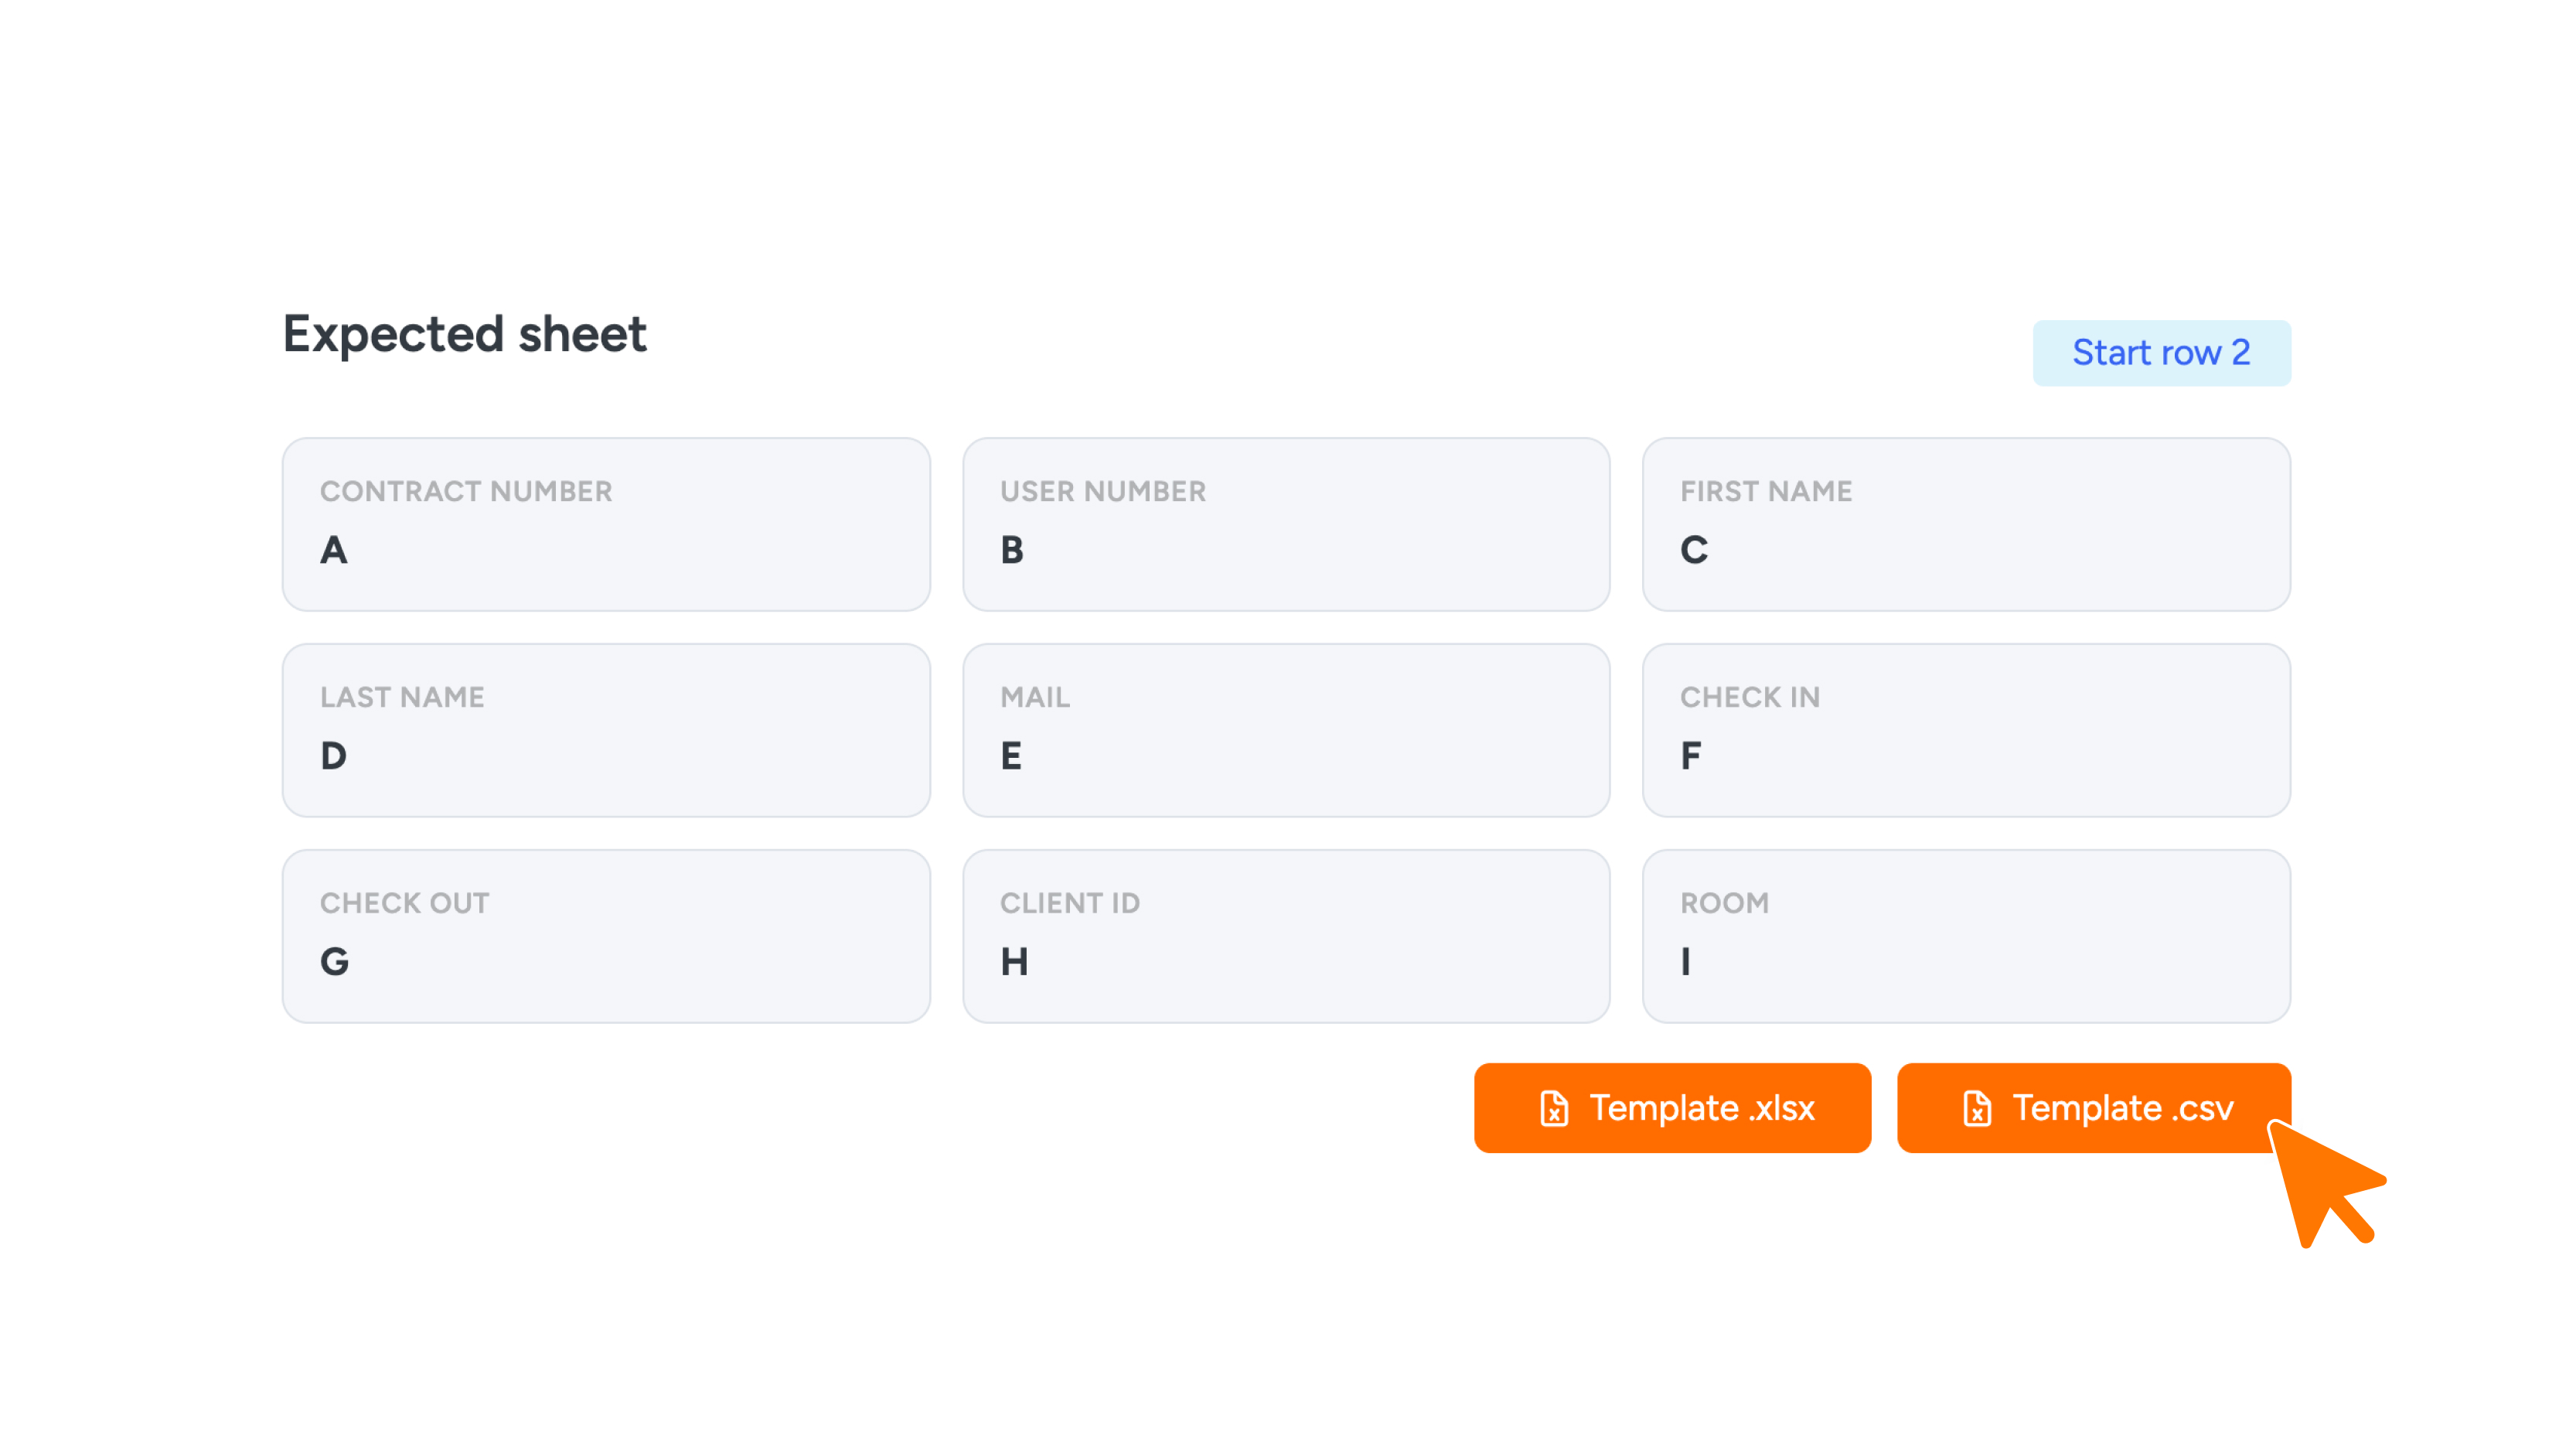
Under Expected sheet, you’ll see how your spreadsheet should be set up: which column holds which data, and on which row the data starts (the Start row label). The rows above it are meant for things like column names and aren’t imported.
The easiest way to create a correct file is to use the template:
- Under Expected sheet, click Template .xlsx or Template .csv.
- Open the downloaded file in Excel, Google Sheets or another spreadsheet program.
Tip: Already using your own spreadsheet? Copy your data into our template instead of adjusting your own file. That way, you know for sure the columns are right. If you’re not sure which data goes where, just let us know and we’ll gladly help you set it up. Contact us at support@guestcompass.nl.
Step 3: Fill in the spreadsheet
Starting from the start row, enter one user per row. Keep the following in mind:
- Contract number: this is how Connect recognizes a user. If the contract number is already in Connect, that user’s details are updated. If it isn’t, a new user is created. So double-check that your contract numbers are correct: a typo will add an extra user instead of updating the existing one.
- Column order: Want to change the layout or order of the columns? Contact us first at support@guestcompass.nl and we’ll be happy to help. If columns shift, data automatically ends up in the wrong field.
- Dates: enter check-in and check-out as a date, with a time if needed. For example, 01-12-2026 or 01-12-2026 14:00 (day-month-year). Leave the check-out empty and Connect sets it to 20 years after the check-in.
- Start row: start your data on the row shown under Start row. Data on earlier rows is skipped.
Then save the file as .xlsx or .csv.
Step 4: Import the spreadsheet
- Drag your file into the Drop your sheet here box, or click Choose file and select your file.
- Check that the correct file name appears.
- Click Import.
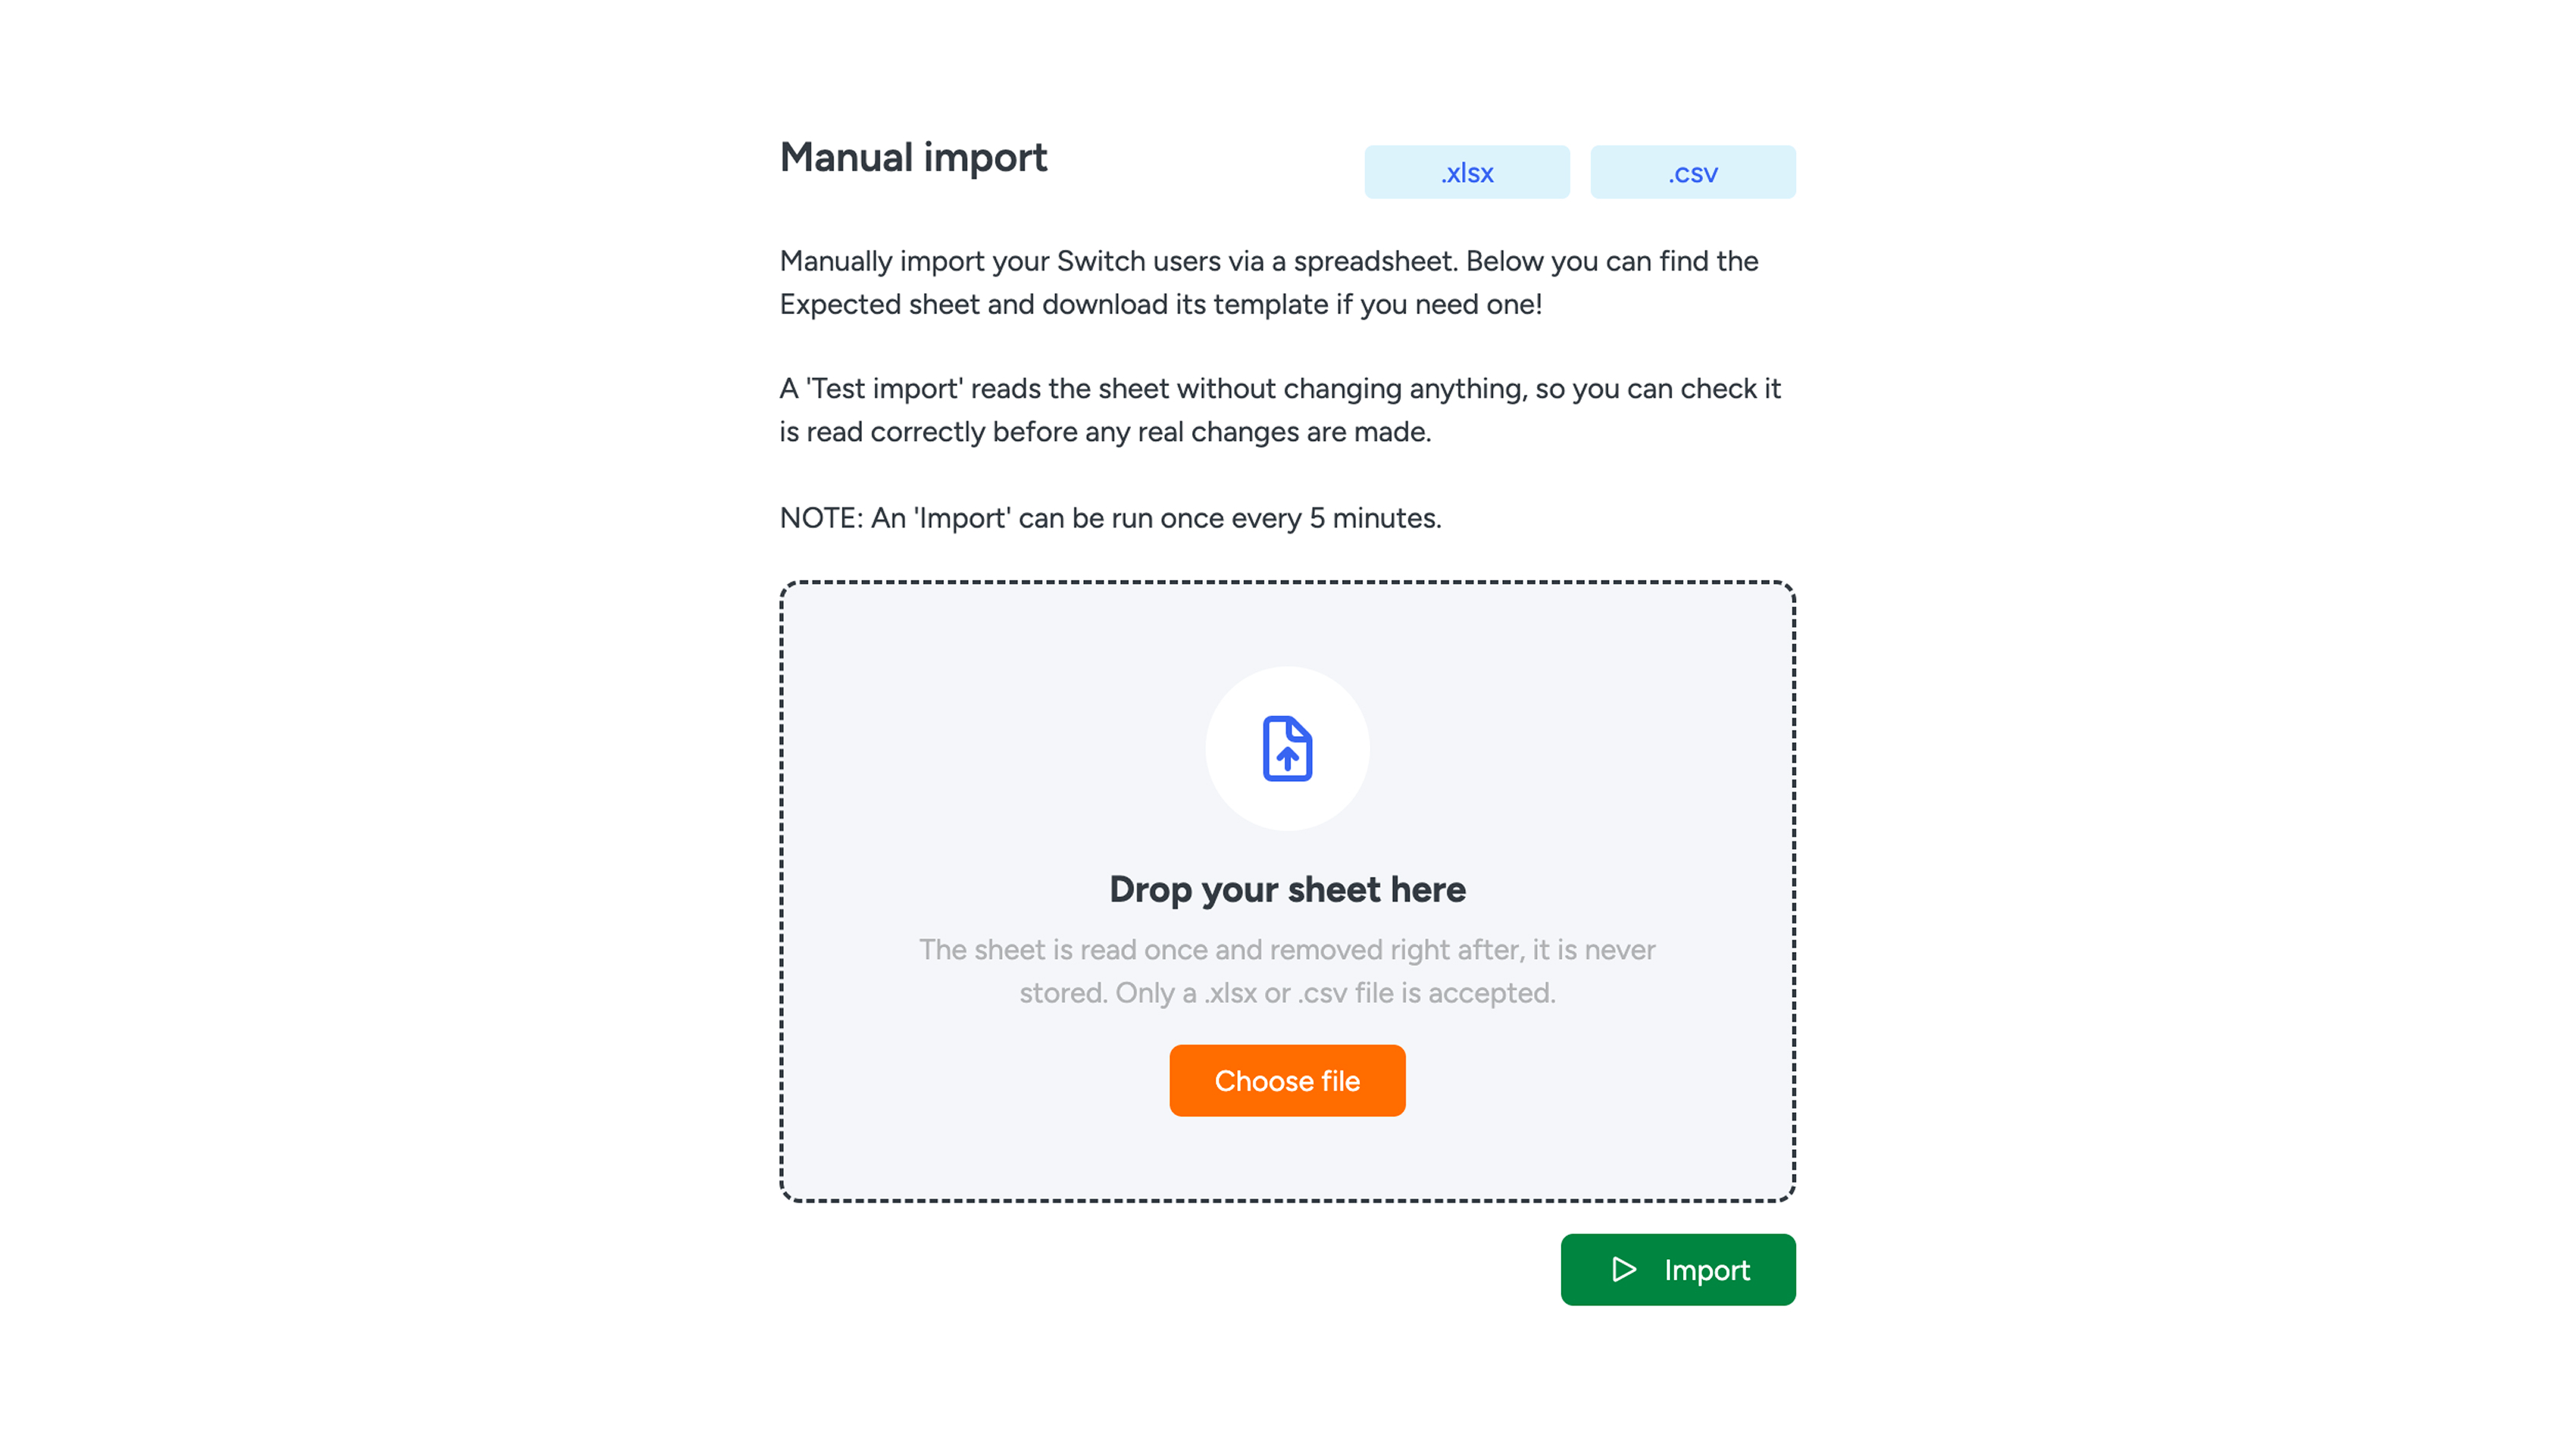
Chose the wrong file? Click the trash can icon next to the file name and select a different file.
Step 5: Check the result
After the import, a message tells you whether it succeeded. You’ll find the imported users in your user overview. After a large import, check a few users to make sure their names, dates and contract numbers came through correctly.
Note: you can start an import once every 5 minutes. A timer at the top of the page shows when you can import again, so check your file carefully before clicking Import.
Common issues
I don’t see the Sheet importer menu item
The sheet importer hasn’t been set up for your company yet. Please contact us.
My file isn’t accepted
Check that your file is one of the file types listed at the top of the page.
Data ends up in the wrong field
A column has probably shifted. Compare your file with the template, fix it and import it again. Because Connect recognizes users by their contract number, your existing users will then be updated.
A duplicate user was created
The contract number in your file probably doesn’t match the one in Connect, for example because of a space or a typo. Check the contract number and fix the duplicate user in your user overview.
I can’t import again
You can import once every 5 minutes. Wait until the timer at the top of the page has run out.
What happens to my file?
Your file is read once and then deleted right away. It’s never stored.
