Import, create, and edit doors
With Keyless Access, guests can easily open doors using a slider on their mobile phone. Because door configurations may change, our system allows you to flexibly import doors or adjust their order. Given the impact on security and access control, precision is crucial during this process.
Ensure you follow these steps exactly. Certain components must be completed before you can proceed to the next step.
Table of Contents
- Managing and modifying doors
- Creating rooms
- Creating General Rooms
- Creating a room and adding a General Room
- Copying the room
- Configuring rooms
- Changing the door layout
1. Managing and modifying doors
The doors have been imported via GuestCompass and are ready for use. While door names are usually imported correctly, you can manually adjust them if needed. Click the pencil icon next to the door to change the settings.
2. Creating rooms
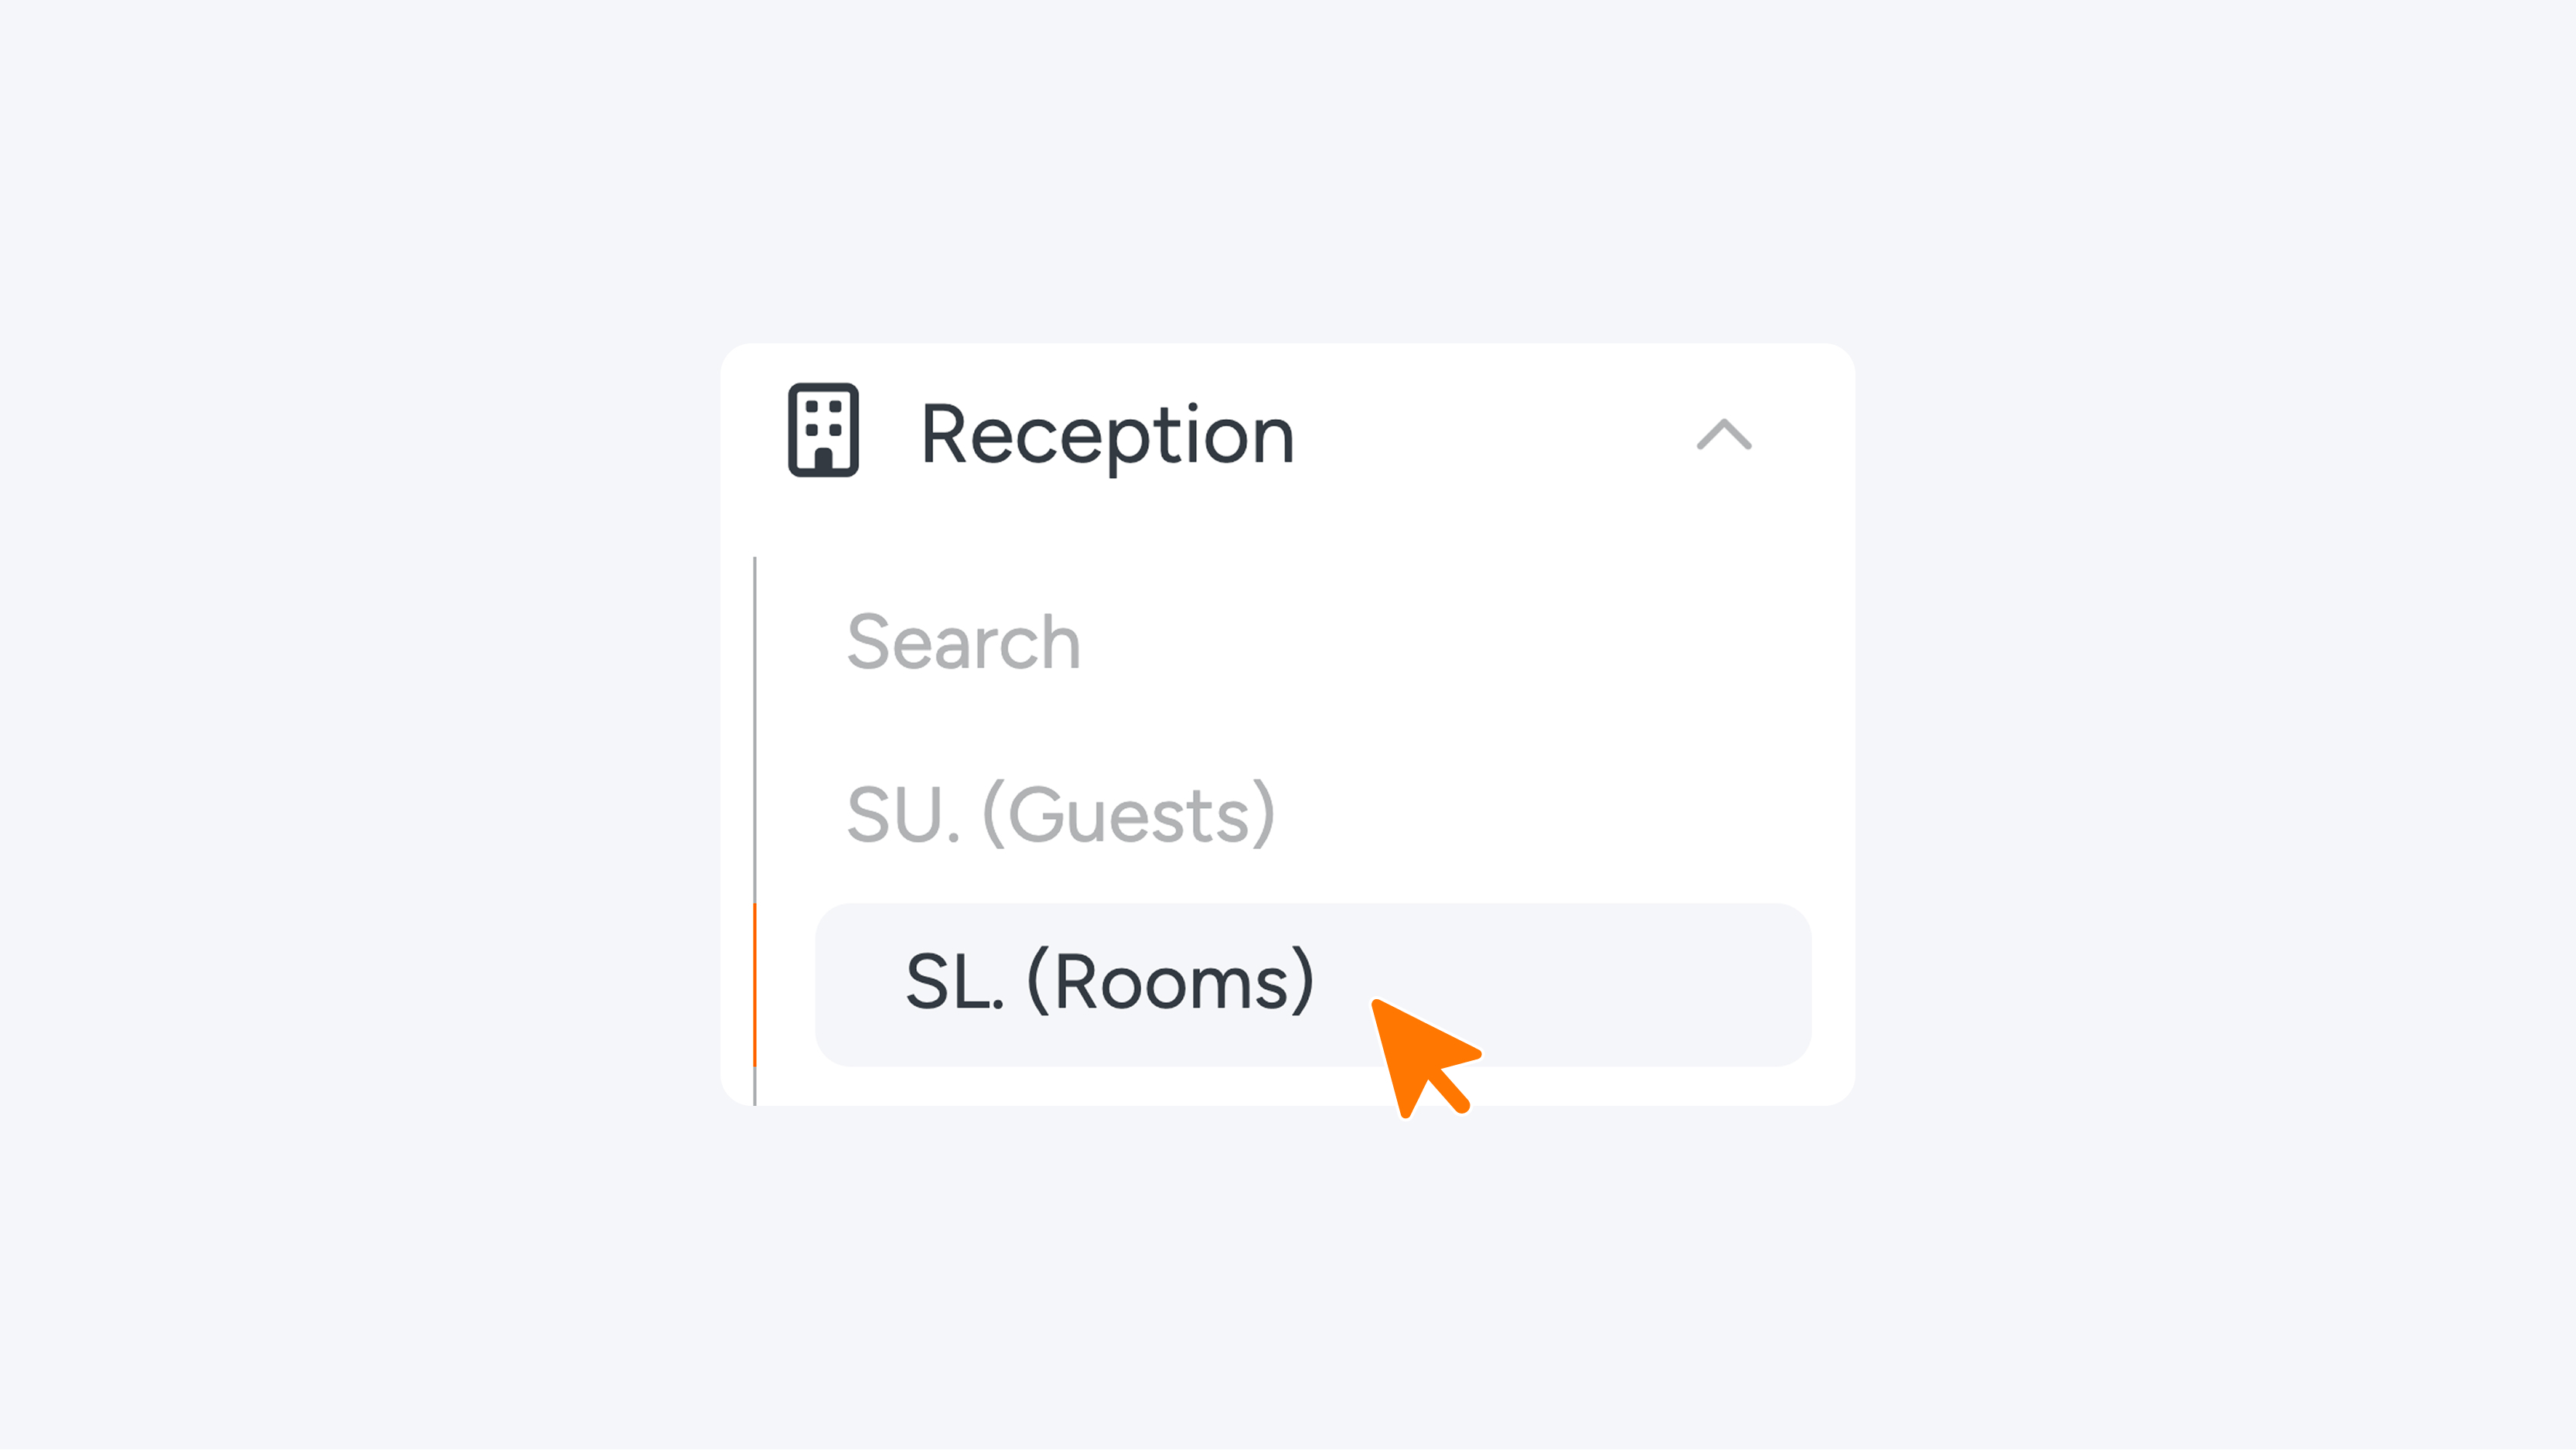
Now that the locks are ready, the next step is to create the rooms. To do this, navigate to the S.L. Rooms menu item.
Note: This menu button may have a custom name that better suits your industry, such as Apartment, Trucks, Company, or Access right. This is where you determine which doors belong to which space.
In the next step, you can create 'General rooms' and individual rooms here.
3. Creating General Rooms
In this step, you will create the General Rooms. Think of this as a template for your room list. This is particularly important if you have multiple rooms that share the same (or nearly the same) access rights.
The advantage: Suppose you want to change the order of the doors (for example, moving the main entrance to the top of the list instead of the bottom). Thanks to the template, you only have to adjust this once. The change is then automatically applied to all rooms (e.g., all 120 rooms). This saves you from having to update each room manually.

Creation
To create a General Rooms template, click the orange 'New' button. Next, enter the name of the template, for example, 'Entrance (entry door and hallway)'. You can add any relevant information in the 'Info' field. After that, choose the door position: select either Top or Bottom.
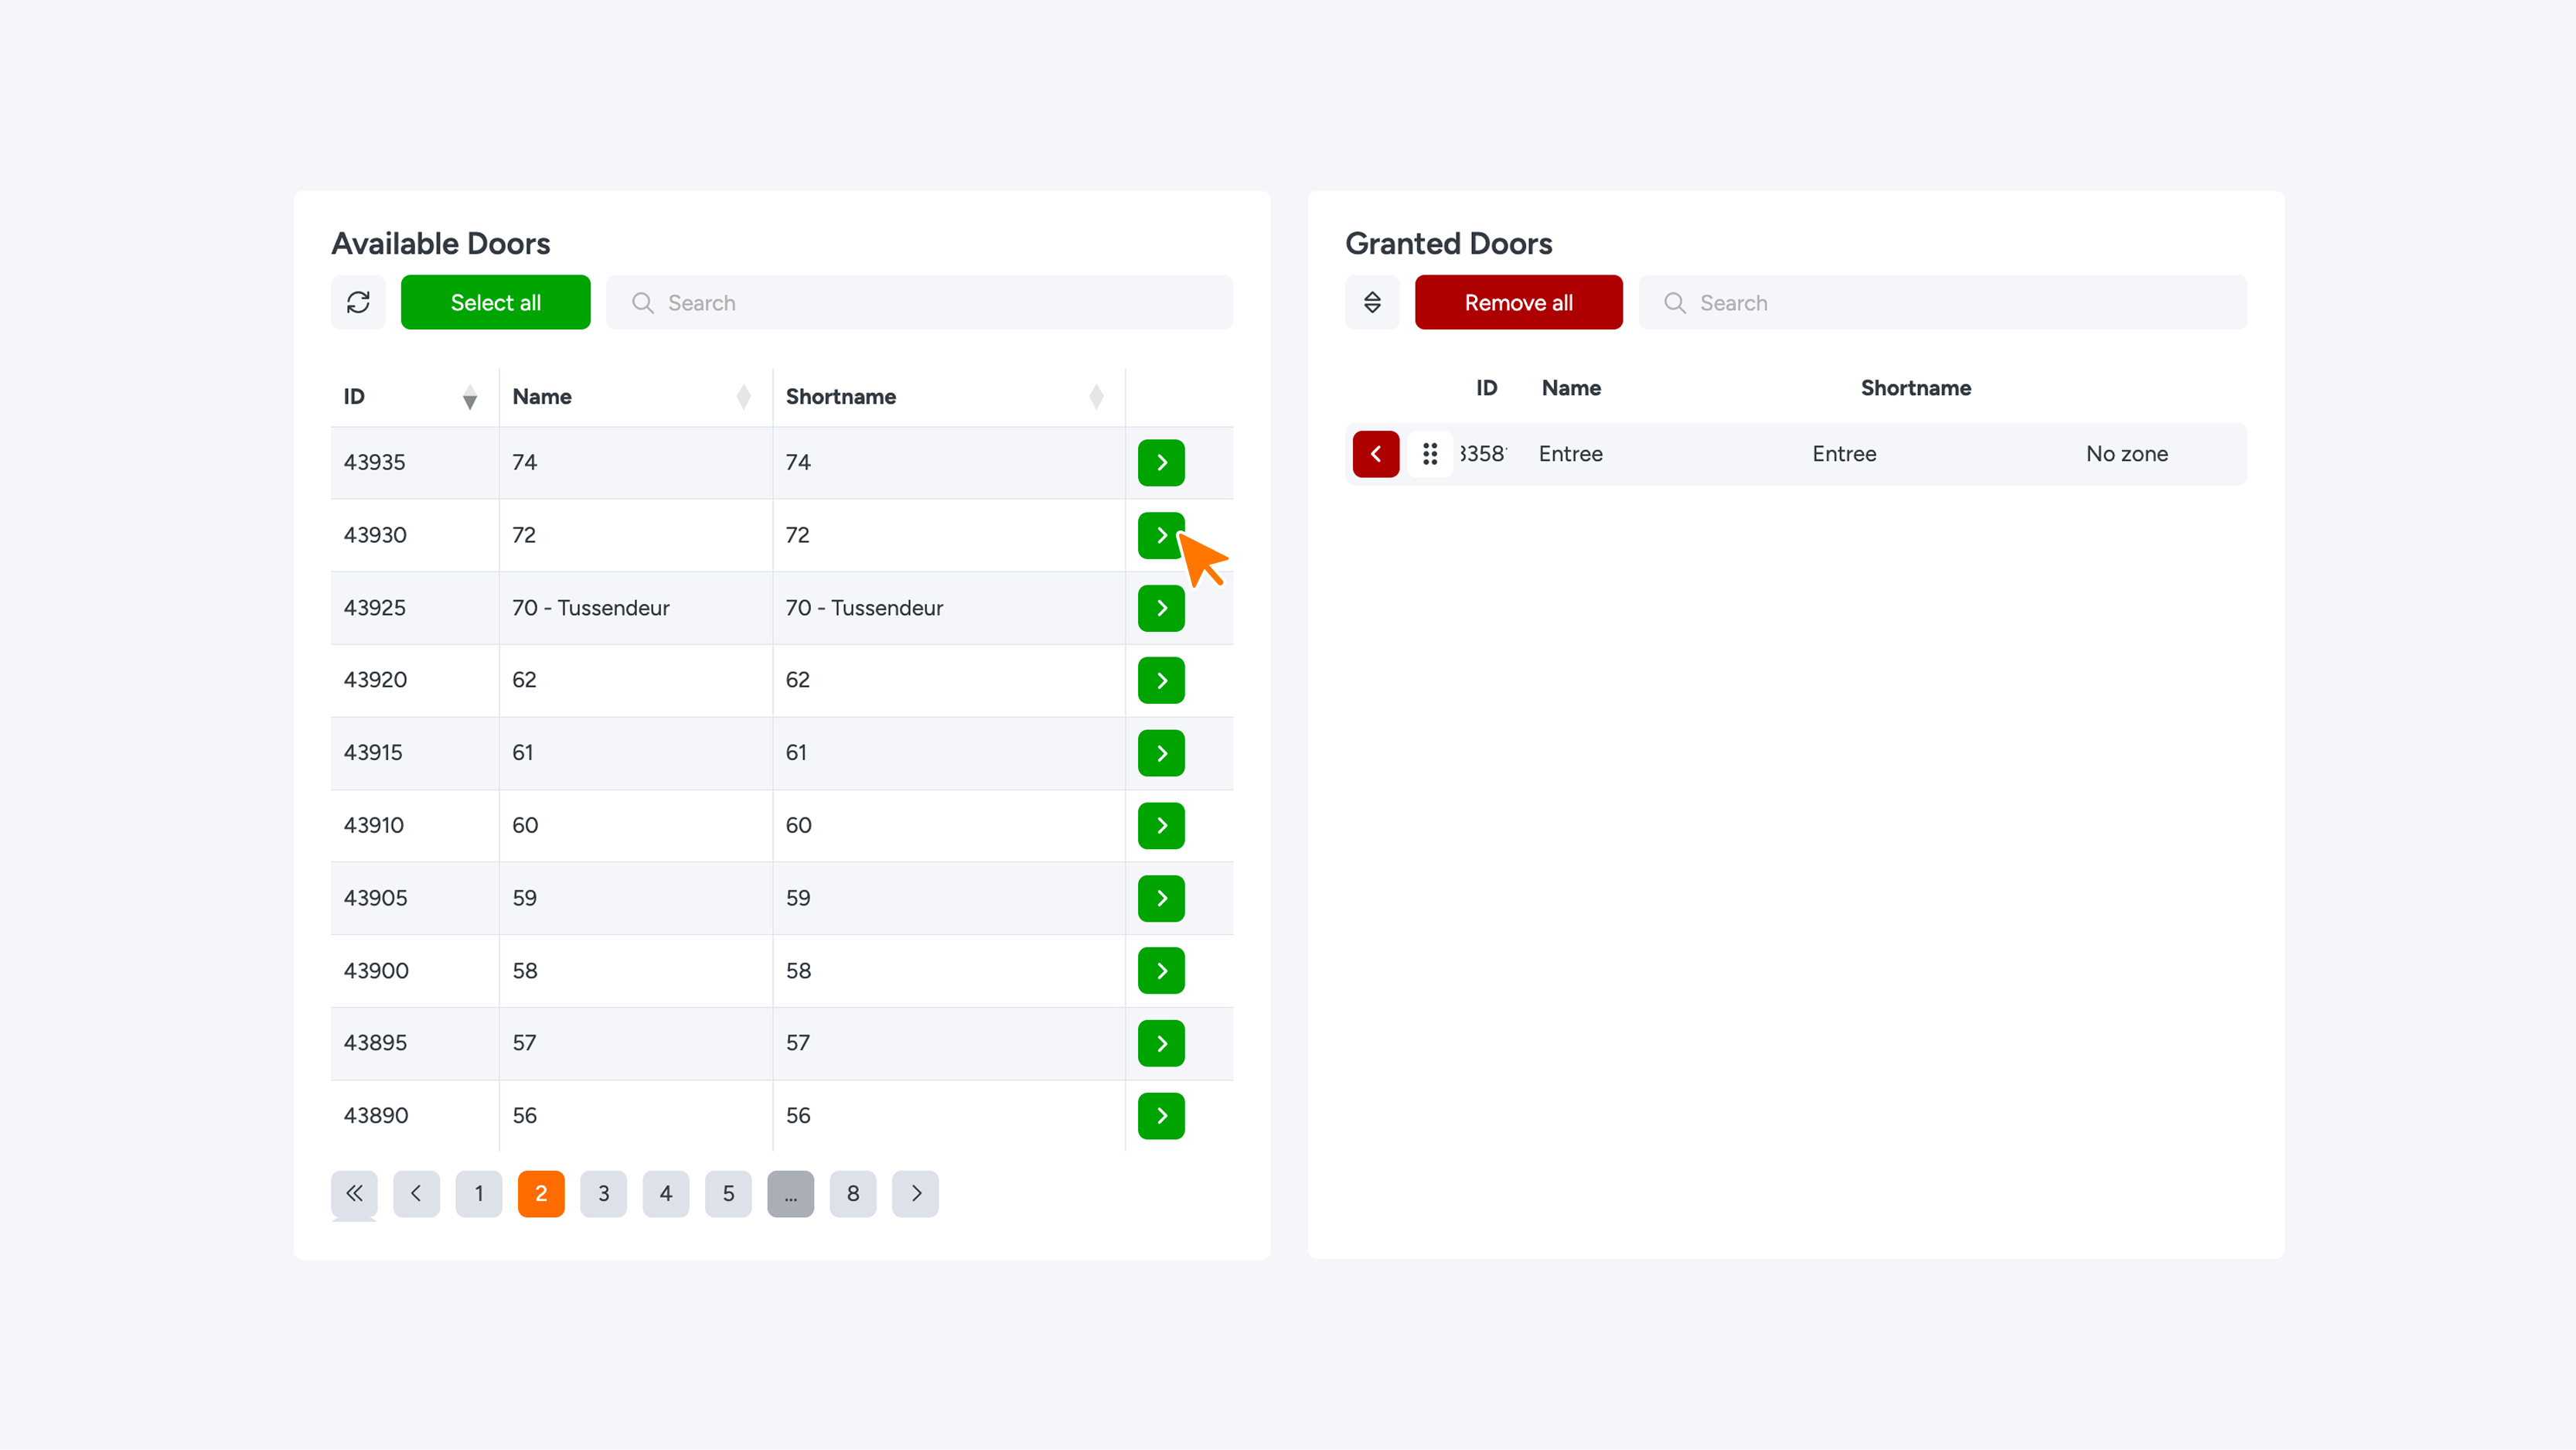
Under the 'Available Doors' section, you will see all the doors currently in the system. Find the doors you want to include in your template and click the green chevron. They will then appear under 'Granted Doors'.
- Wrong lock in the list? Use the red chevron to remove a door, or use 'Remove all' to clear the entire list.
- Finished? Click 'Save' or 'Update' to save your changes.
4. Creating a Room and Adding a General Room
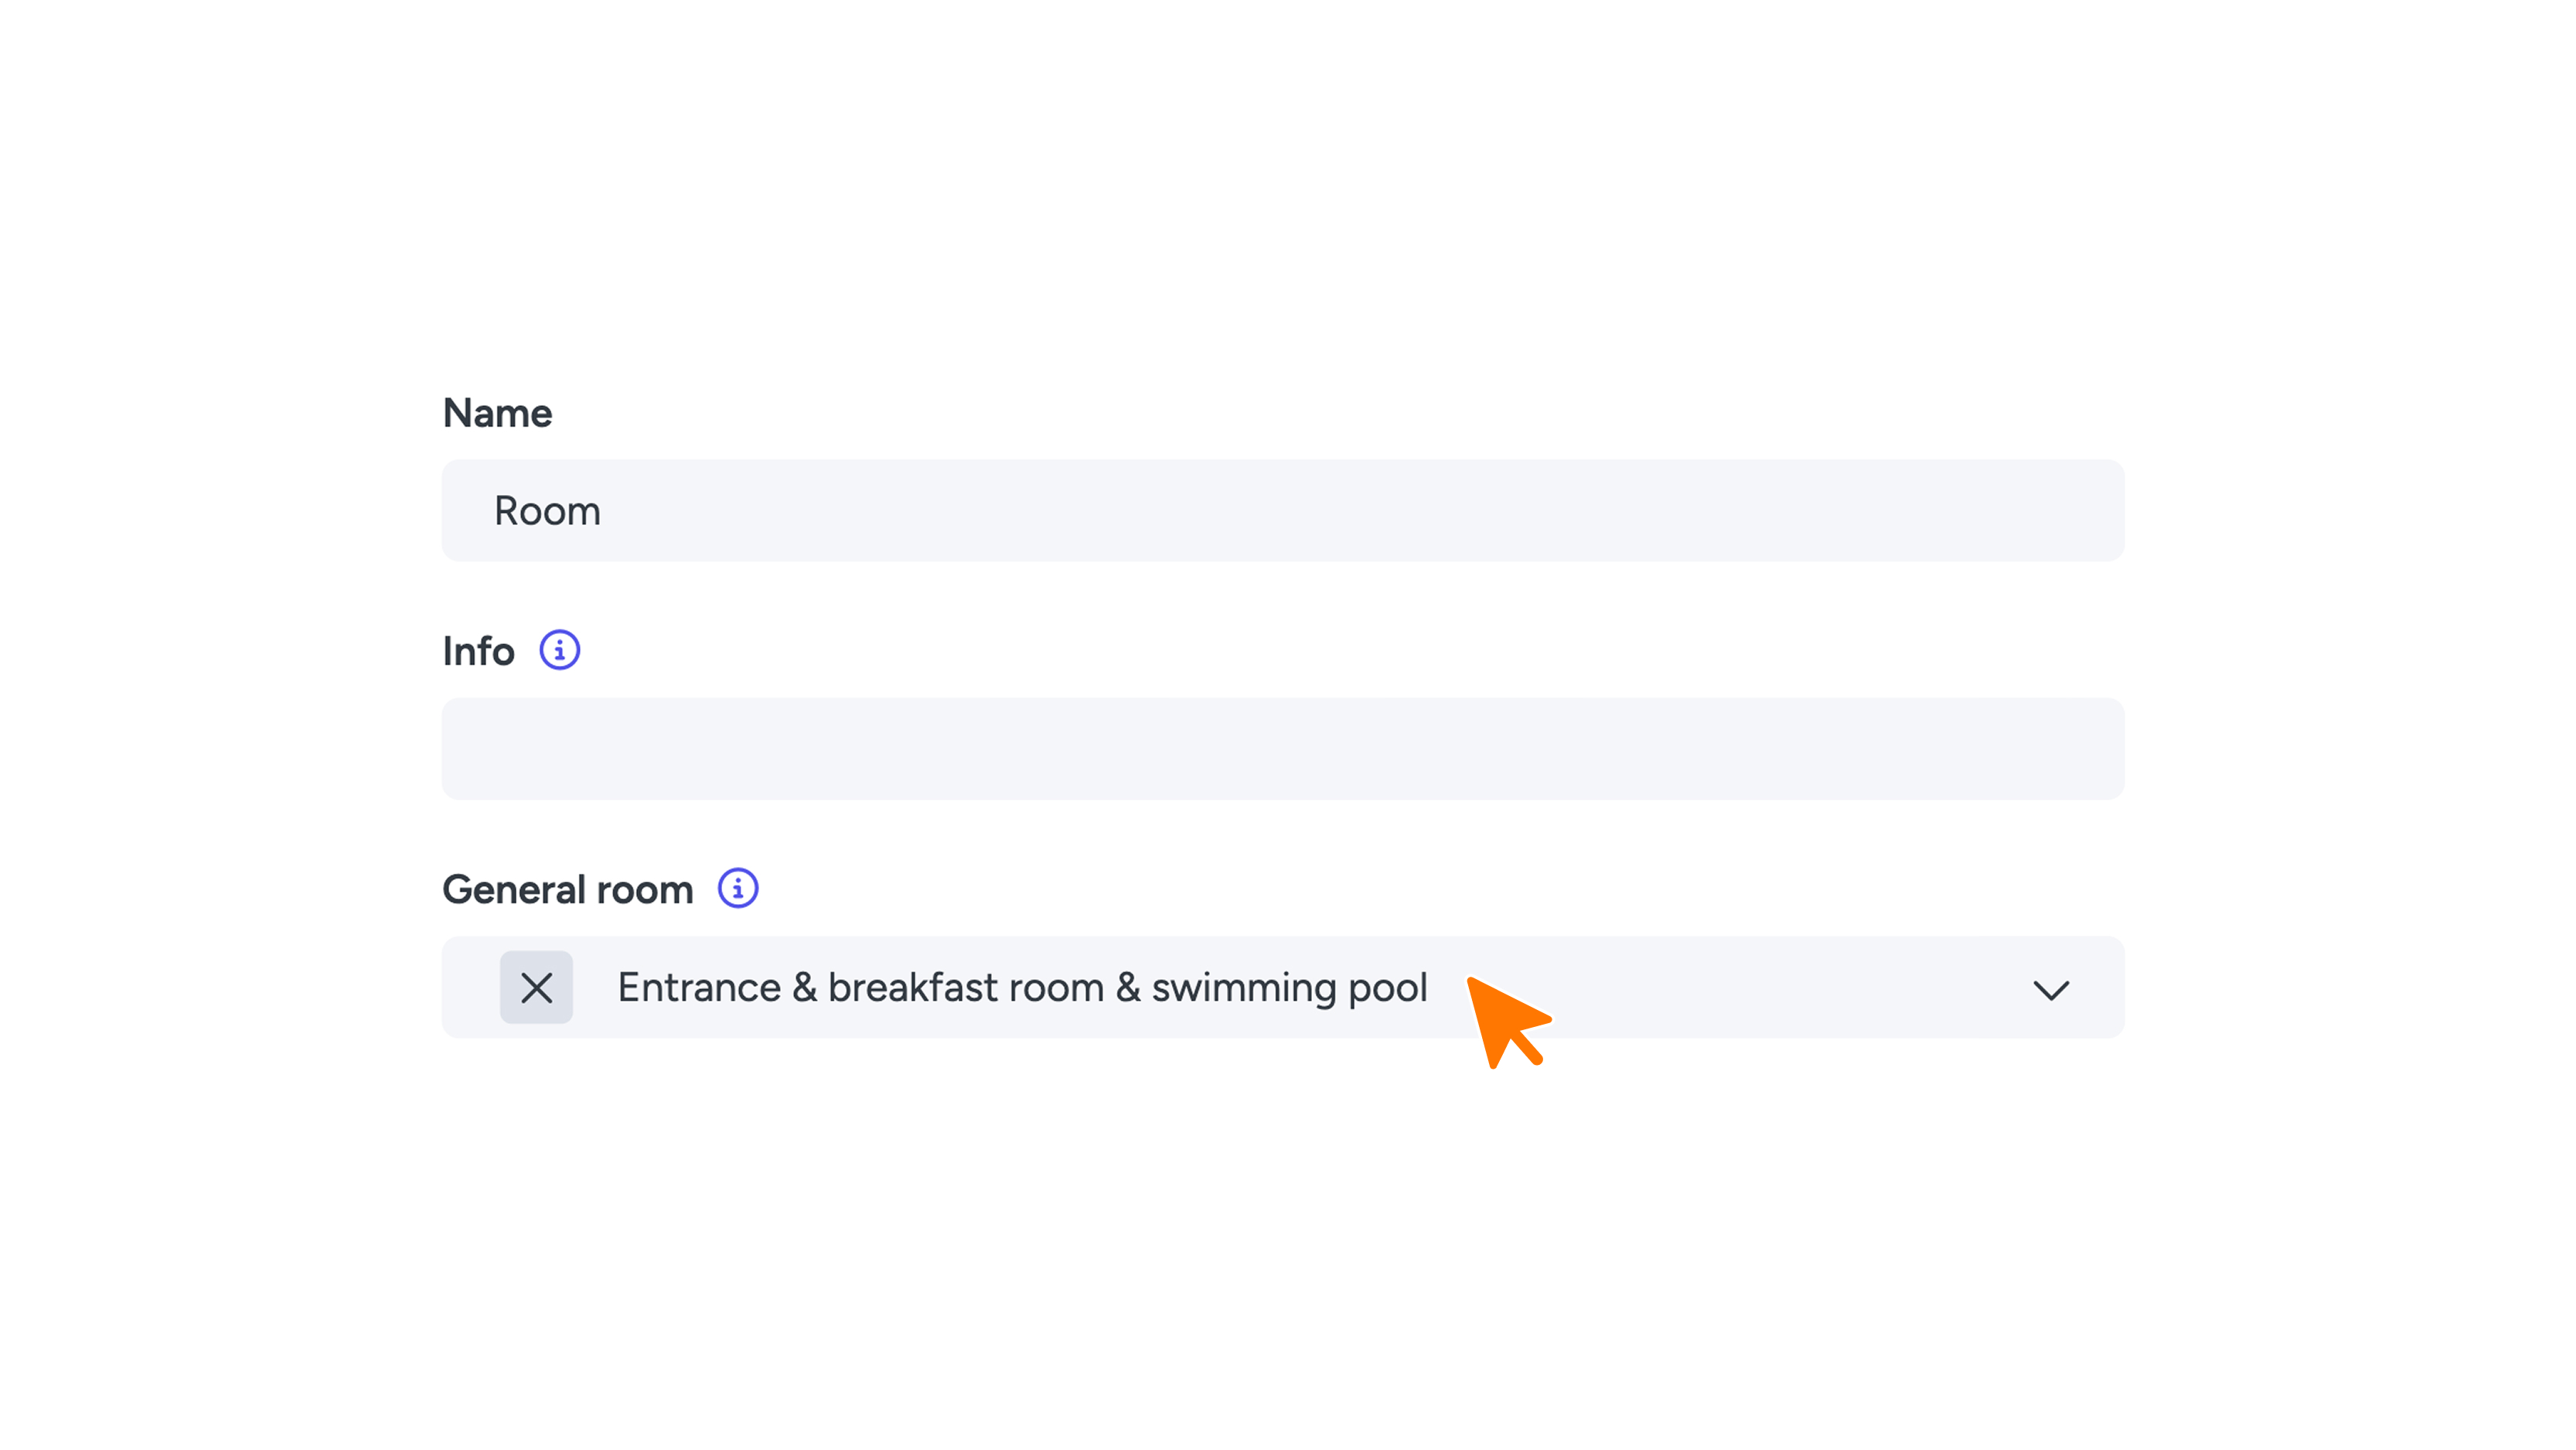
First, create a general room by clicking the orange 'New' button. Use a generic name such as 'Room' instead of a specific room number; you will specify the exact number later. Link this room to the previously created 'General room' via the dropdown menu and confirm by clicking the green 'Save' button.
5. Copying the room
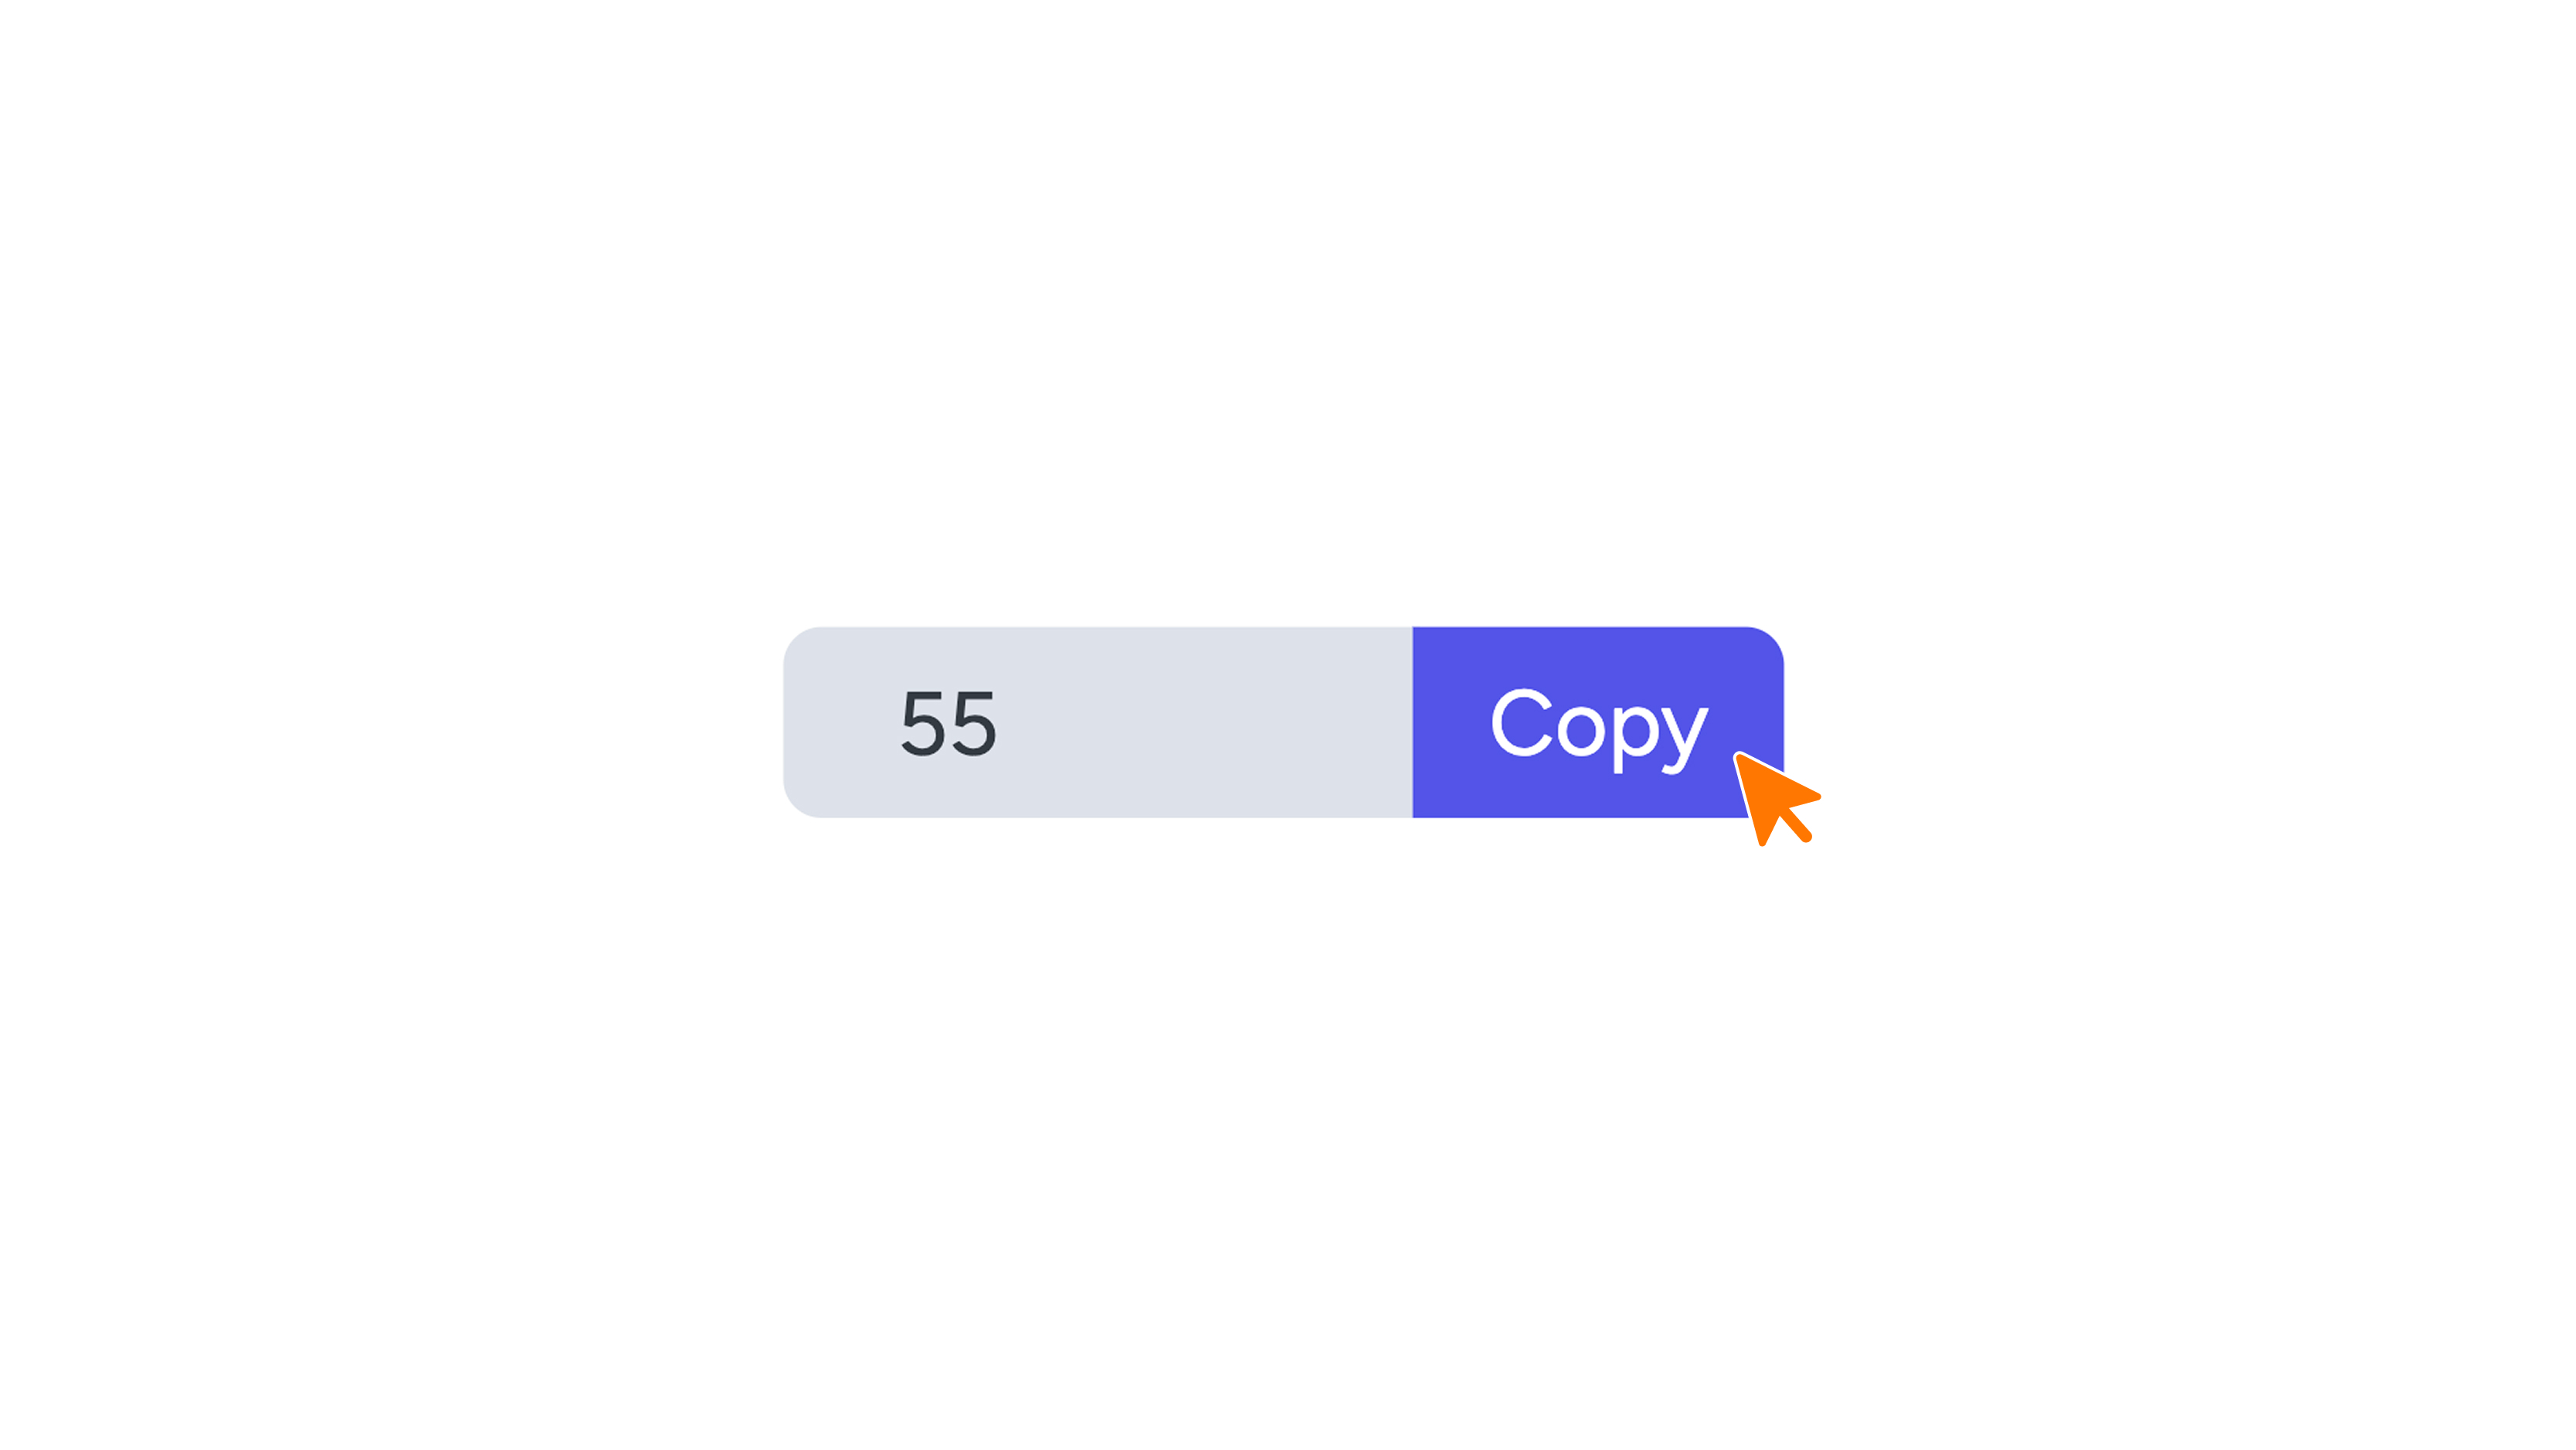
Now that the basic settings for the 'general room' are set, you can duplicate it. Enter the number of additional rooms you need under 'Copy'. Note: the first room already exists, so if you want 56 rooms in total, enter 55 here.
6. Configuring rooms
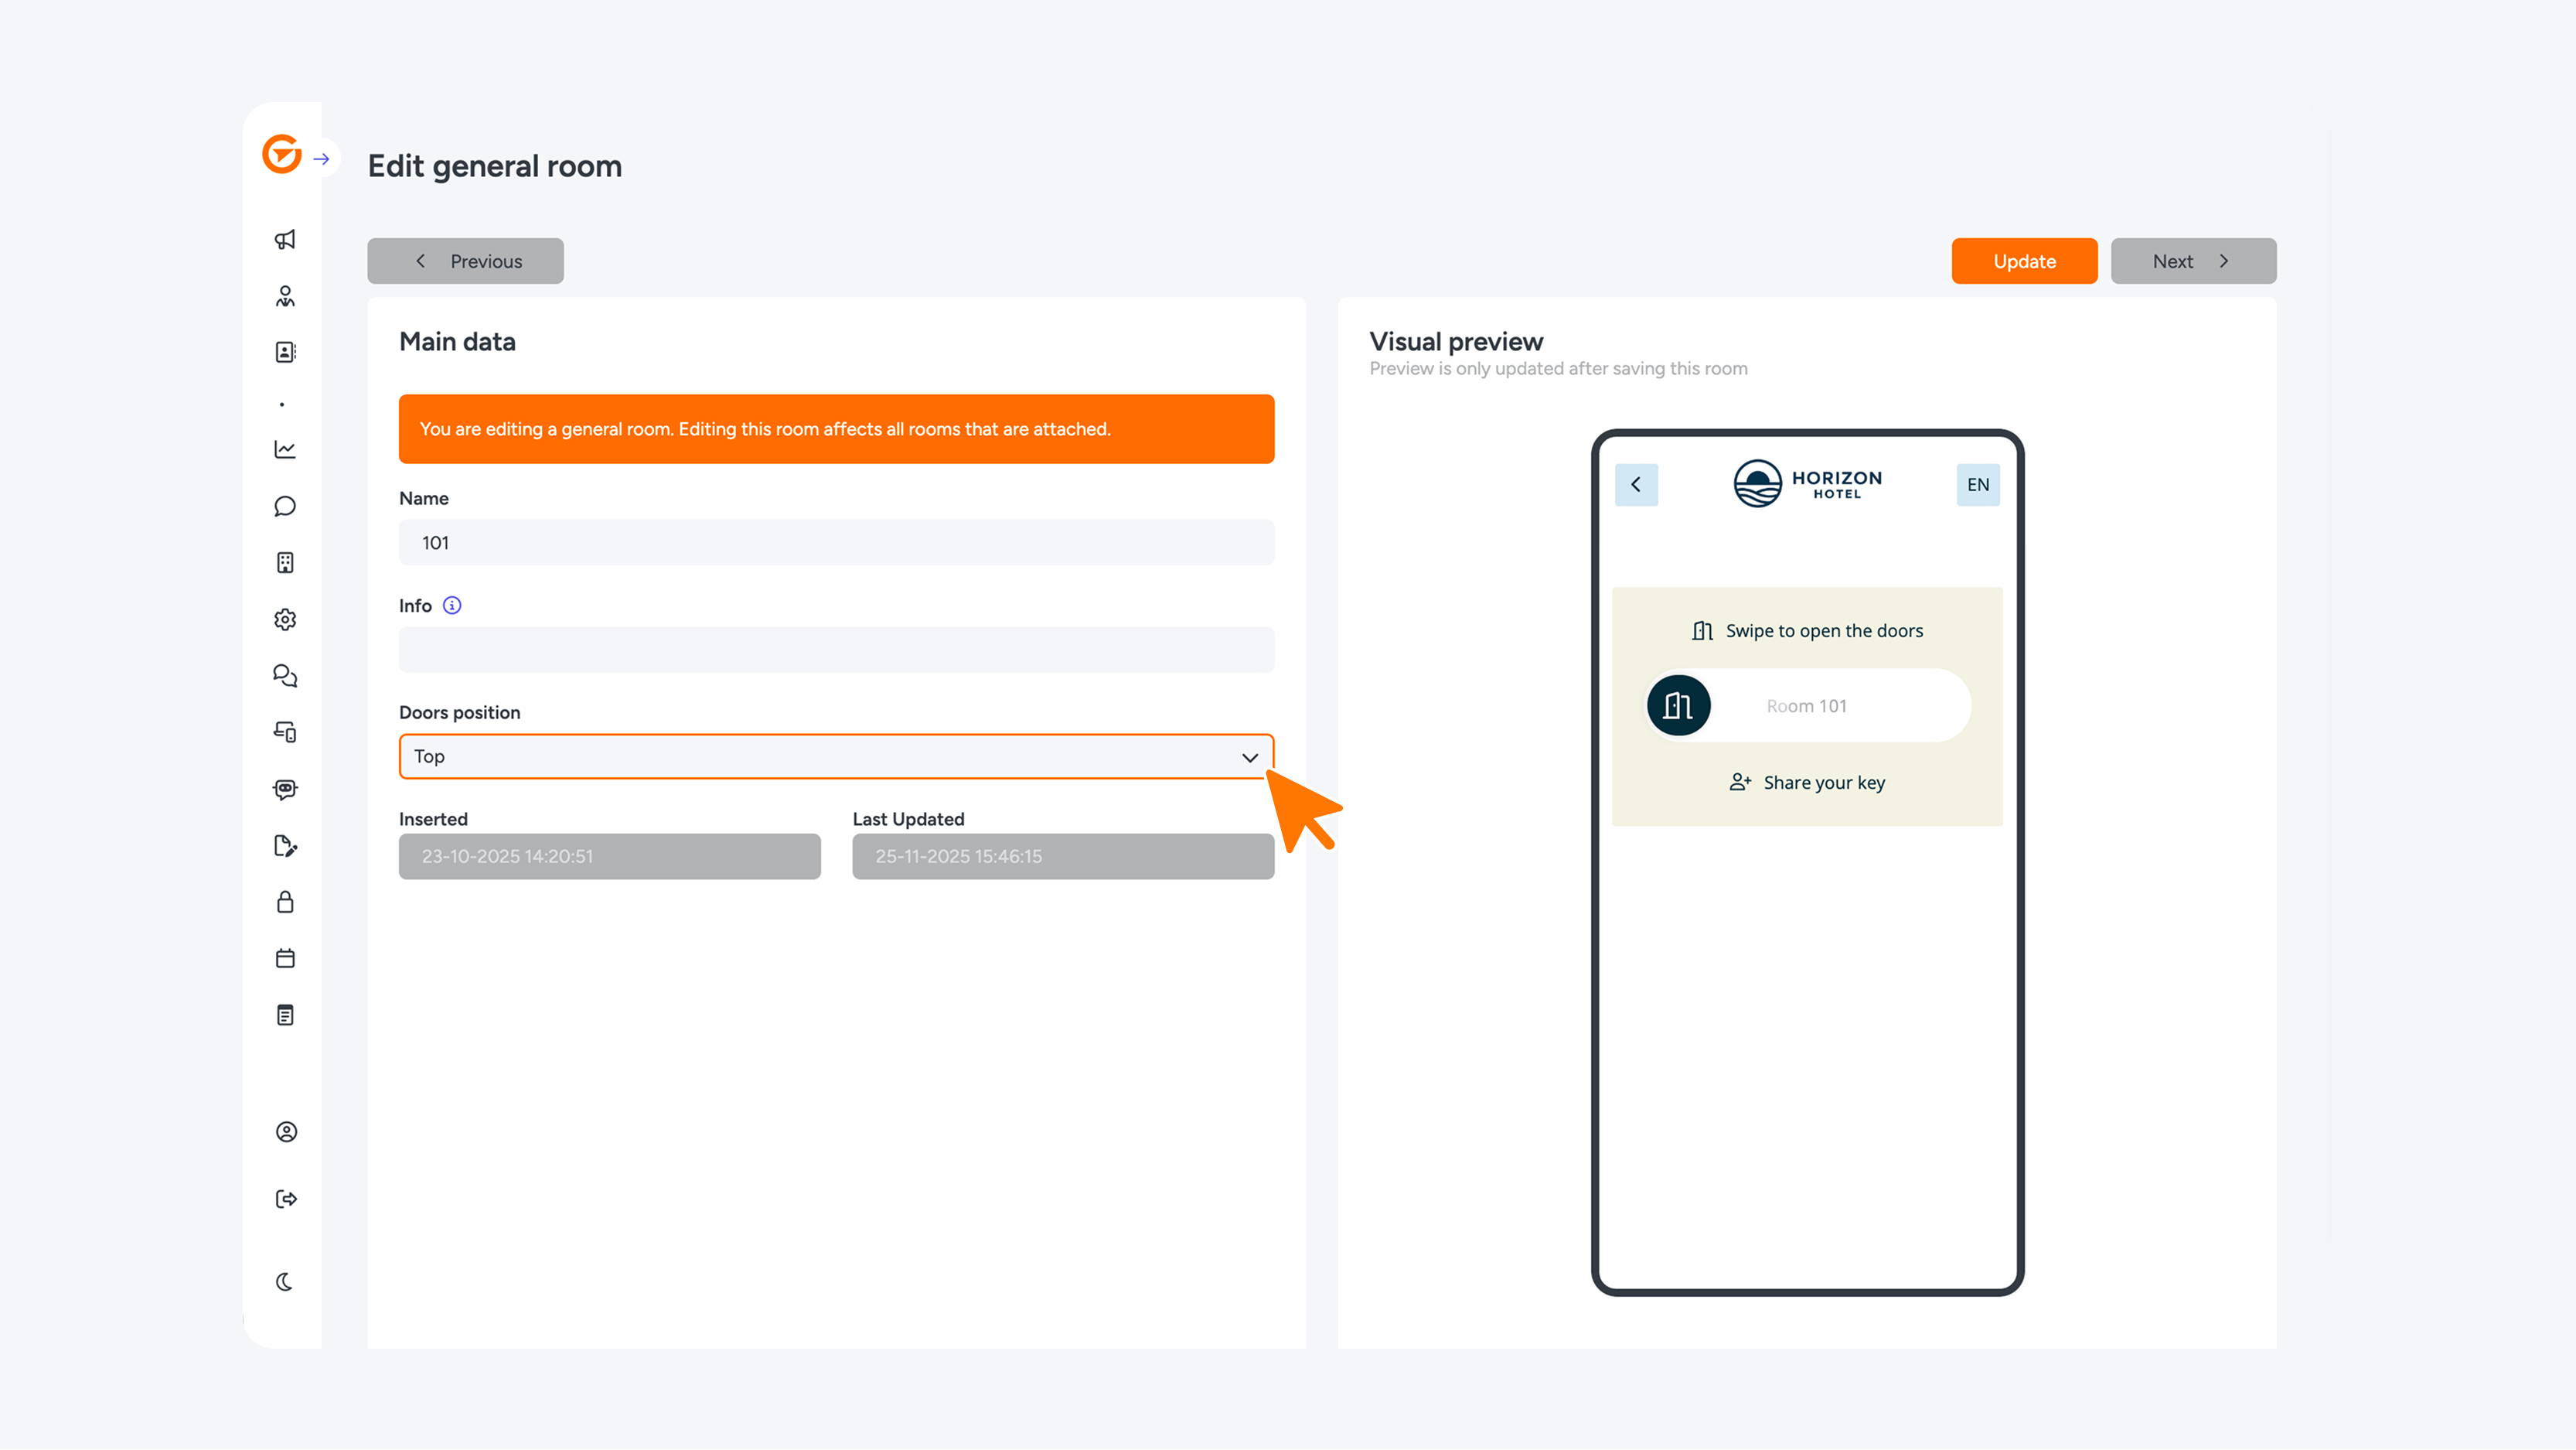
Now that the rooms have been created, you can start setting them up. Open the top room and give it a specific name. Where you entered 'Room' in step 4, change it now to, for example, 'Room 1'. Since the general settings are already in place, you only need to add 'Room 1' under 'Available Doors'. Then, click Save.
Repeat these steps for the remaining rooms. Make sure to select the correct room name for each input field.

7. Changing the door layout
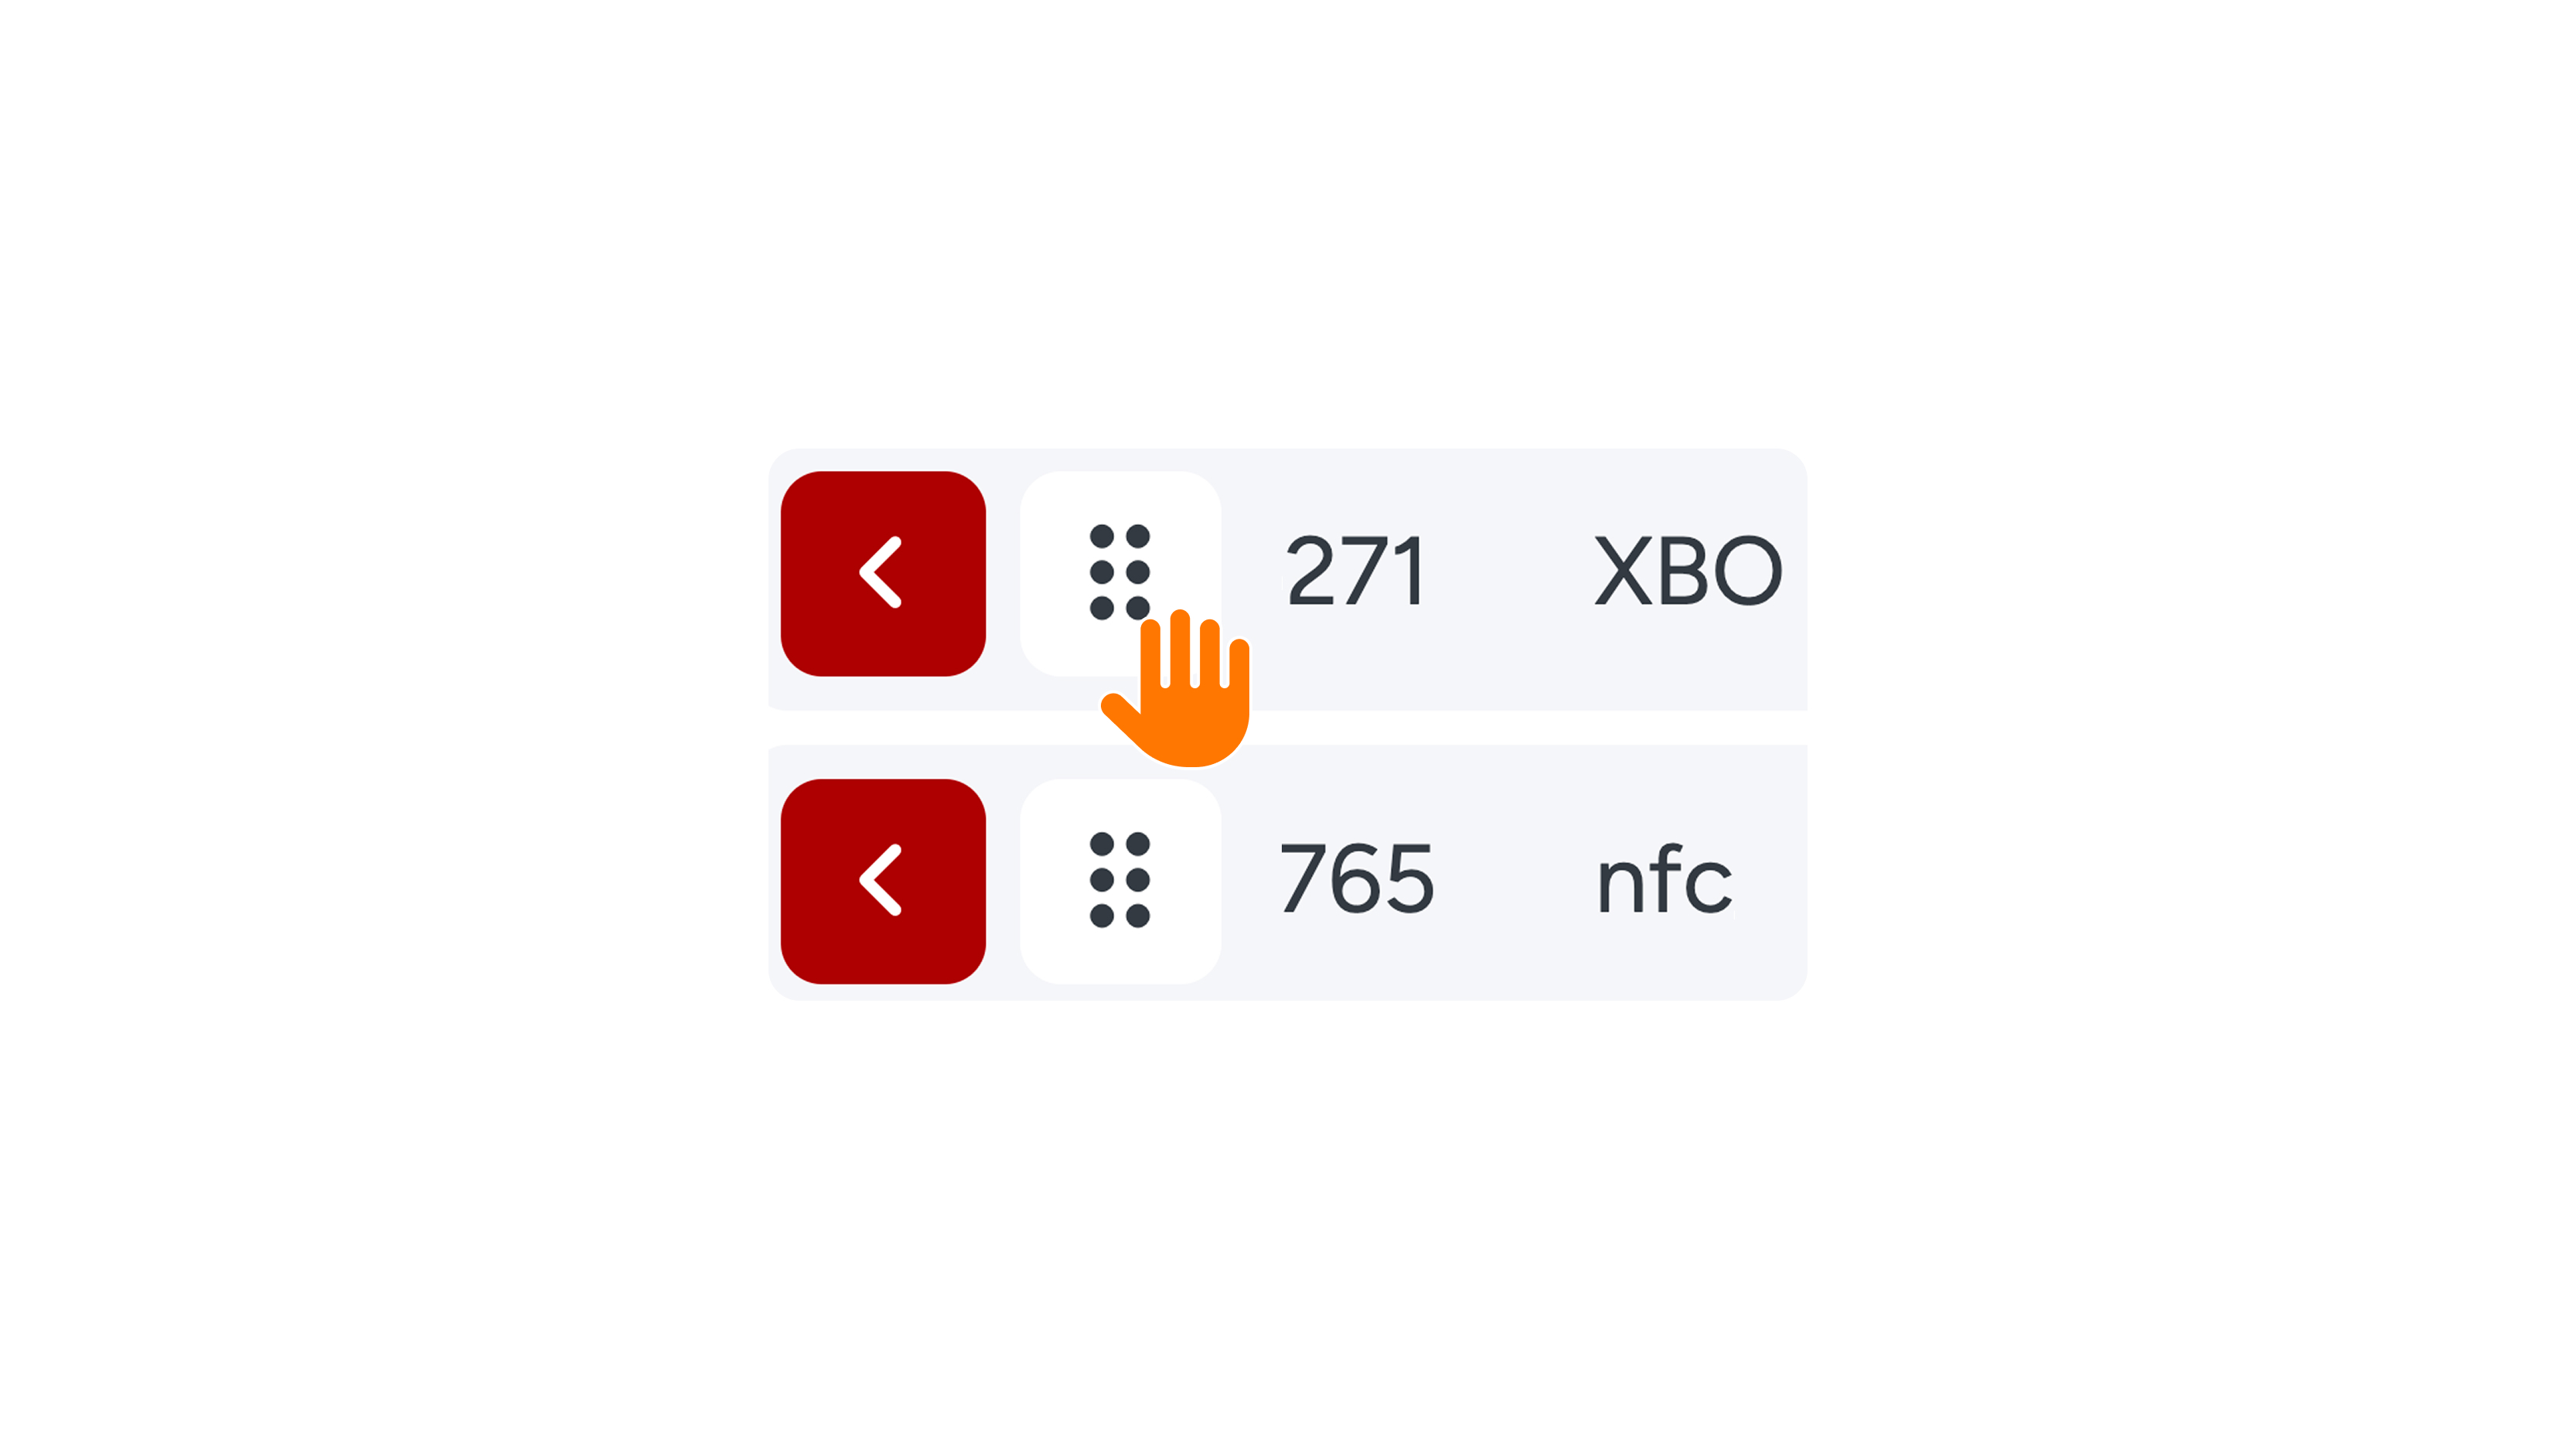
Have you created 'General Rooms'? If so, you can easily determine the position of the doors. Open the desired General Room and, under 'Doors position', choose either 'Top' or 'Bottom'. Do you want to adjust the specific order of the doors? Scroll down to 'Granted Doors'; here, you can simply drag and drop the doors into the correct position.