9. Company groups (central pages)
Centralized page management across your organization
Does your organization operate across multiple locations? If so, much of the information in your web apps is likely identical (such as house rules, forms, facilities, or protocols). With Company Groups, you create these pages just once and link them to multiple web apps within your organization. You manage them in one central location, and any updates are instantly reflected across all apps using the page, all fully customized to your corporate branding.
An example
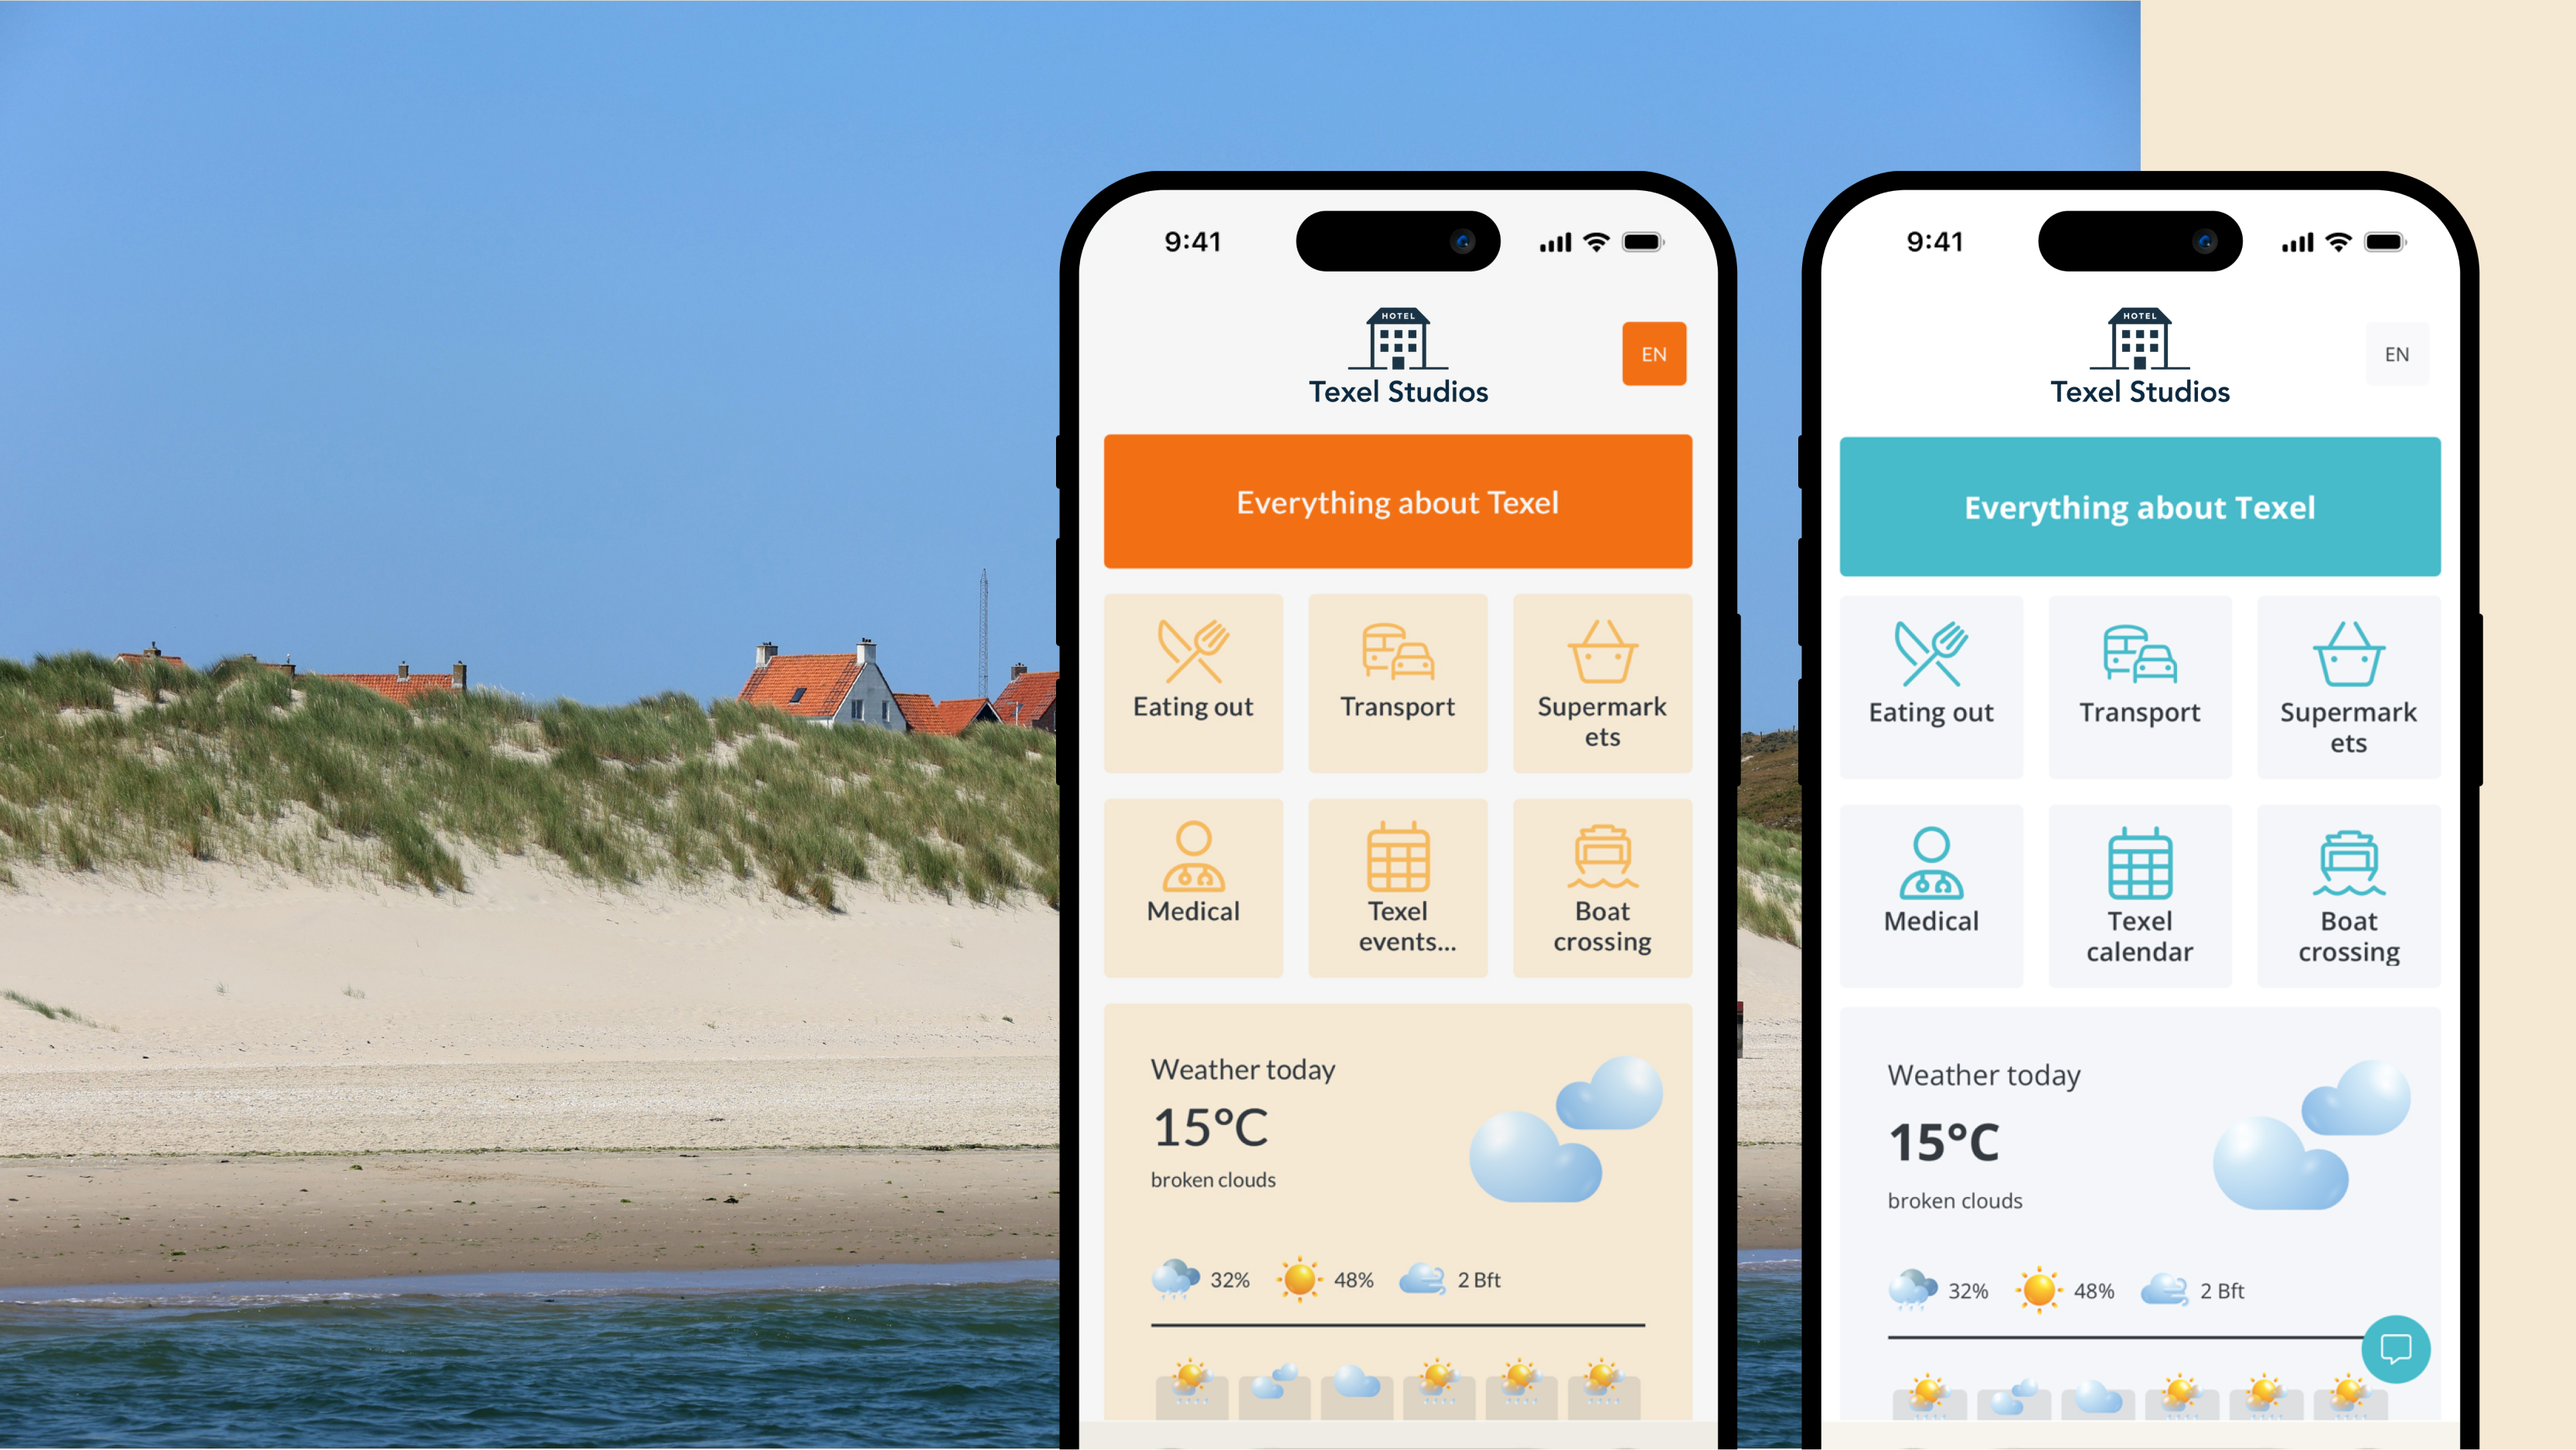
Suppose your organization has five different hotel locations, each with its own web app. Location-specific information varies per app, but general information (such as house rules, local points of interest, or restaurant pricing) is the same for everyone. By placing these general pages in a Company Group, you don't have to create and maintain them separately in all five apps.
Without Company Groups, you would have to create those pages five times and update them five times whenever a change occurs. With Company Groups, you add them to a group once and link them to all five apps.
The benefits
- Create once, use everywhere. Create a page once and link it to any web app within your organization where it is needed.
- One update, instantly current everywhere. Has something changed? Update the page in the Company Group and the changes are automatically applied across all linked apps.
- Consistent information across all locations. Everyone in your organization works with the exact same, up-to-date information. This prevents any location from accidentally displaying outdated content.
What do you need?
Enabling Company Groups
Company Groups is not enabled by default. Would you like to use this feature? Contact us at support@guestcompass.nl, and we will activate it for you.
The required permissions
To create, edit, or manage Company Groups, you need at least the 'Company' user role. Don't have this role, but need to make changes? Contact us at support@guestcompass.nl.
How it works
Your group overview
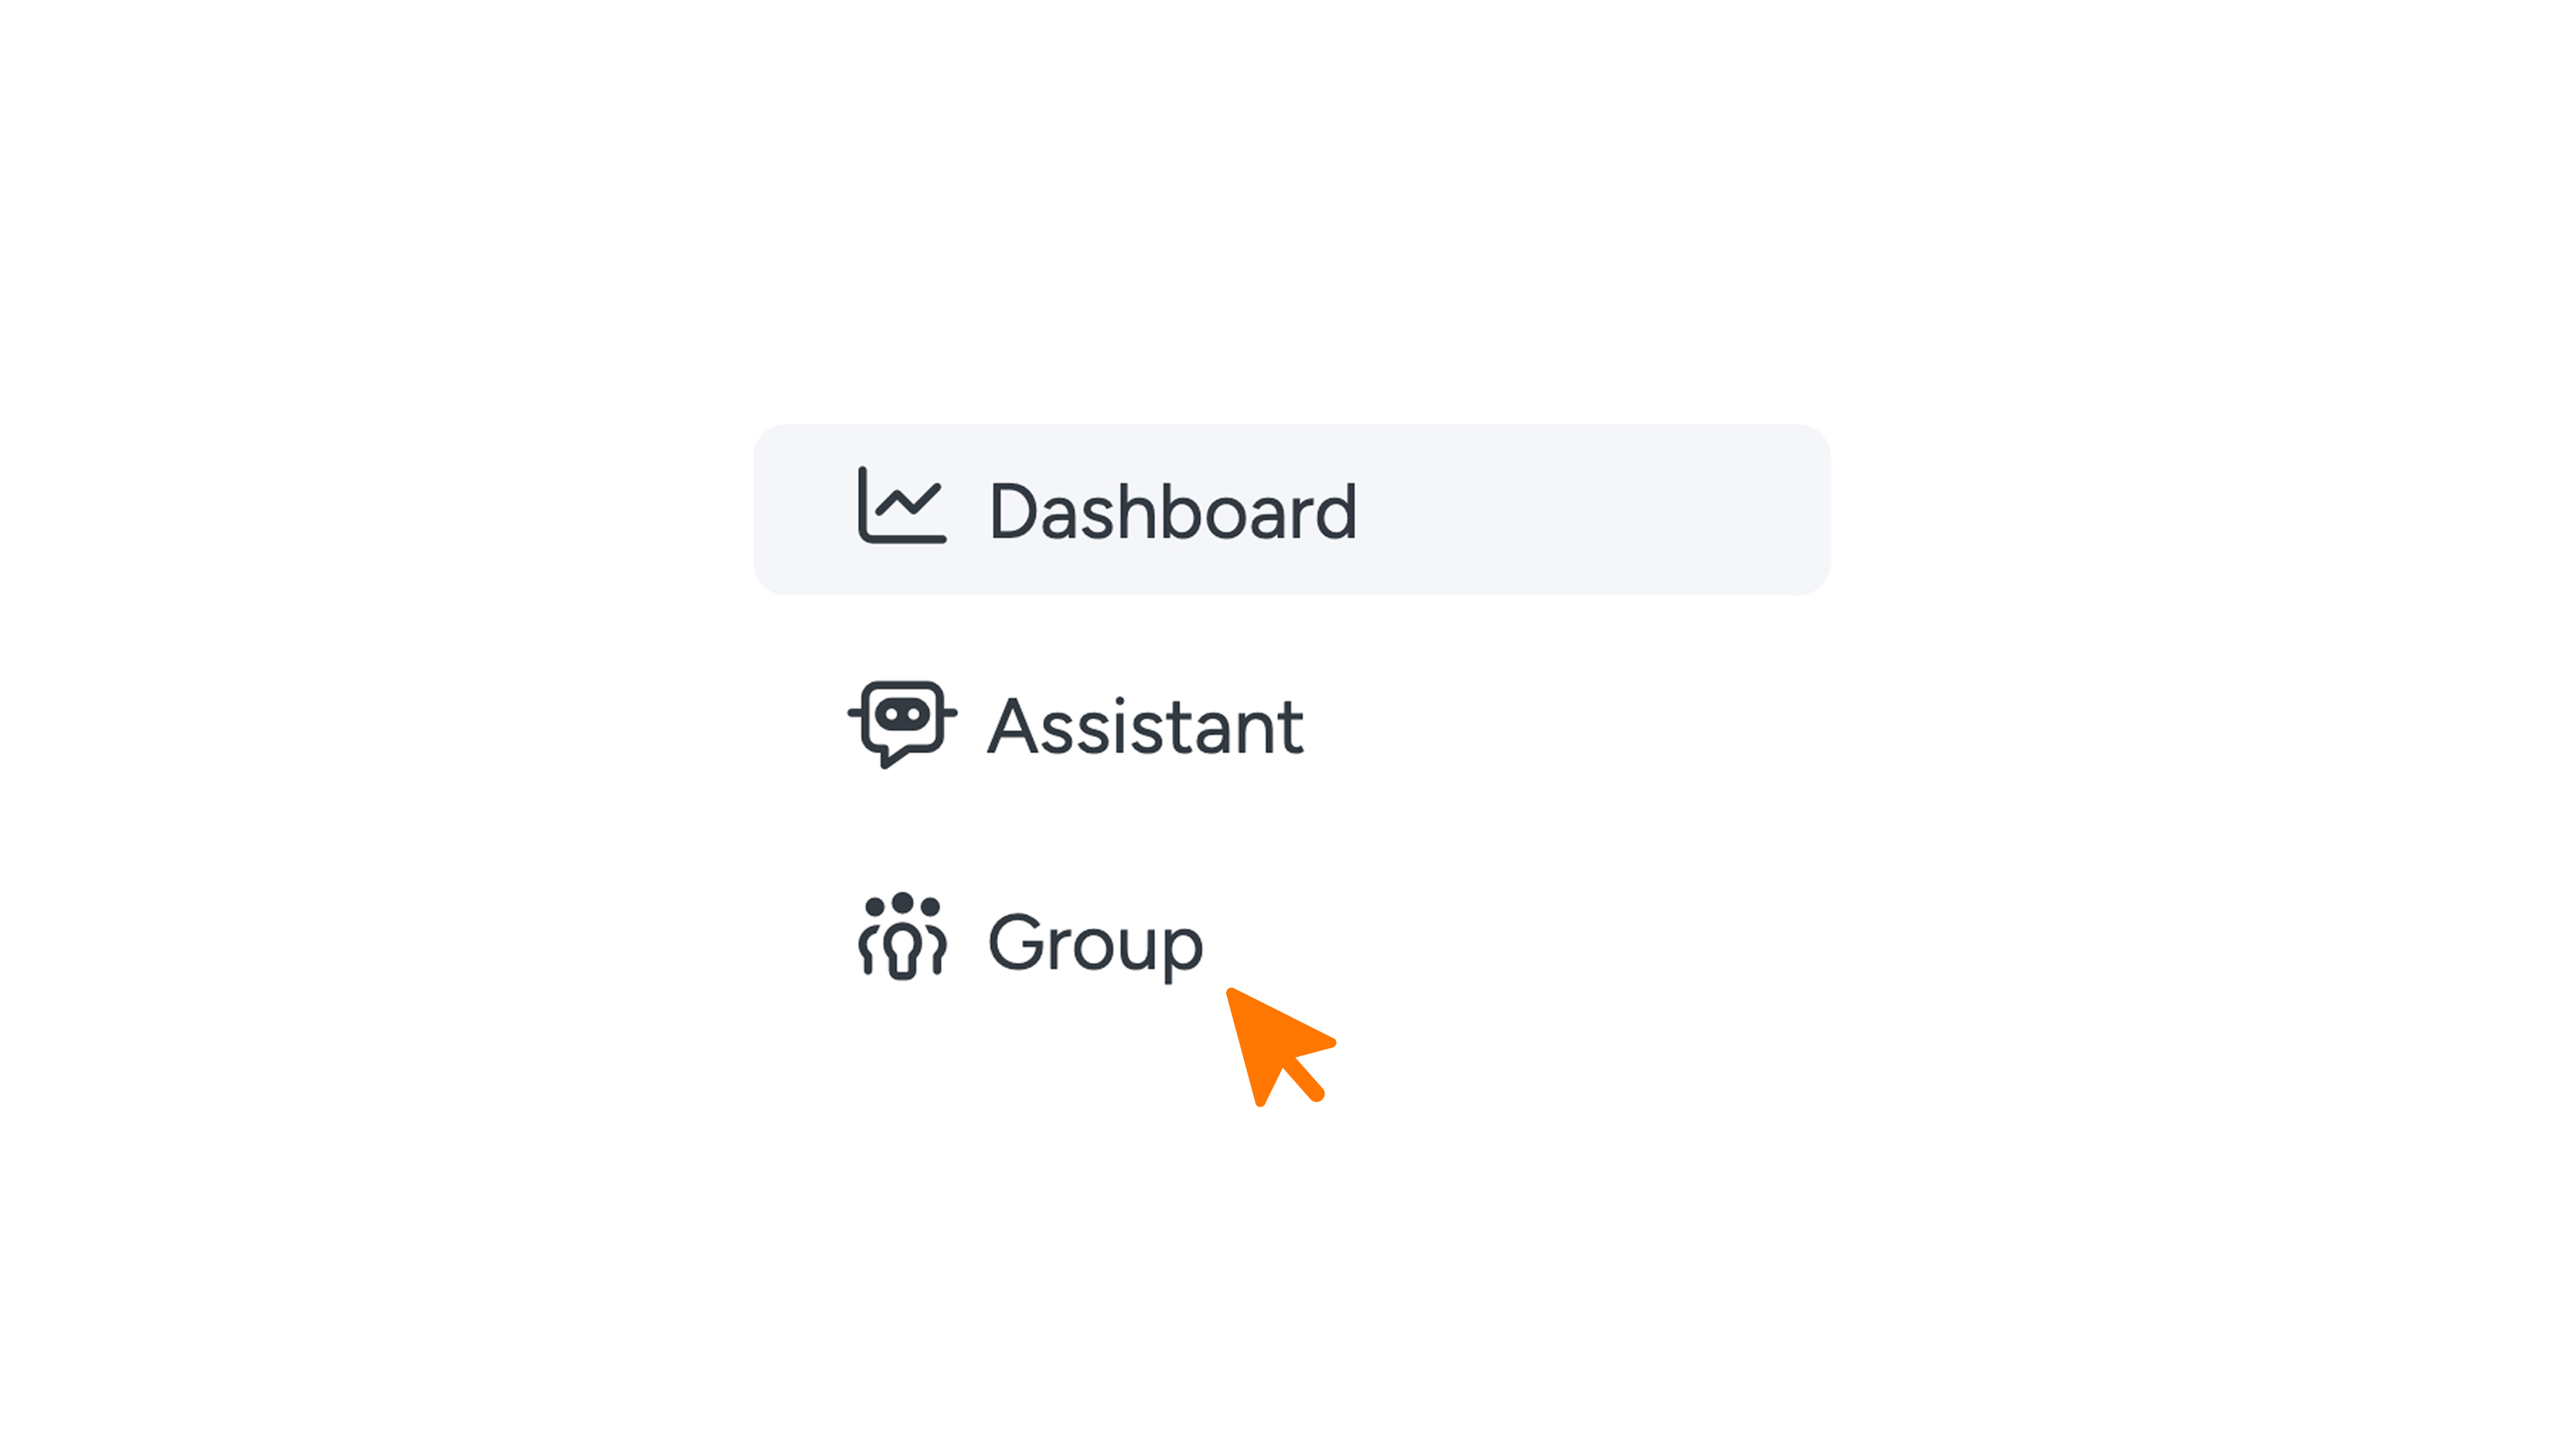
As soon as Company Groups is enabled, you will see the 'Group' option in the left-hand menu. Click here to go to your Company Group overview.
Here you can see at a glance:
- All pages, links, and files included in the group;
- Which companies (web apps) are using the group. If you have access to one of these companies, you can click on it to navigate directly to it.
For example, if you created a group called 'Facilities', you will see all associated pages here along with all locations using them.
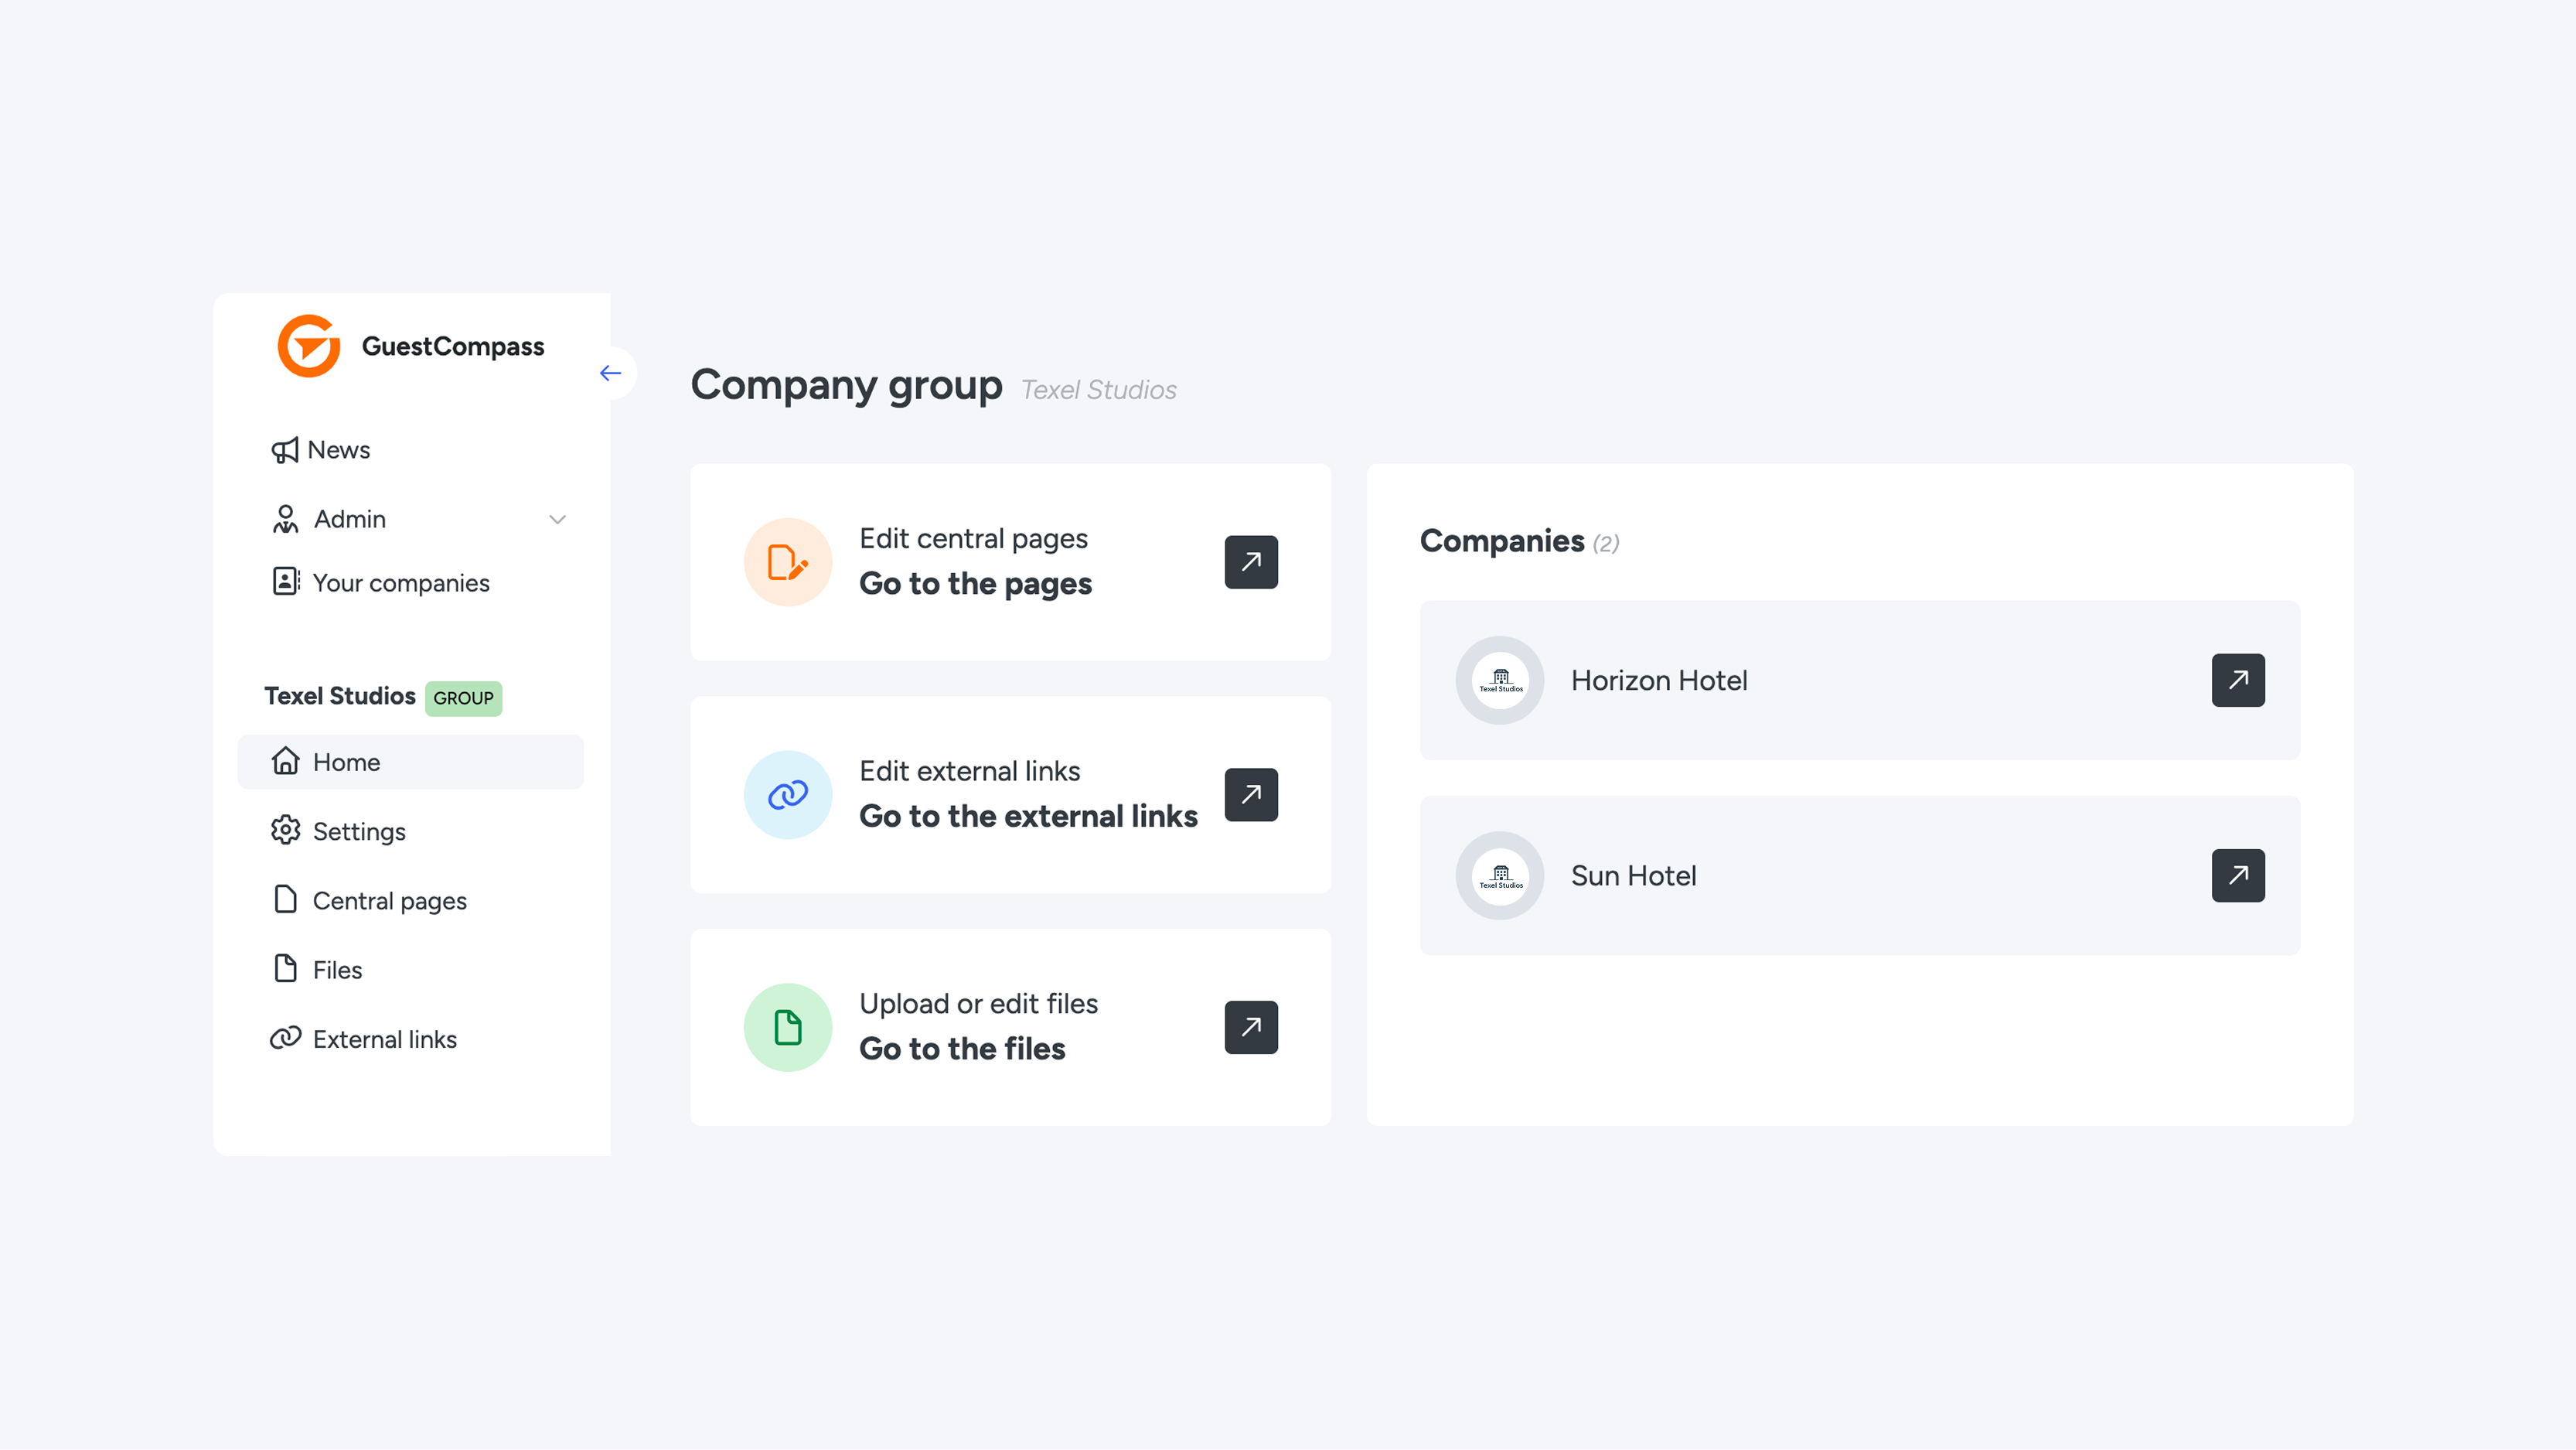
Step 1: Open the group's pages
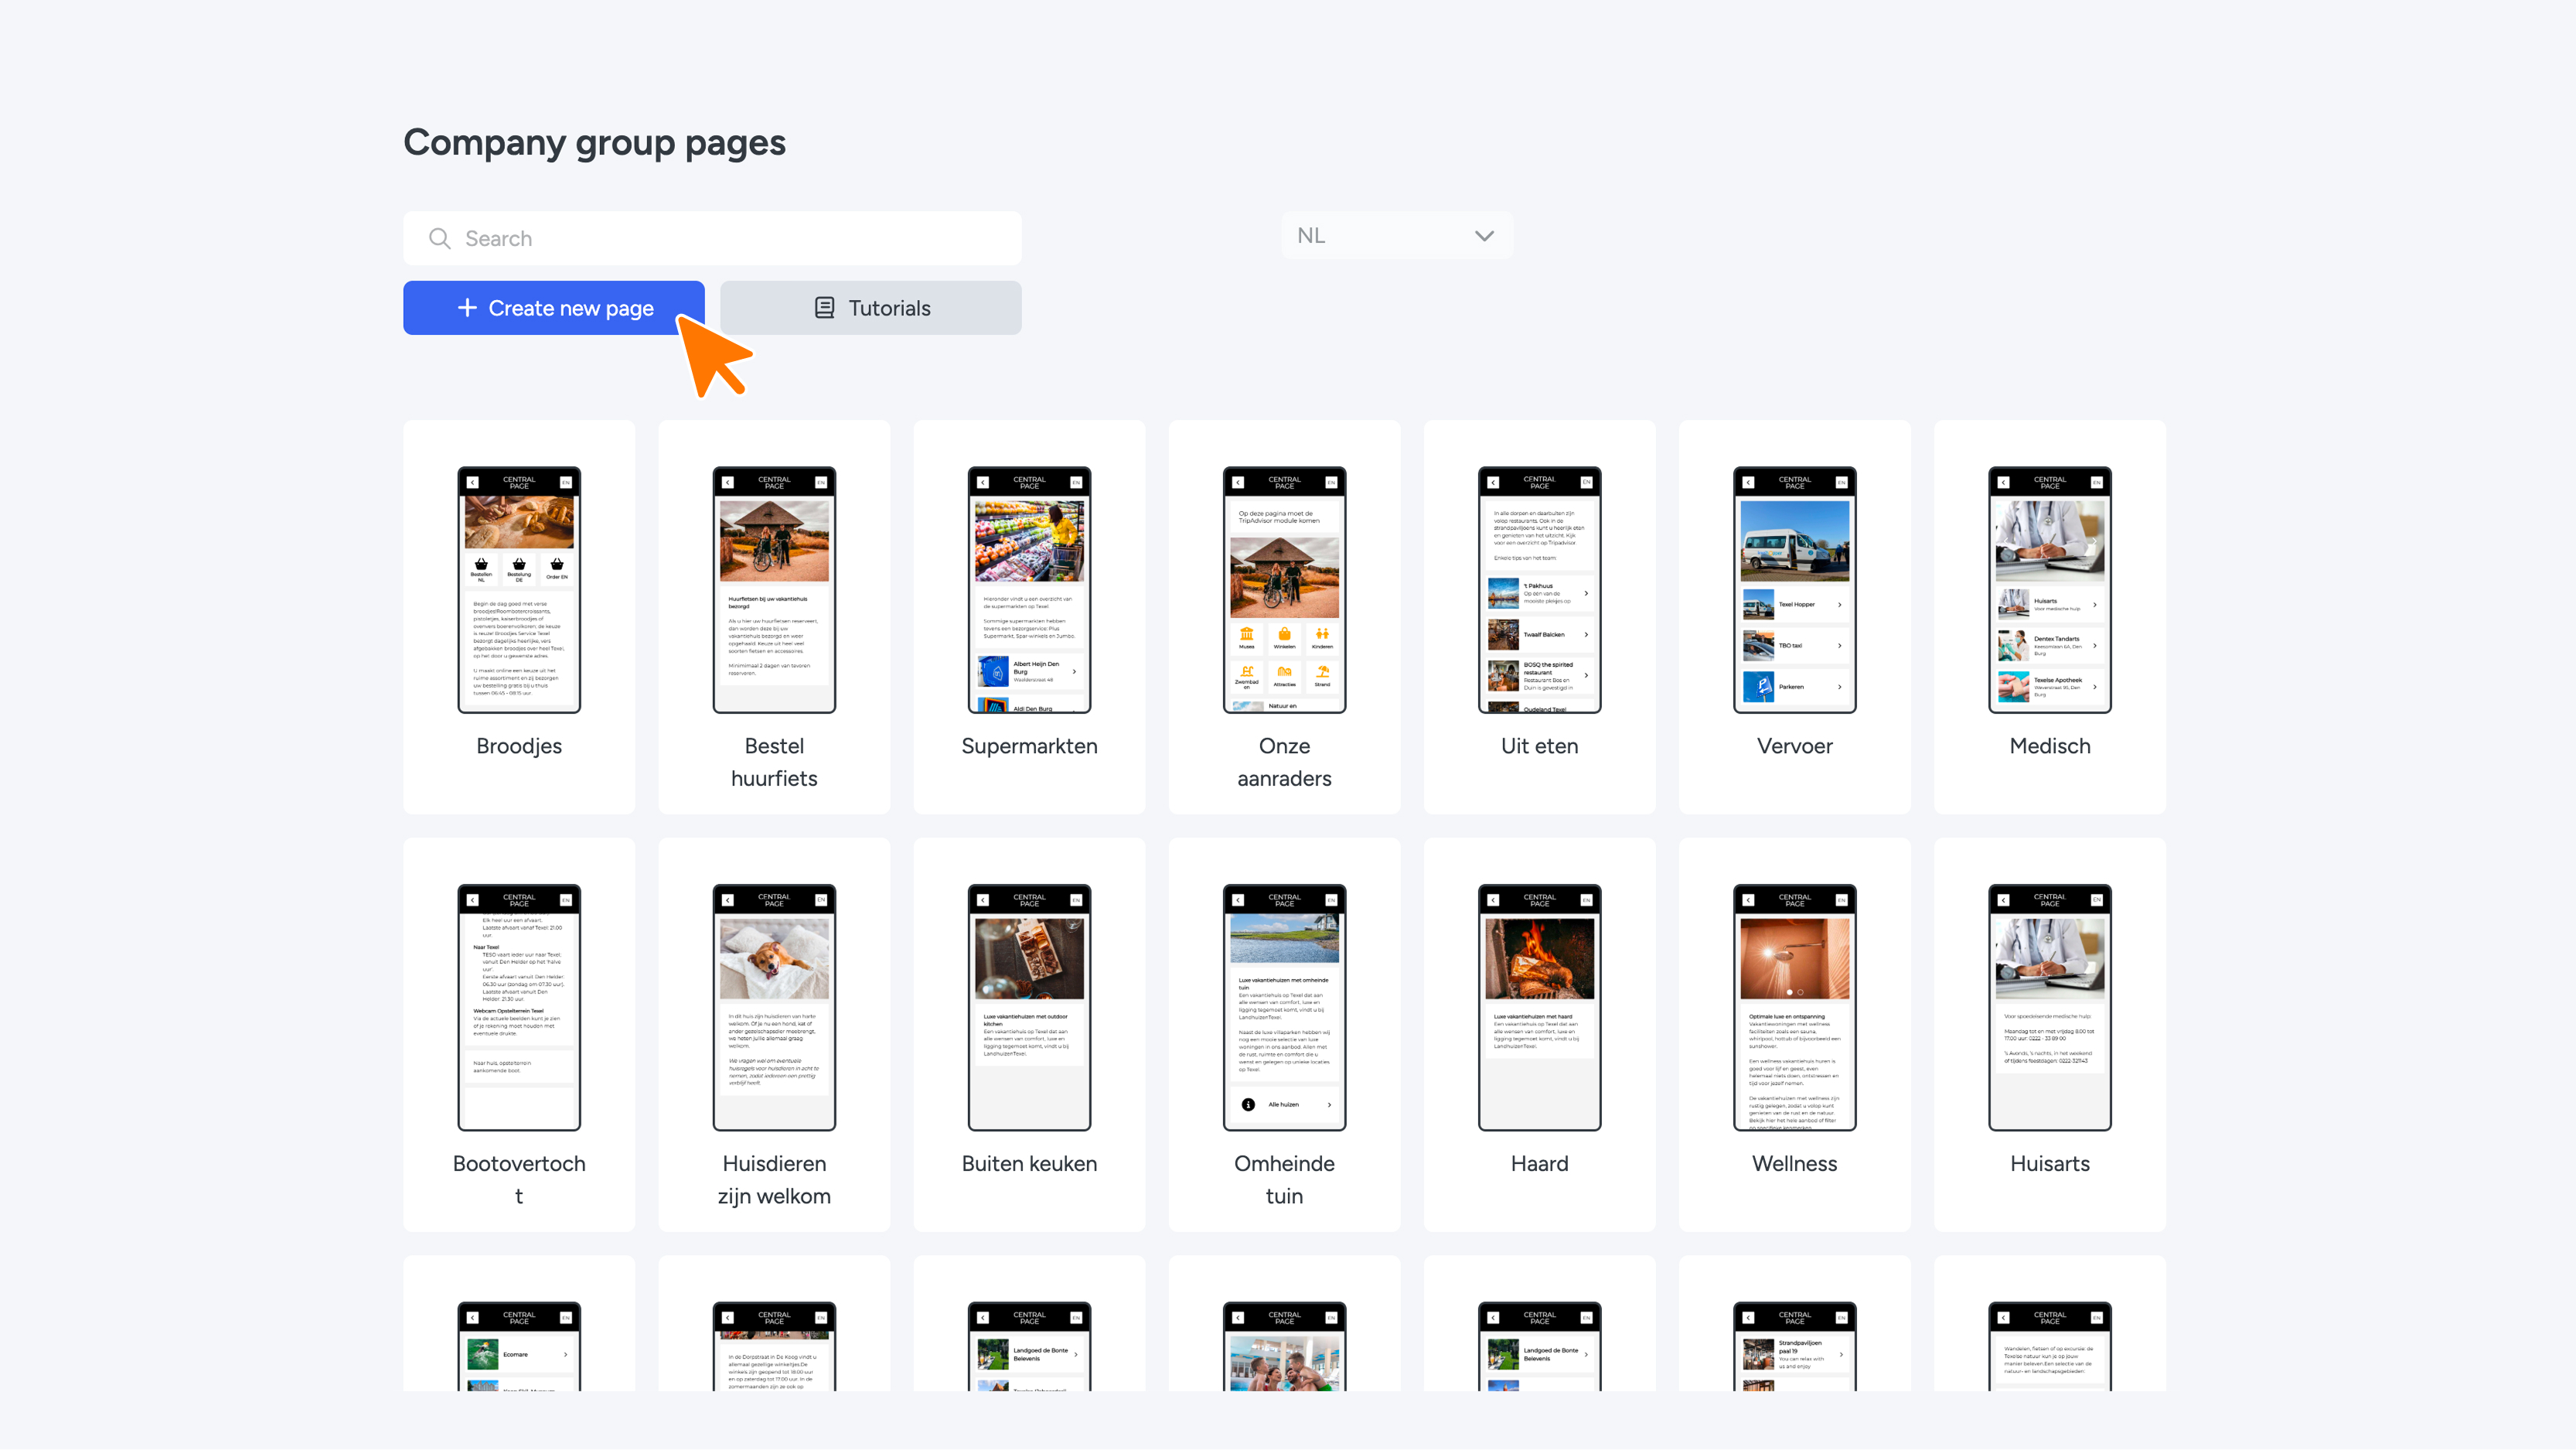
Click 'Go to the pages'. You will now see all pages within the Company Group. Please note: unlike in your own web app, you won't see a sitemap here, but rather a list of standalone pages.
- Want to create a new page? Click 'Create new page'.
- Want to edit an existing page? Hover over the page and click 'Edit page'.
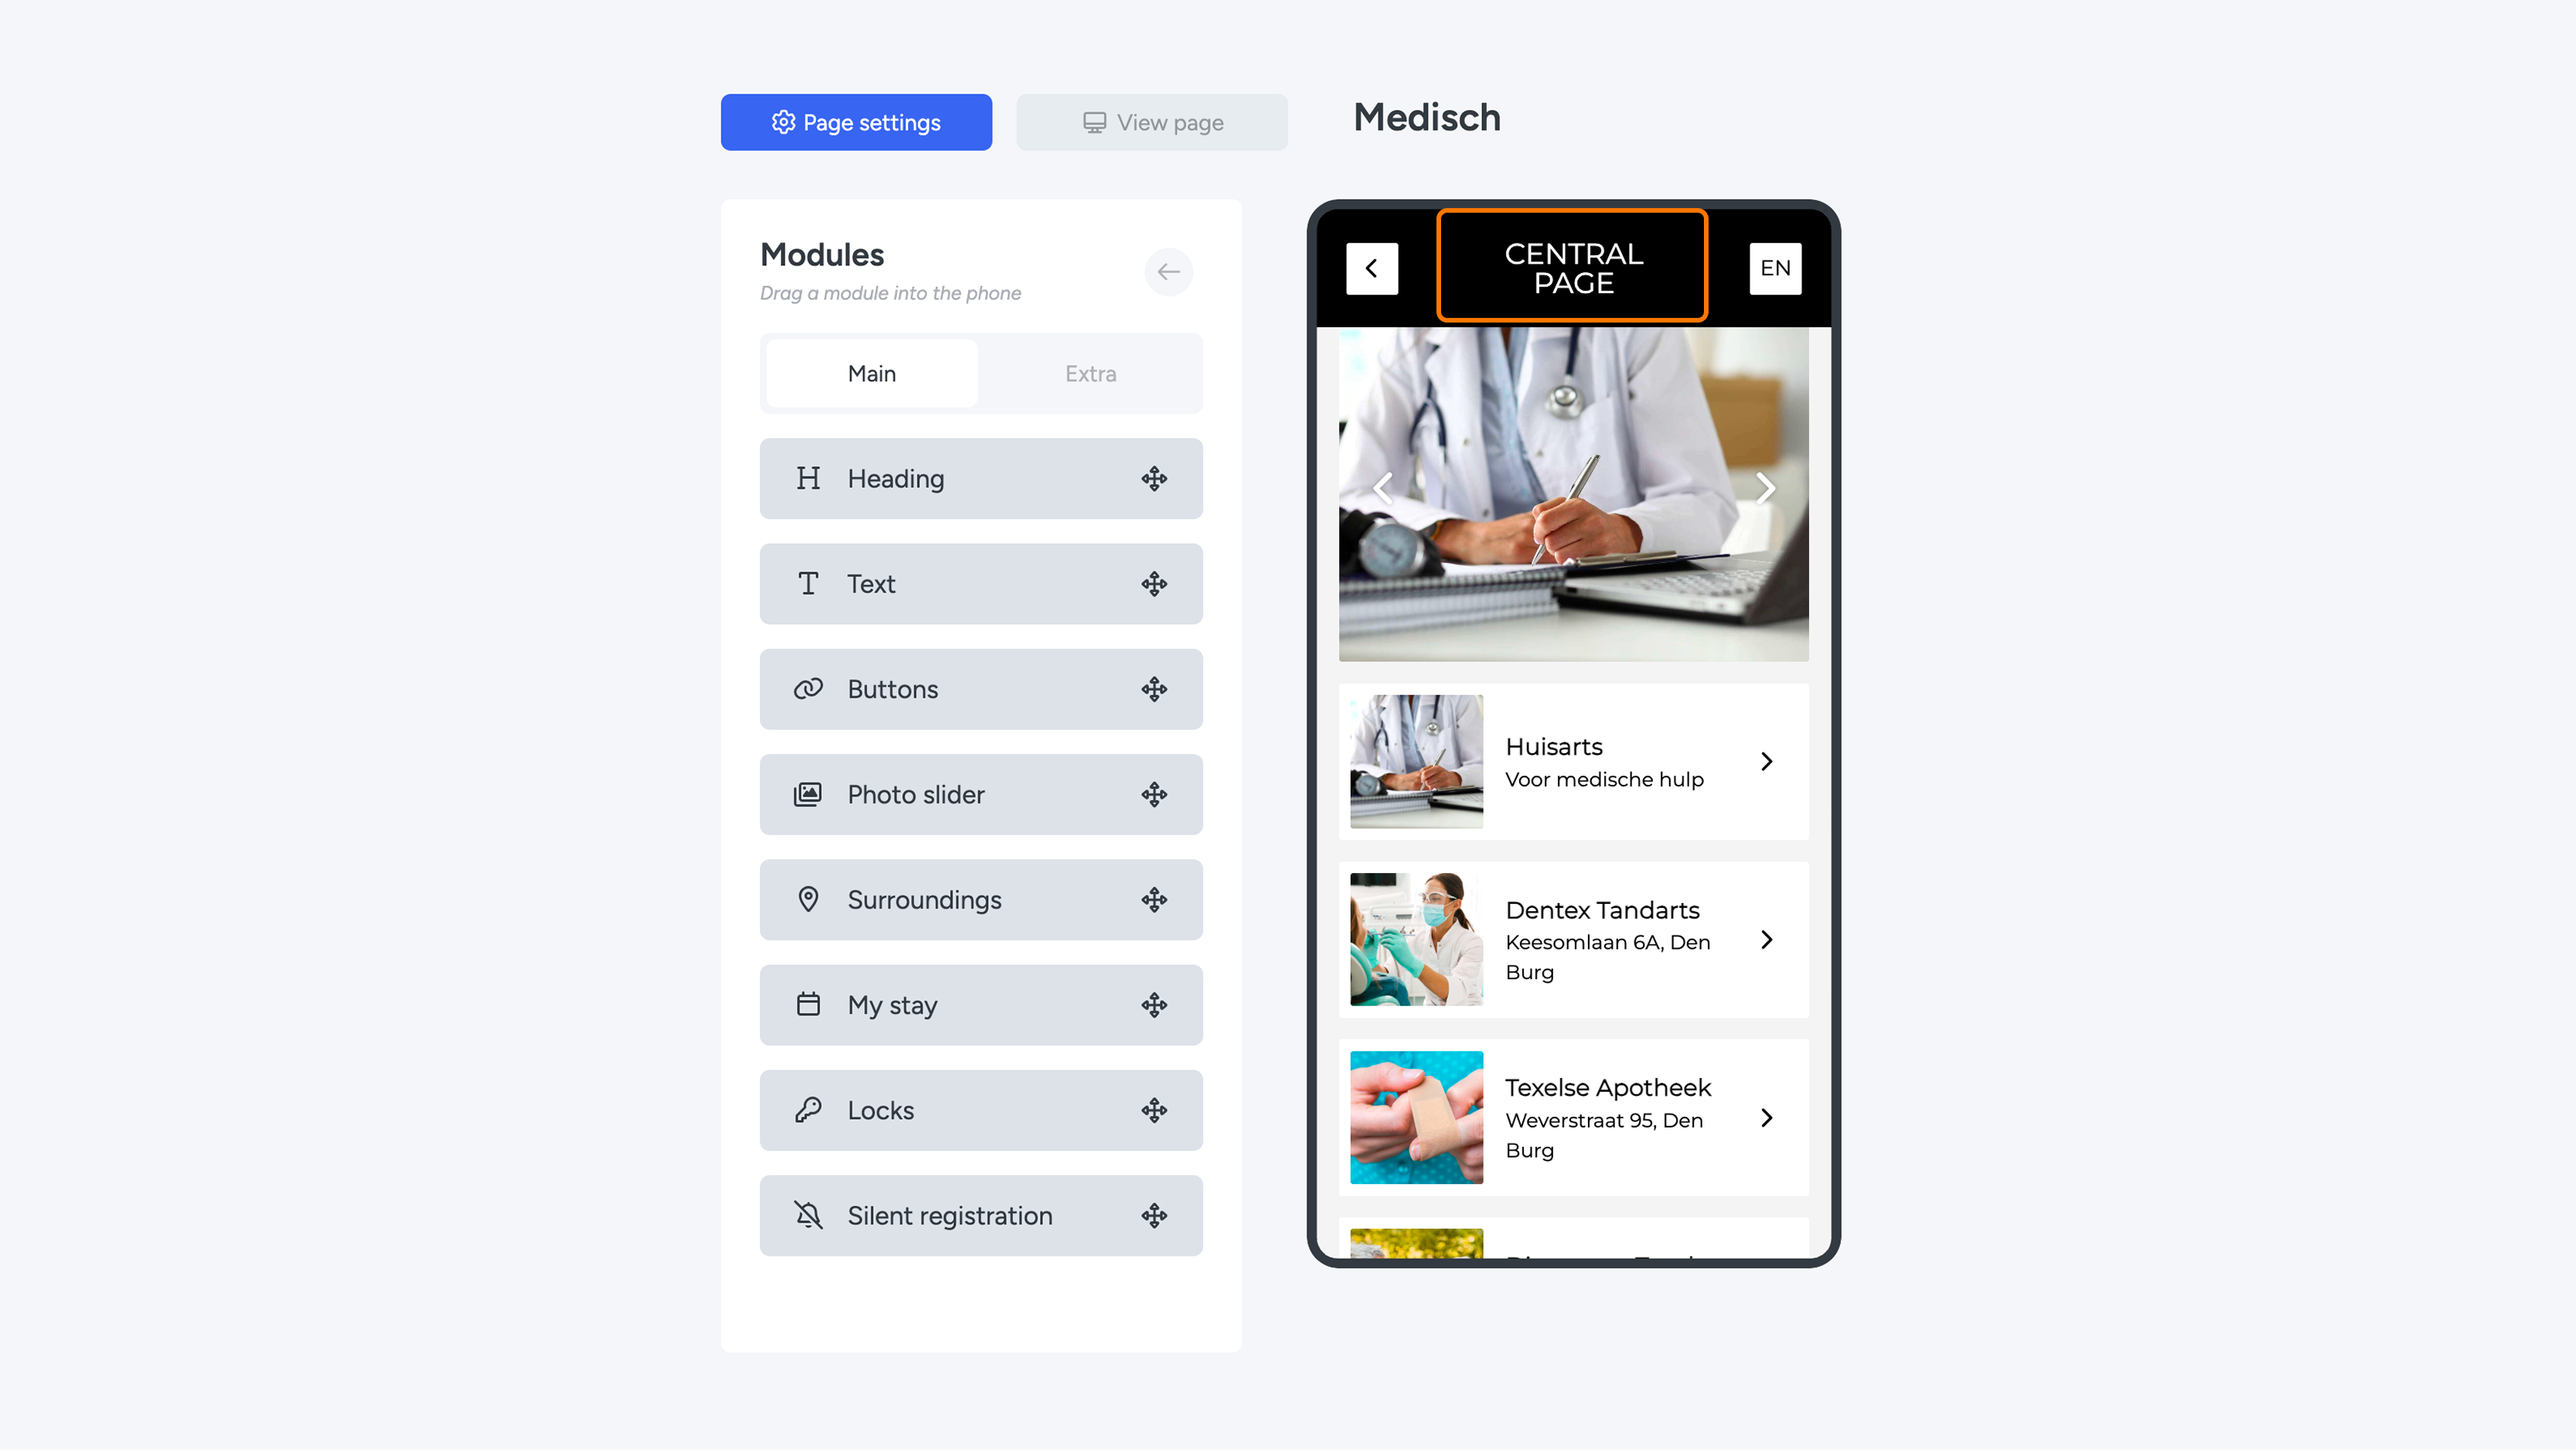
Step 2: Create or edit the page
Build the page as you normally would, using all the modules you typically use. You can also link pages within the group to each other—for example, by adding a button that points to another central page.
Step 3: Link the page in your own web app
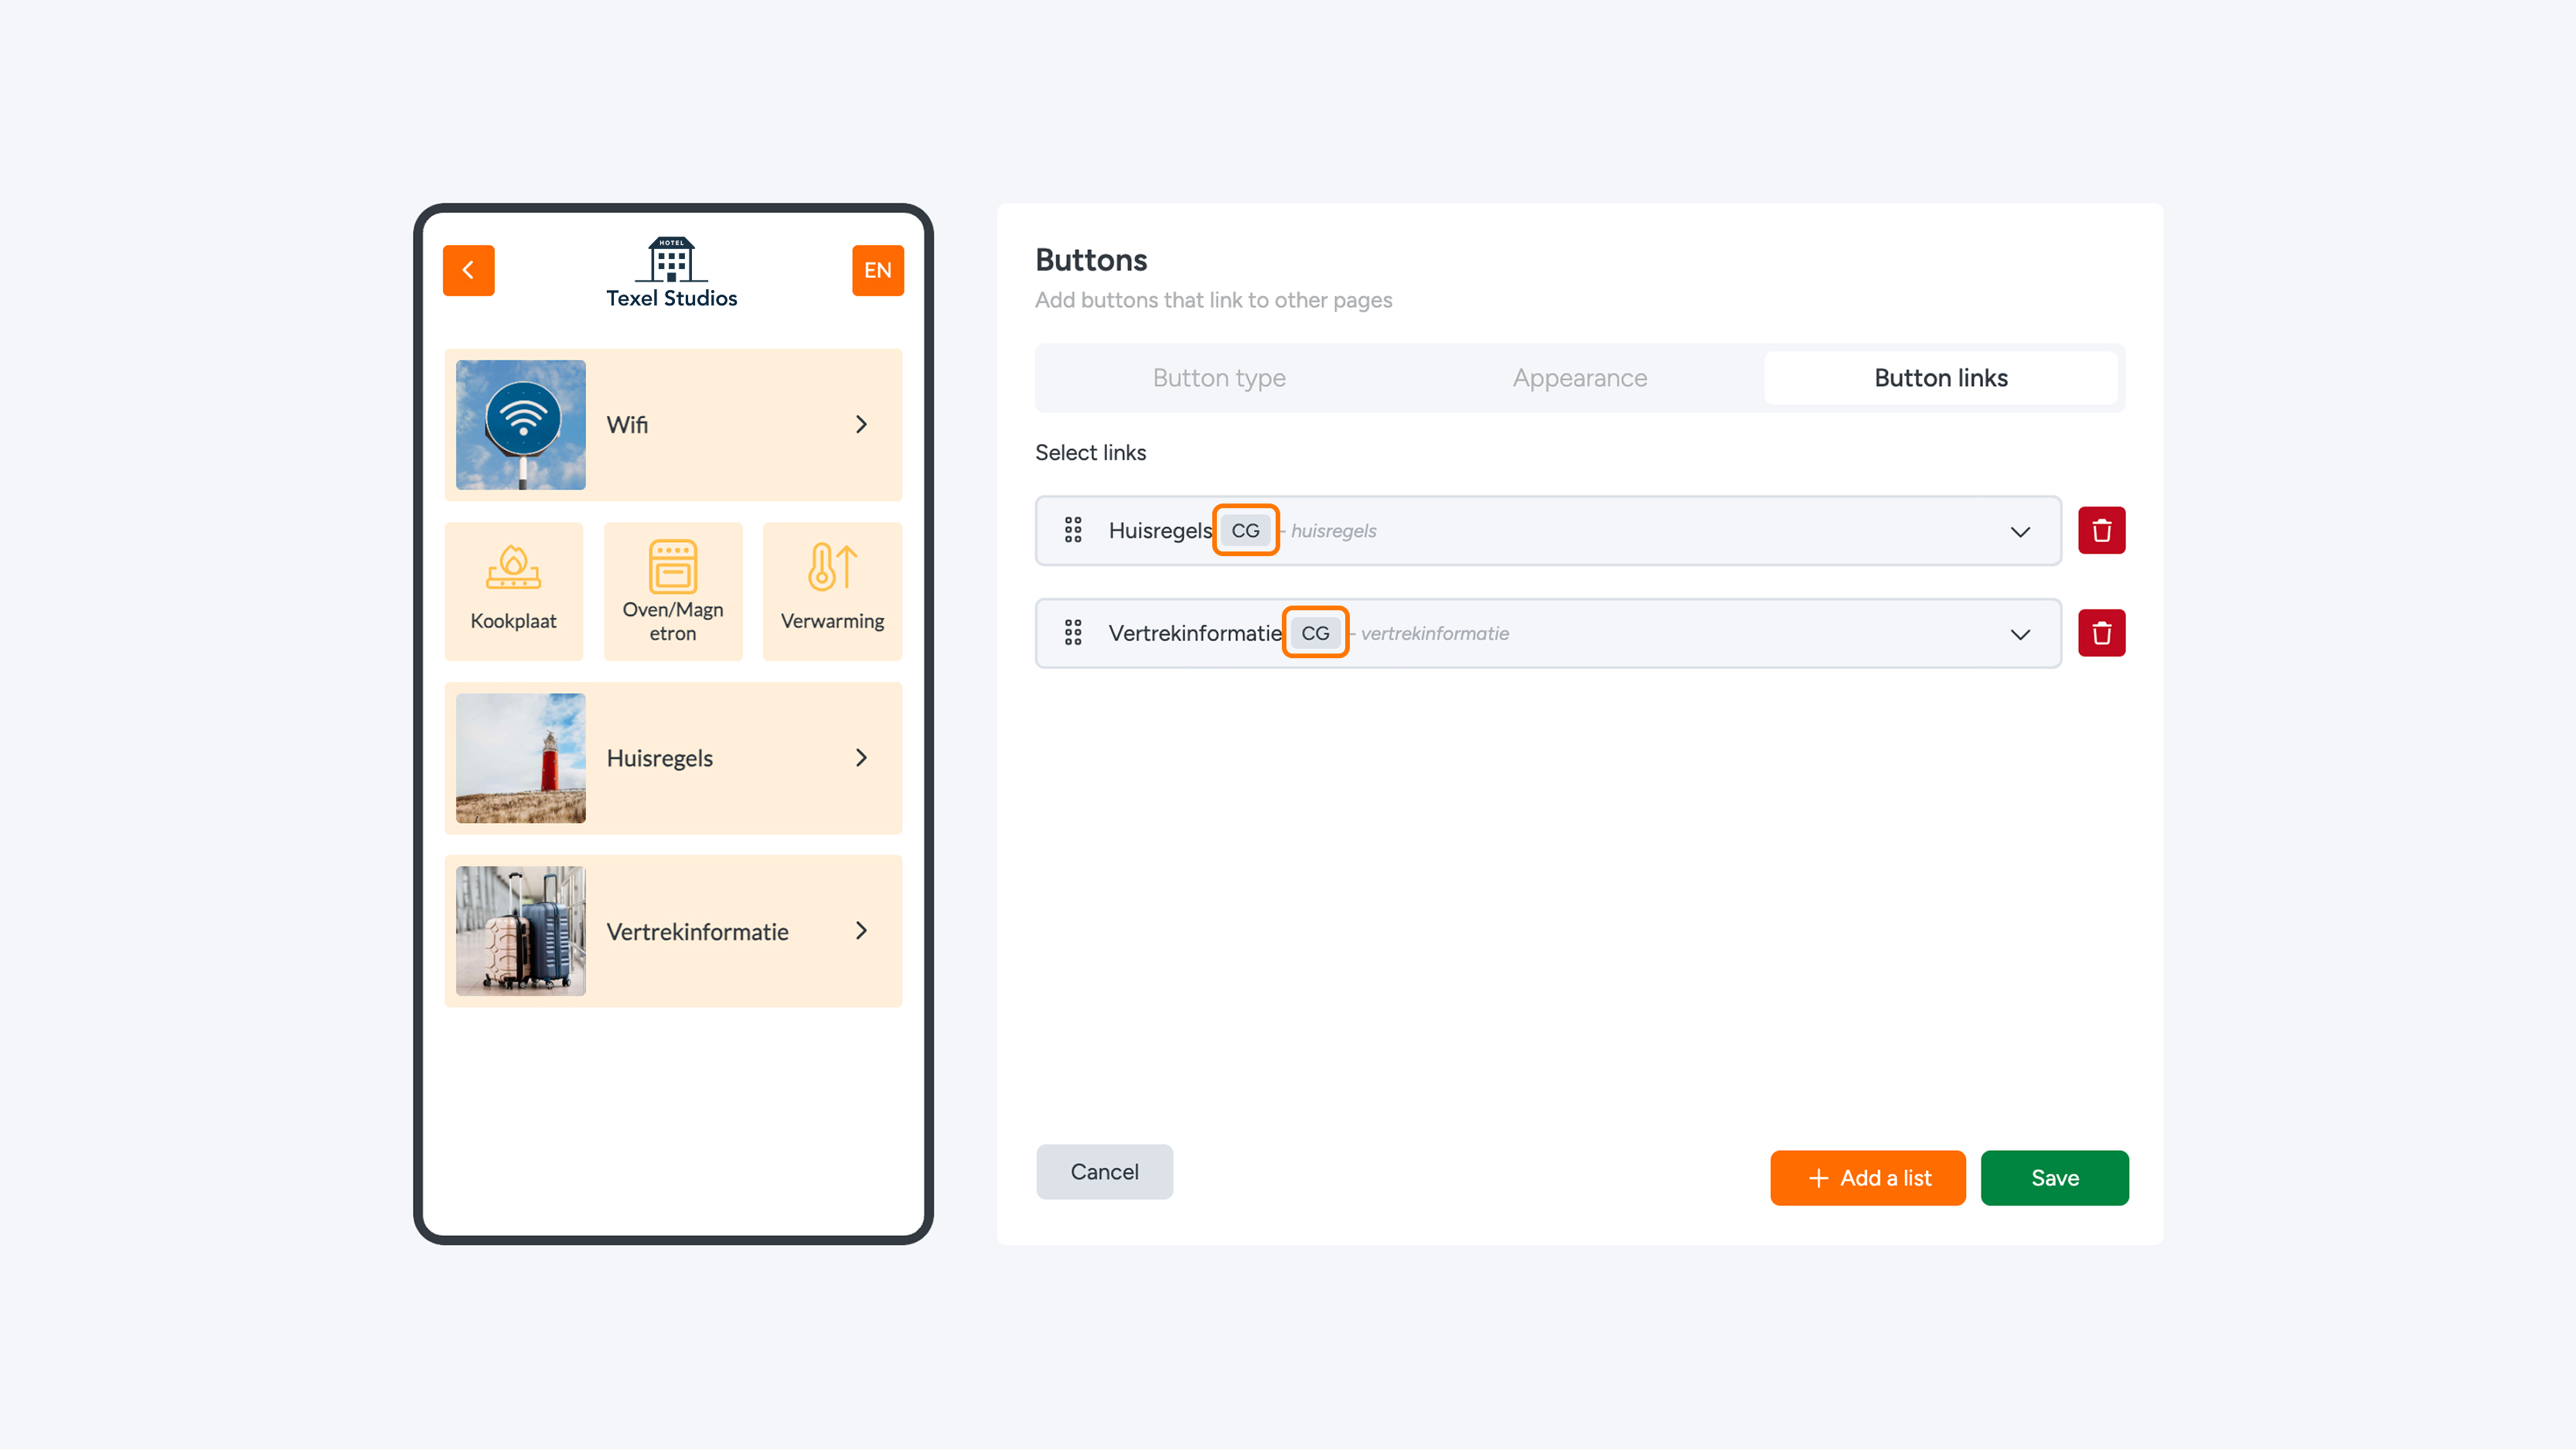
Go back to your own web app and add a button module where you want the page to appear. The pages from your Company Group will now be listed in the button's dropdown menu. Select the page you want to link, and you're done.
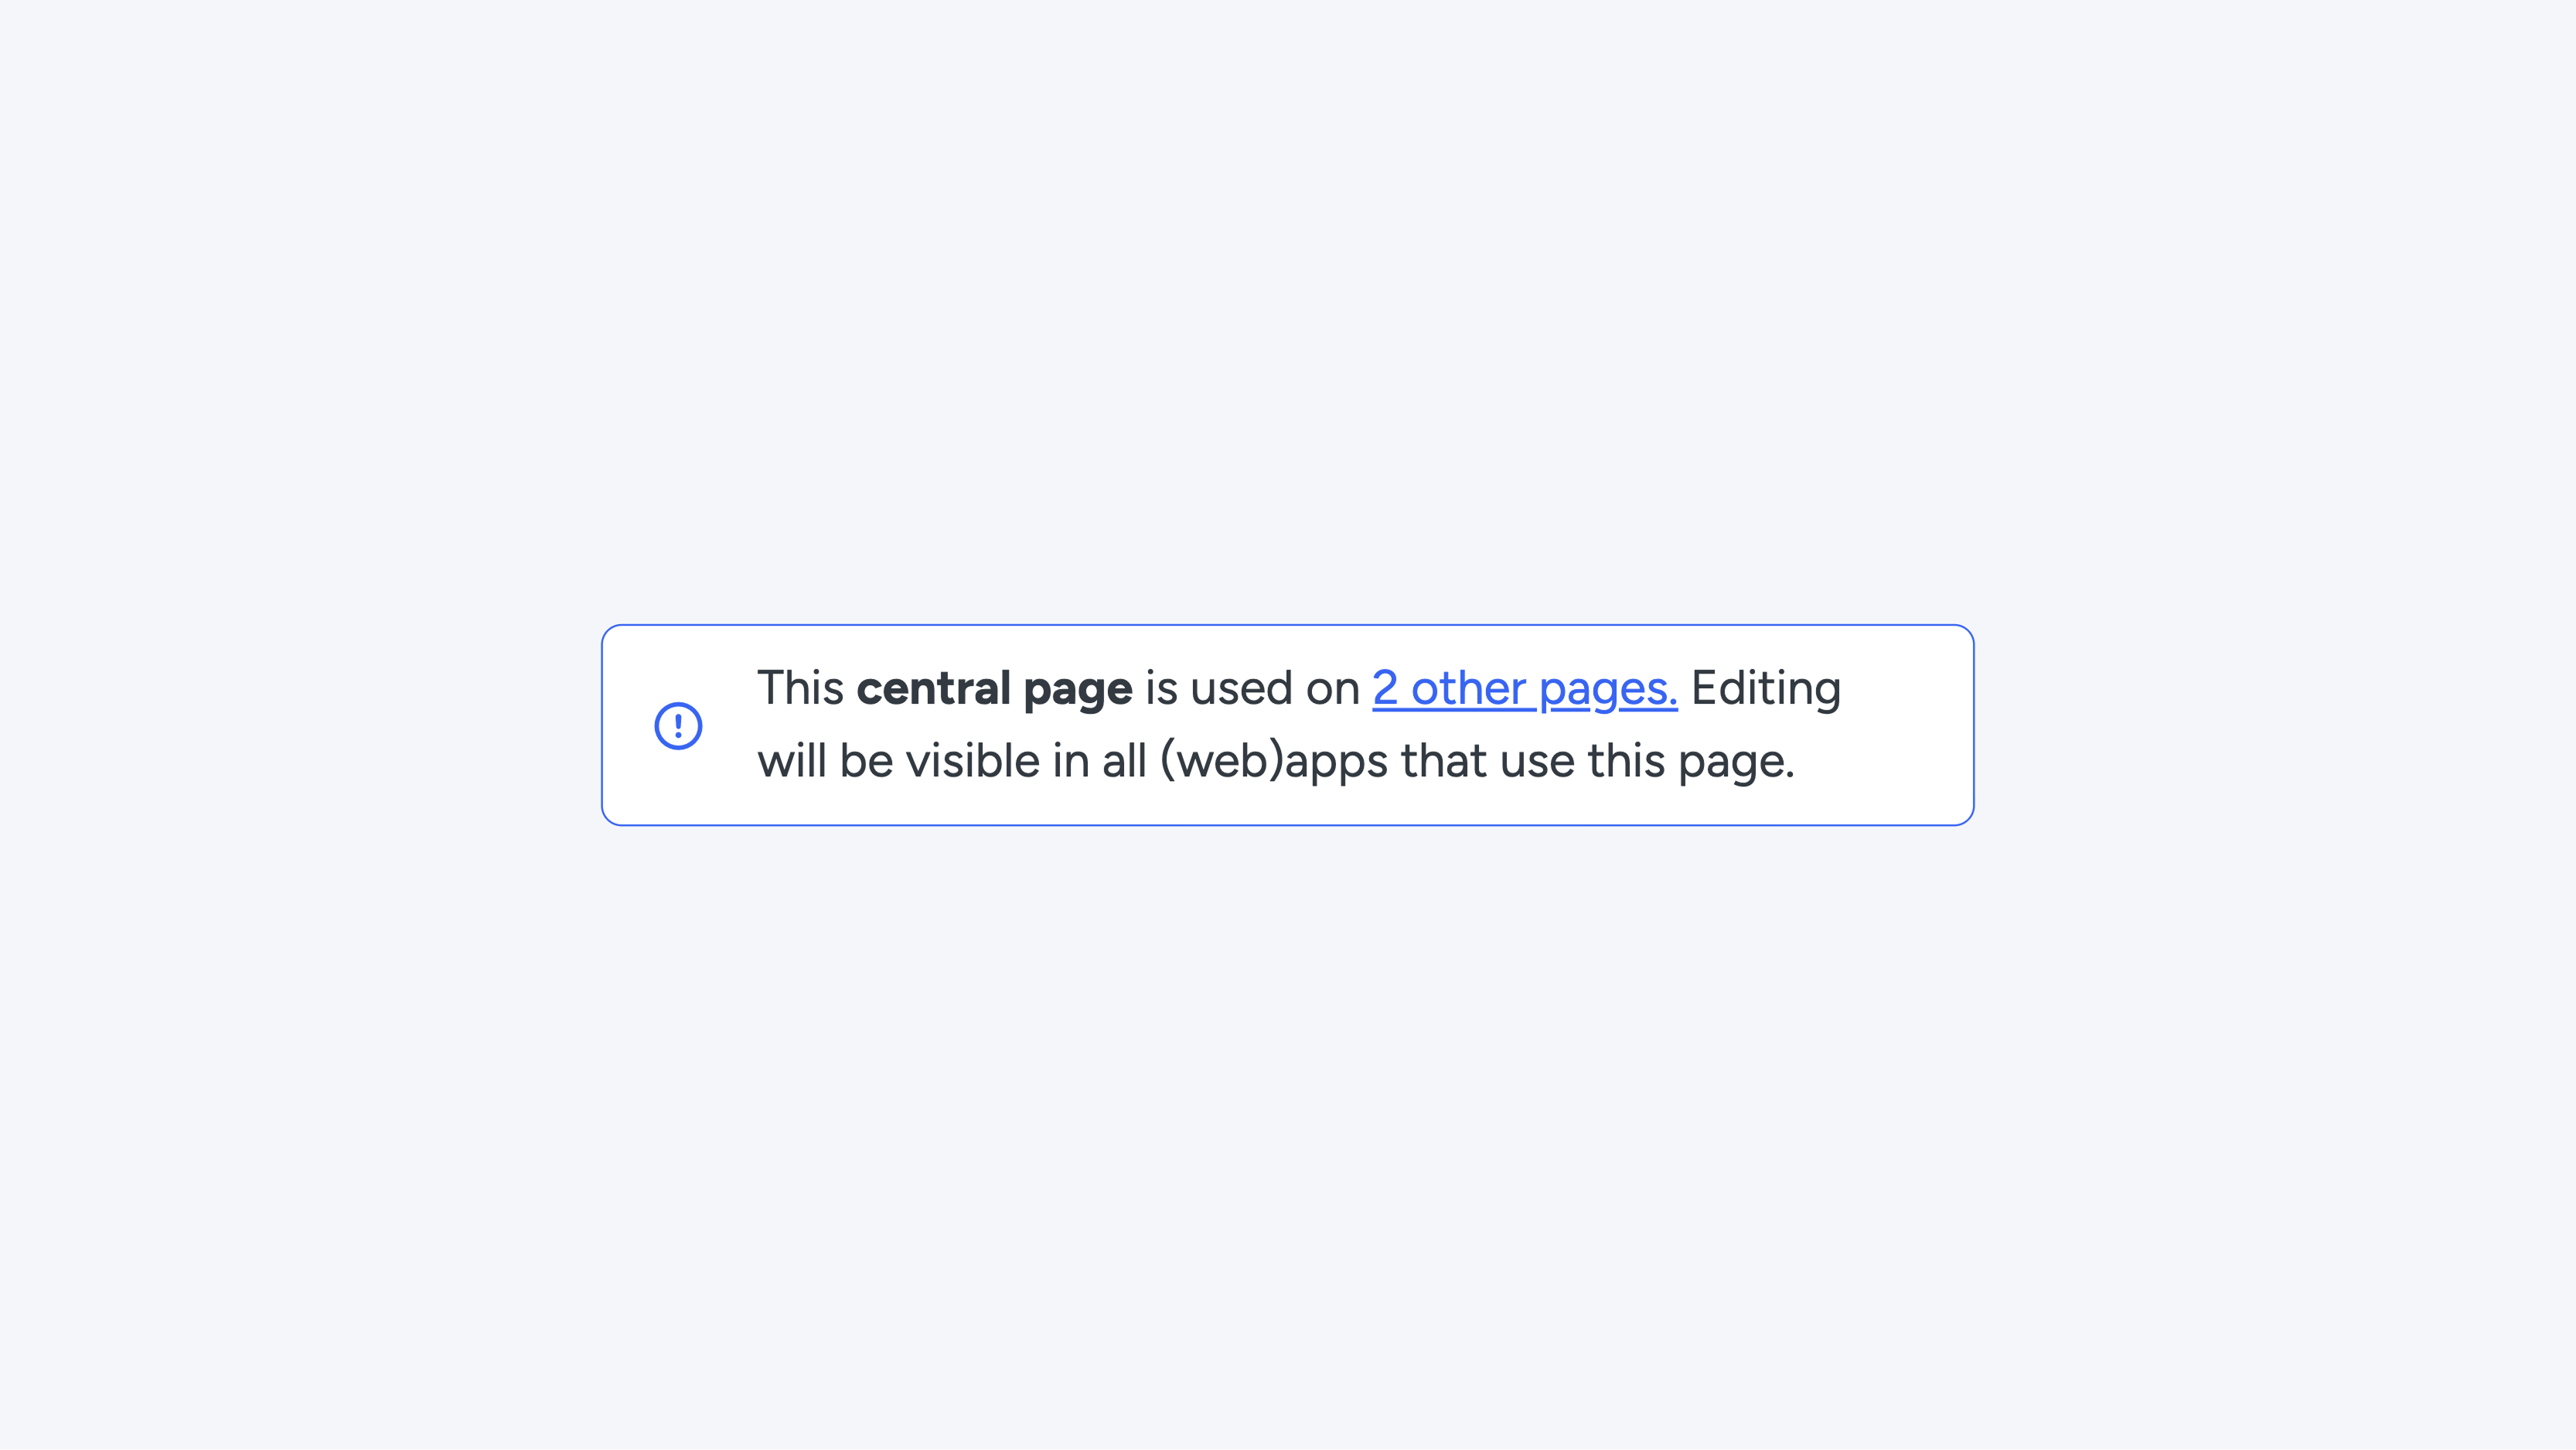
Please note: With Company Groups, changes apply everywhere. Coordinate any updates within your organization beforehand, as they cannot be undone.