11. Image
A single image in your (Web)App
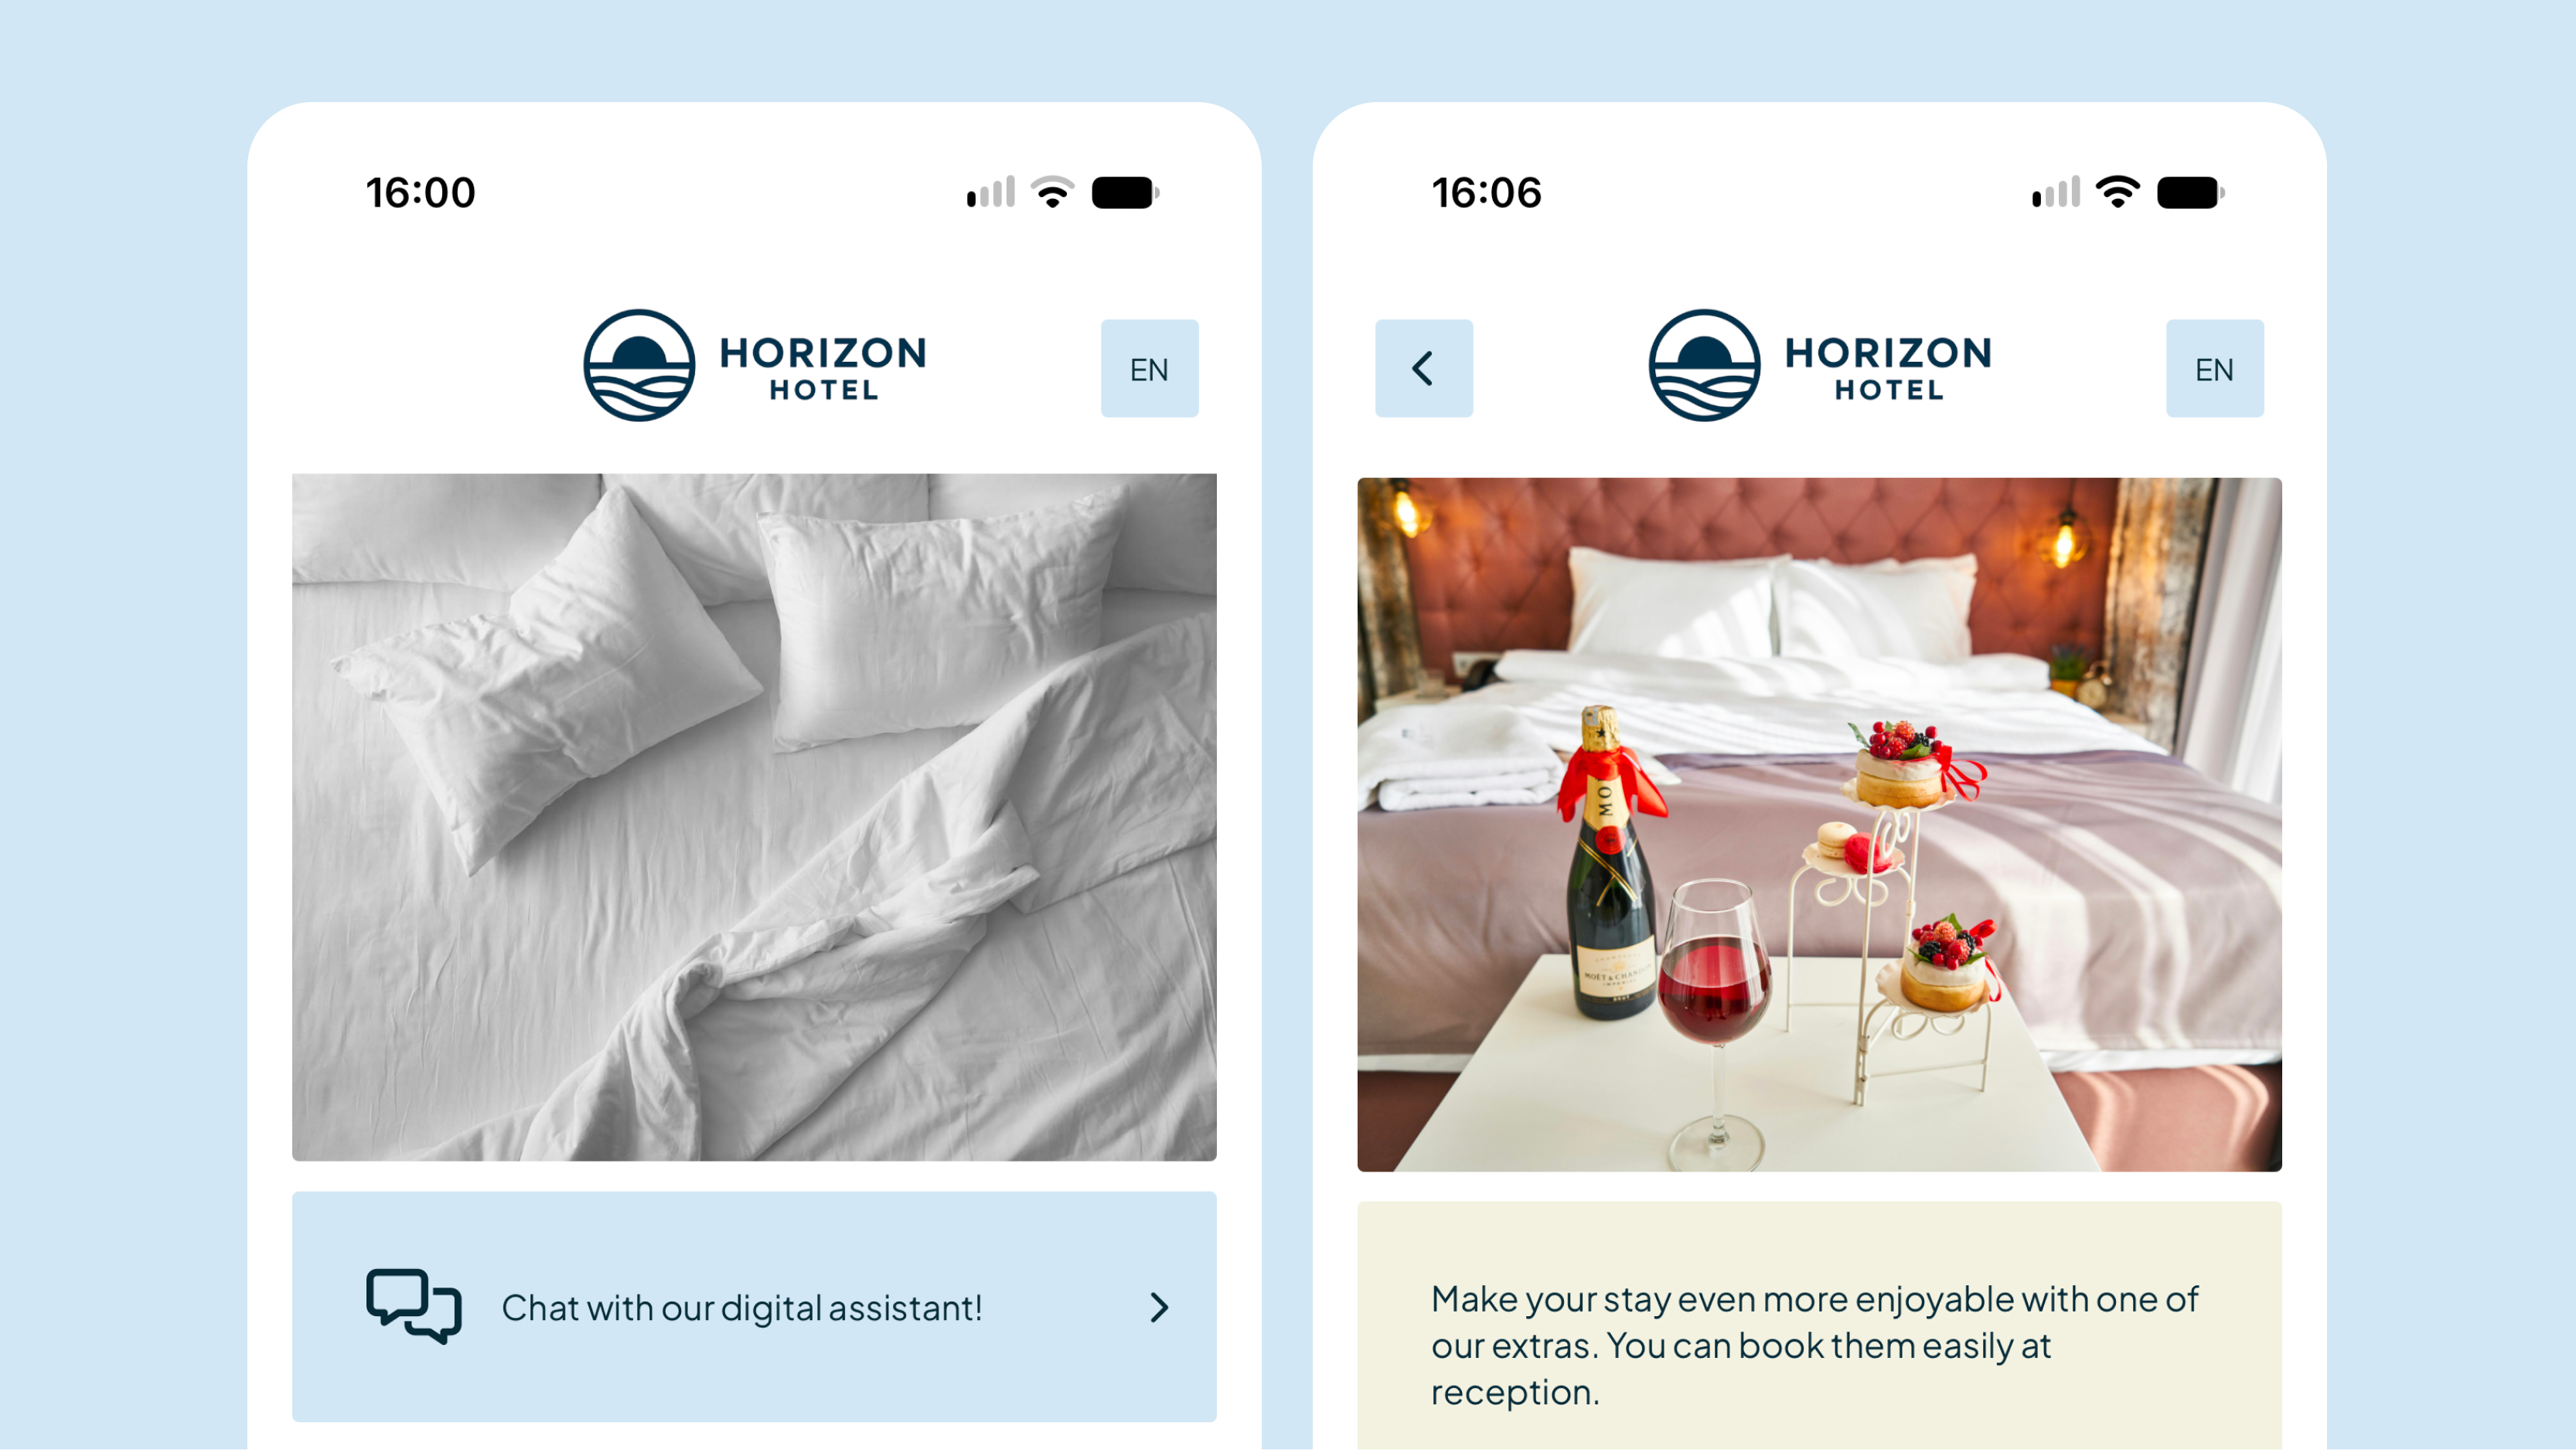
With the Image module, you place one image on a page of your (Web)App. You can also make the image clickable. Guests then go to another page, an external link, a website, a phone number or an email address with a single tap. This is useful for a banner, a floor plan or a promotion that needs to stand out.
Note: you choose one image per module. You can't use PDF files here.
zoom_in
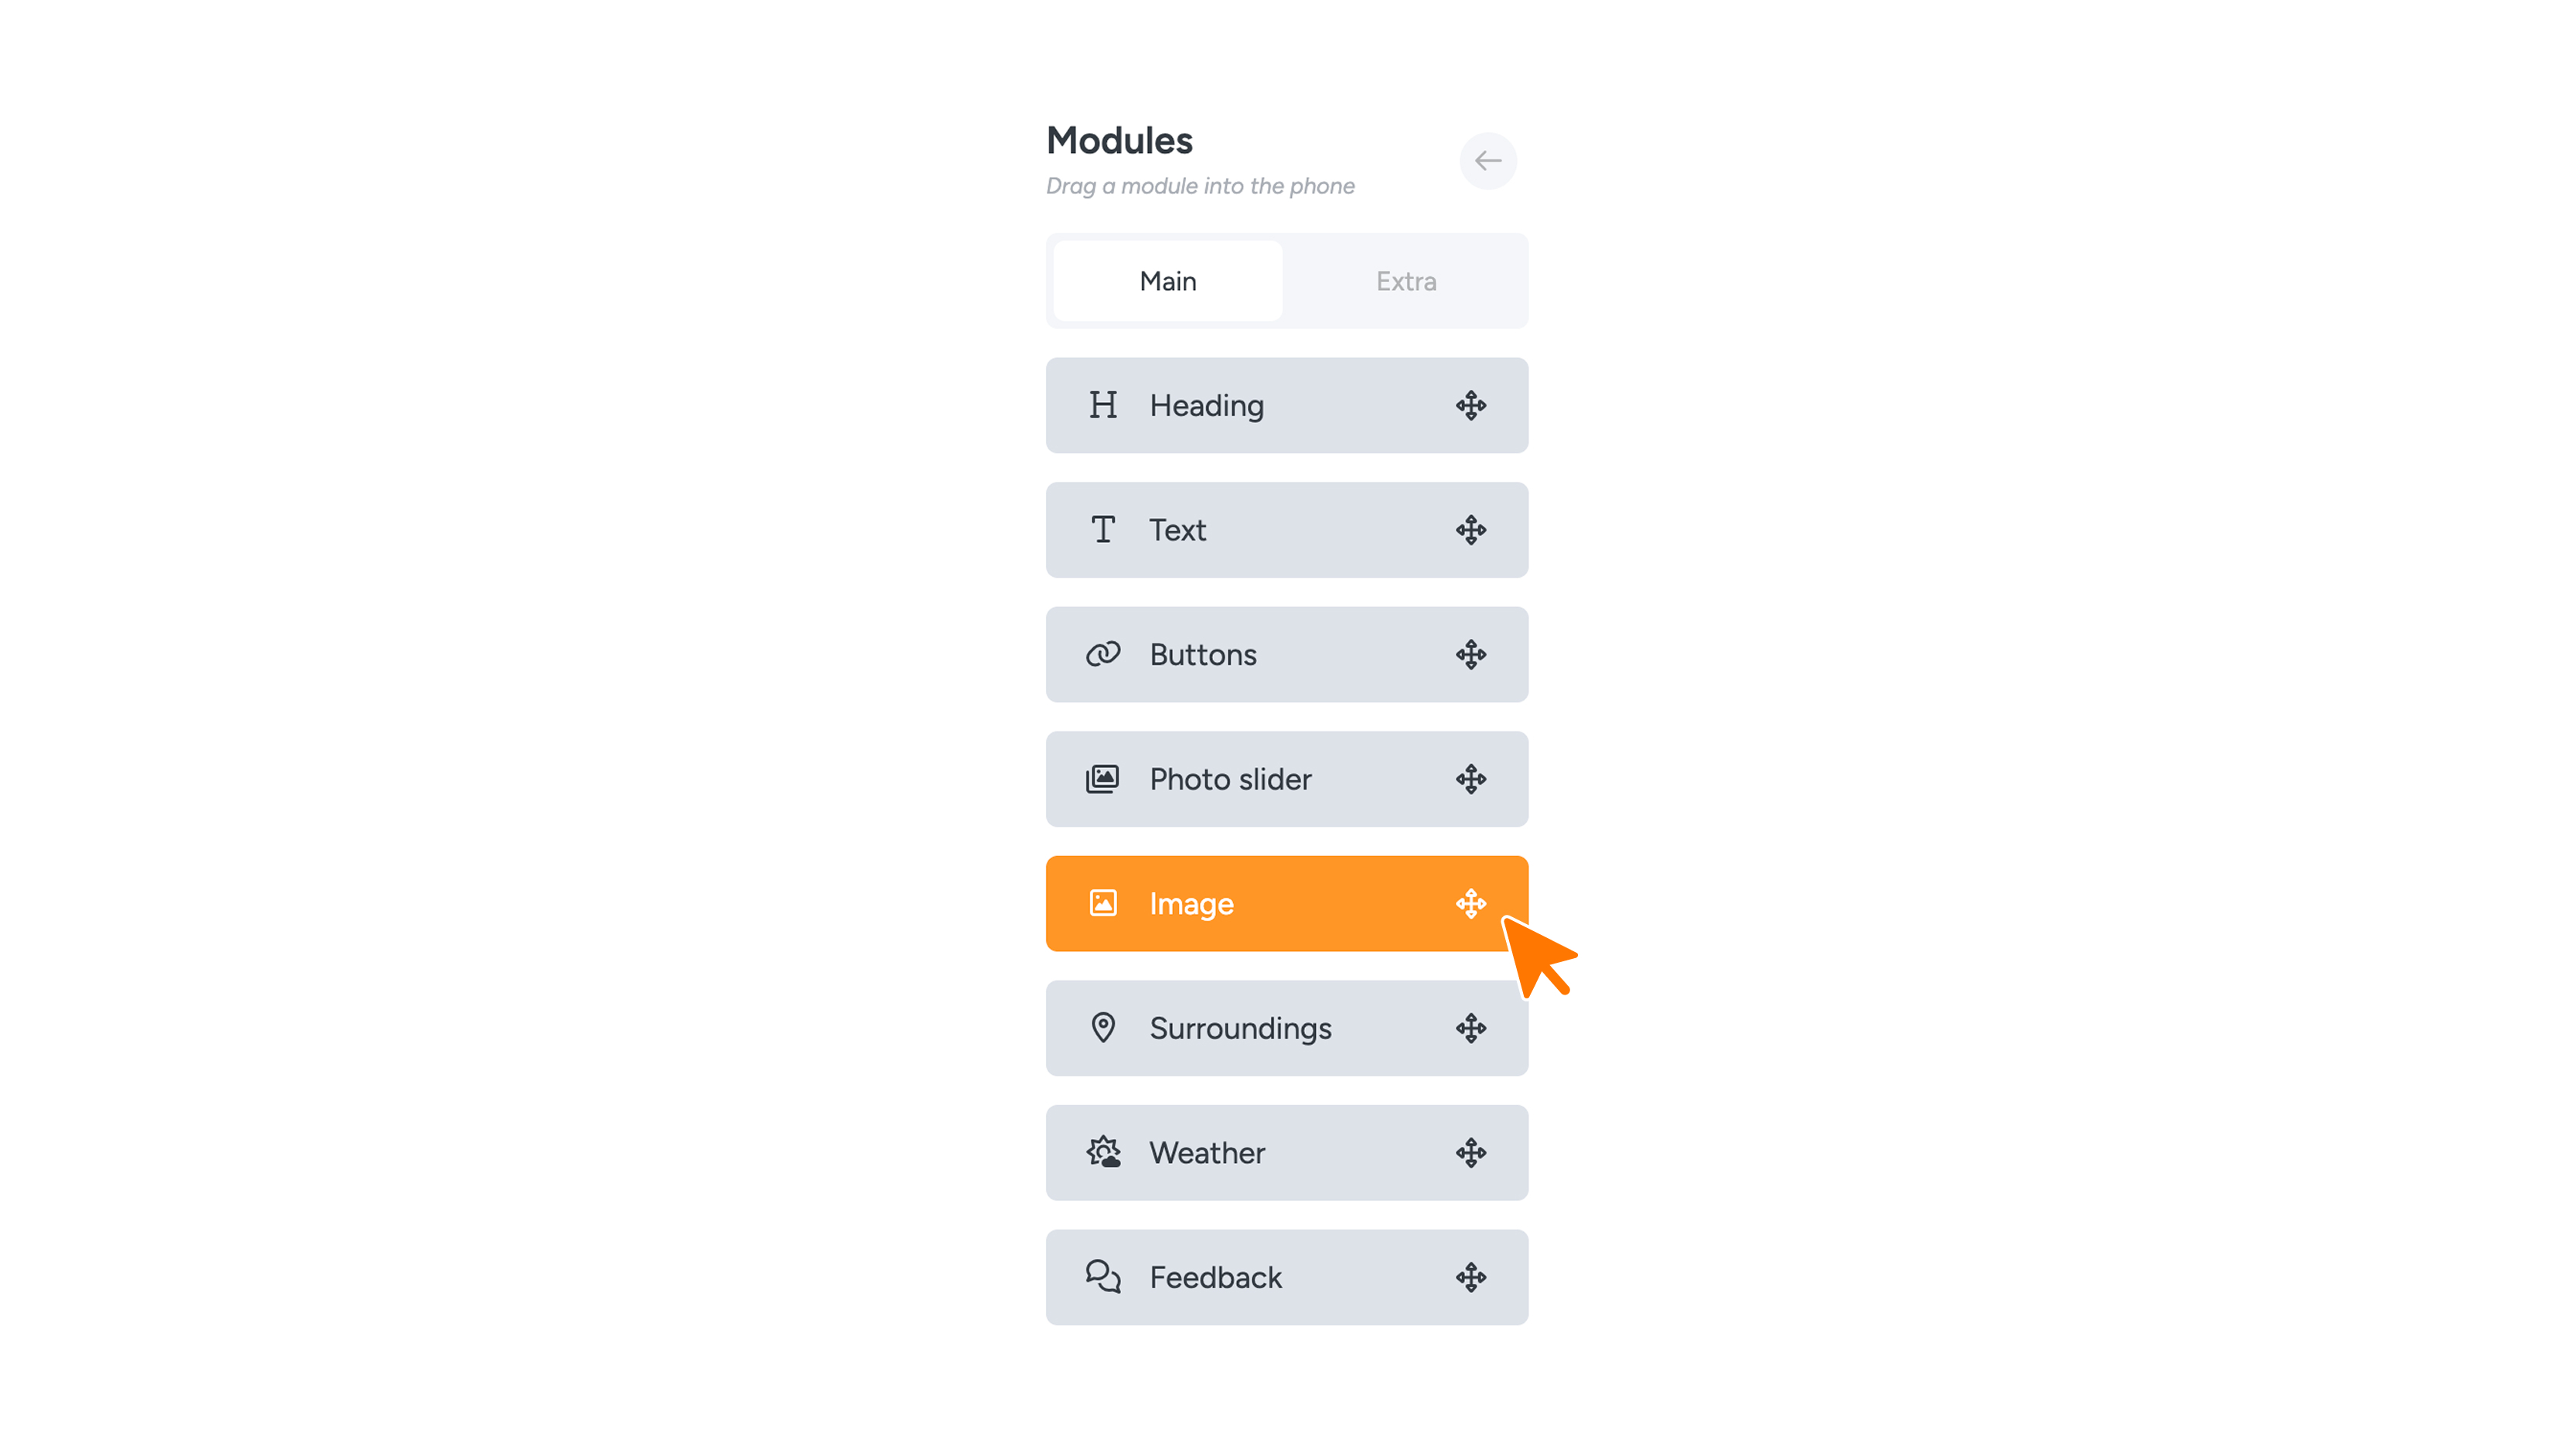
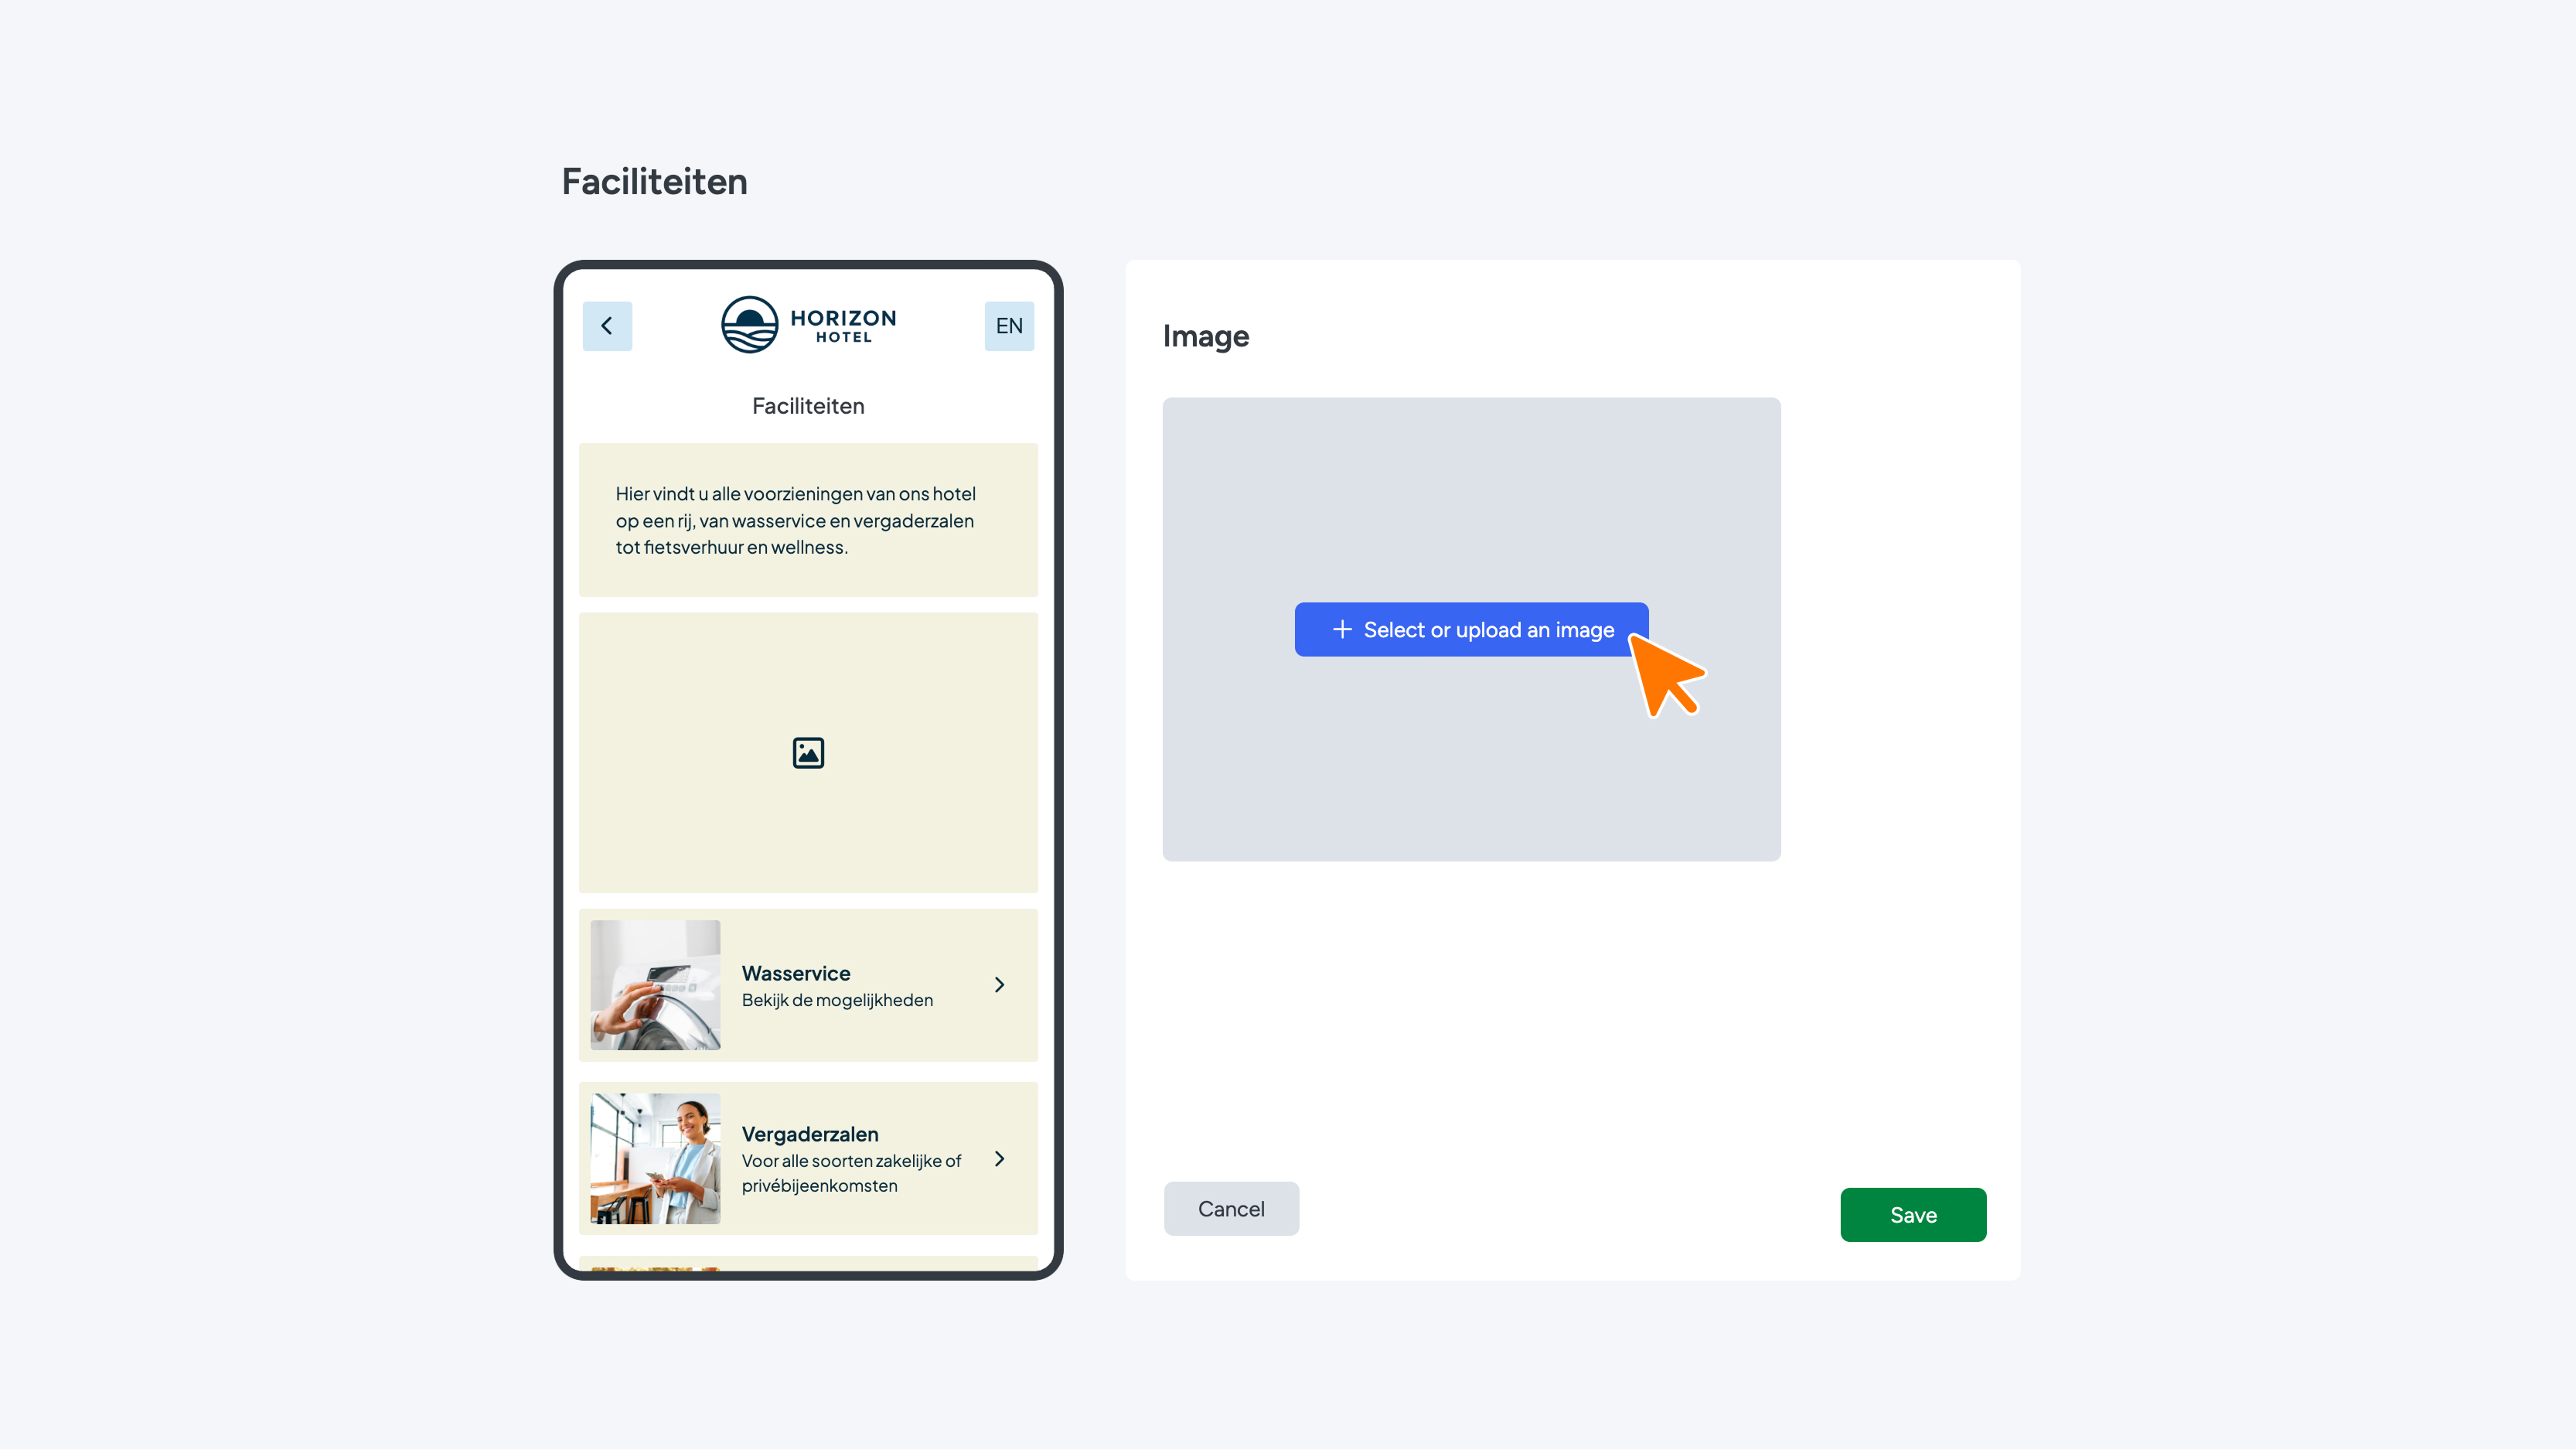
How do you add an image?
- Drag the Image module to the phone preview.
- Click Select or upload an image.
- Choose an image from your files or upload a new one.
- Crop the image to a 4:3 ratio.
- Confirm your choice.
- Click Save.
The image appears in the phone preview right away.
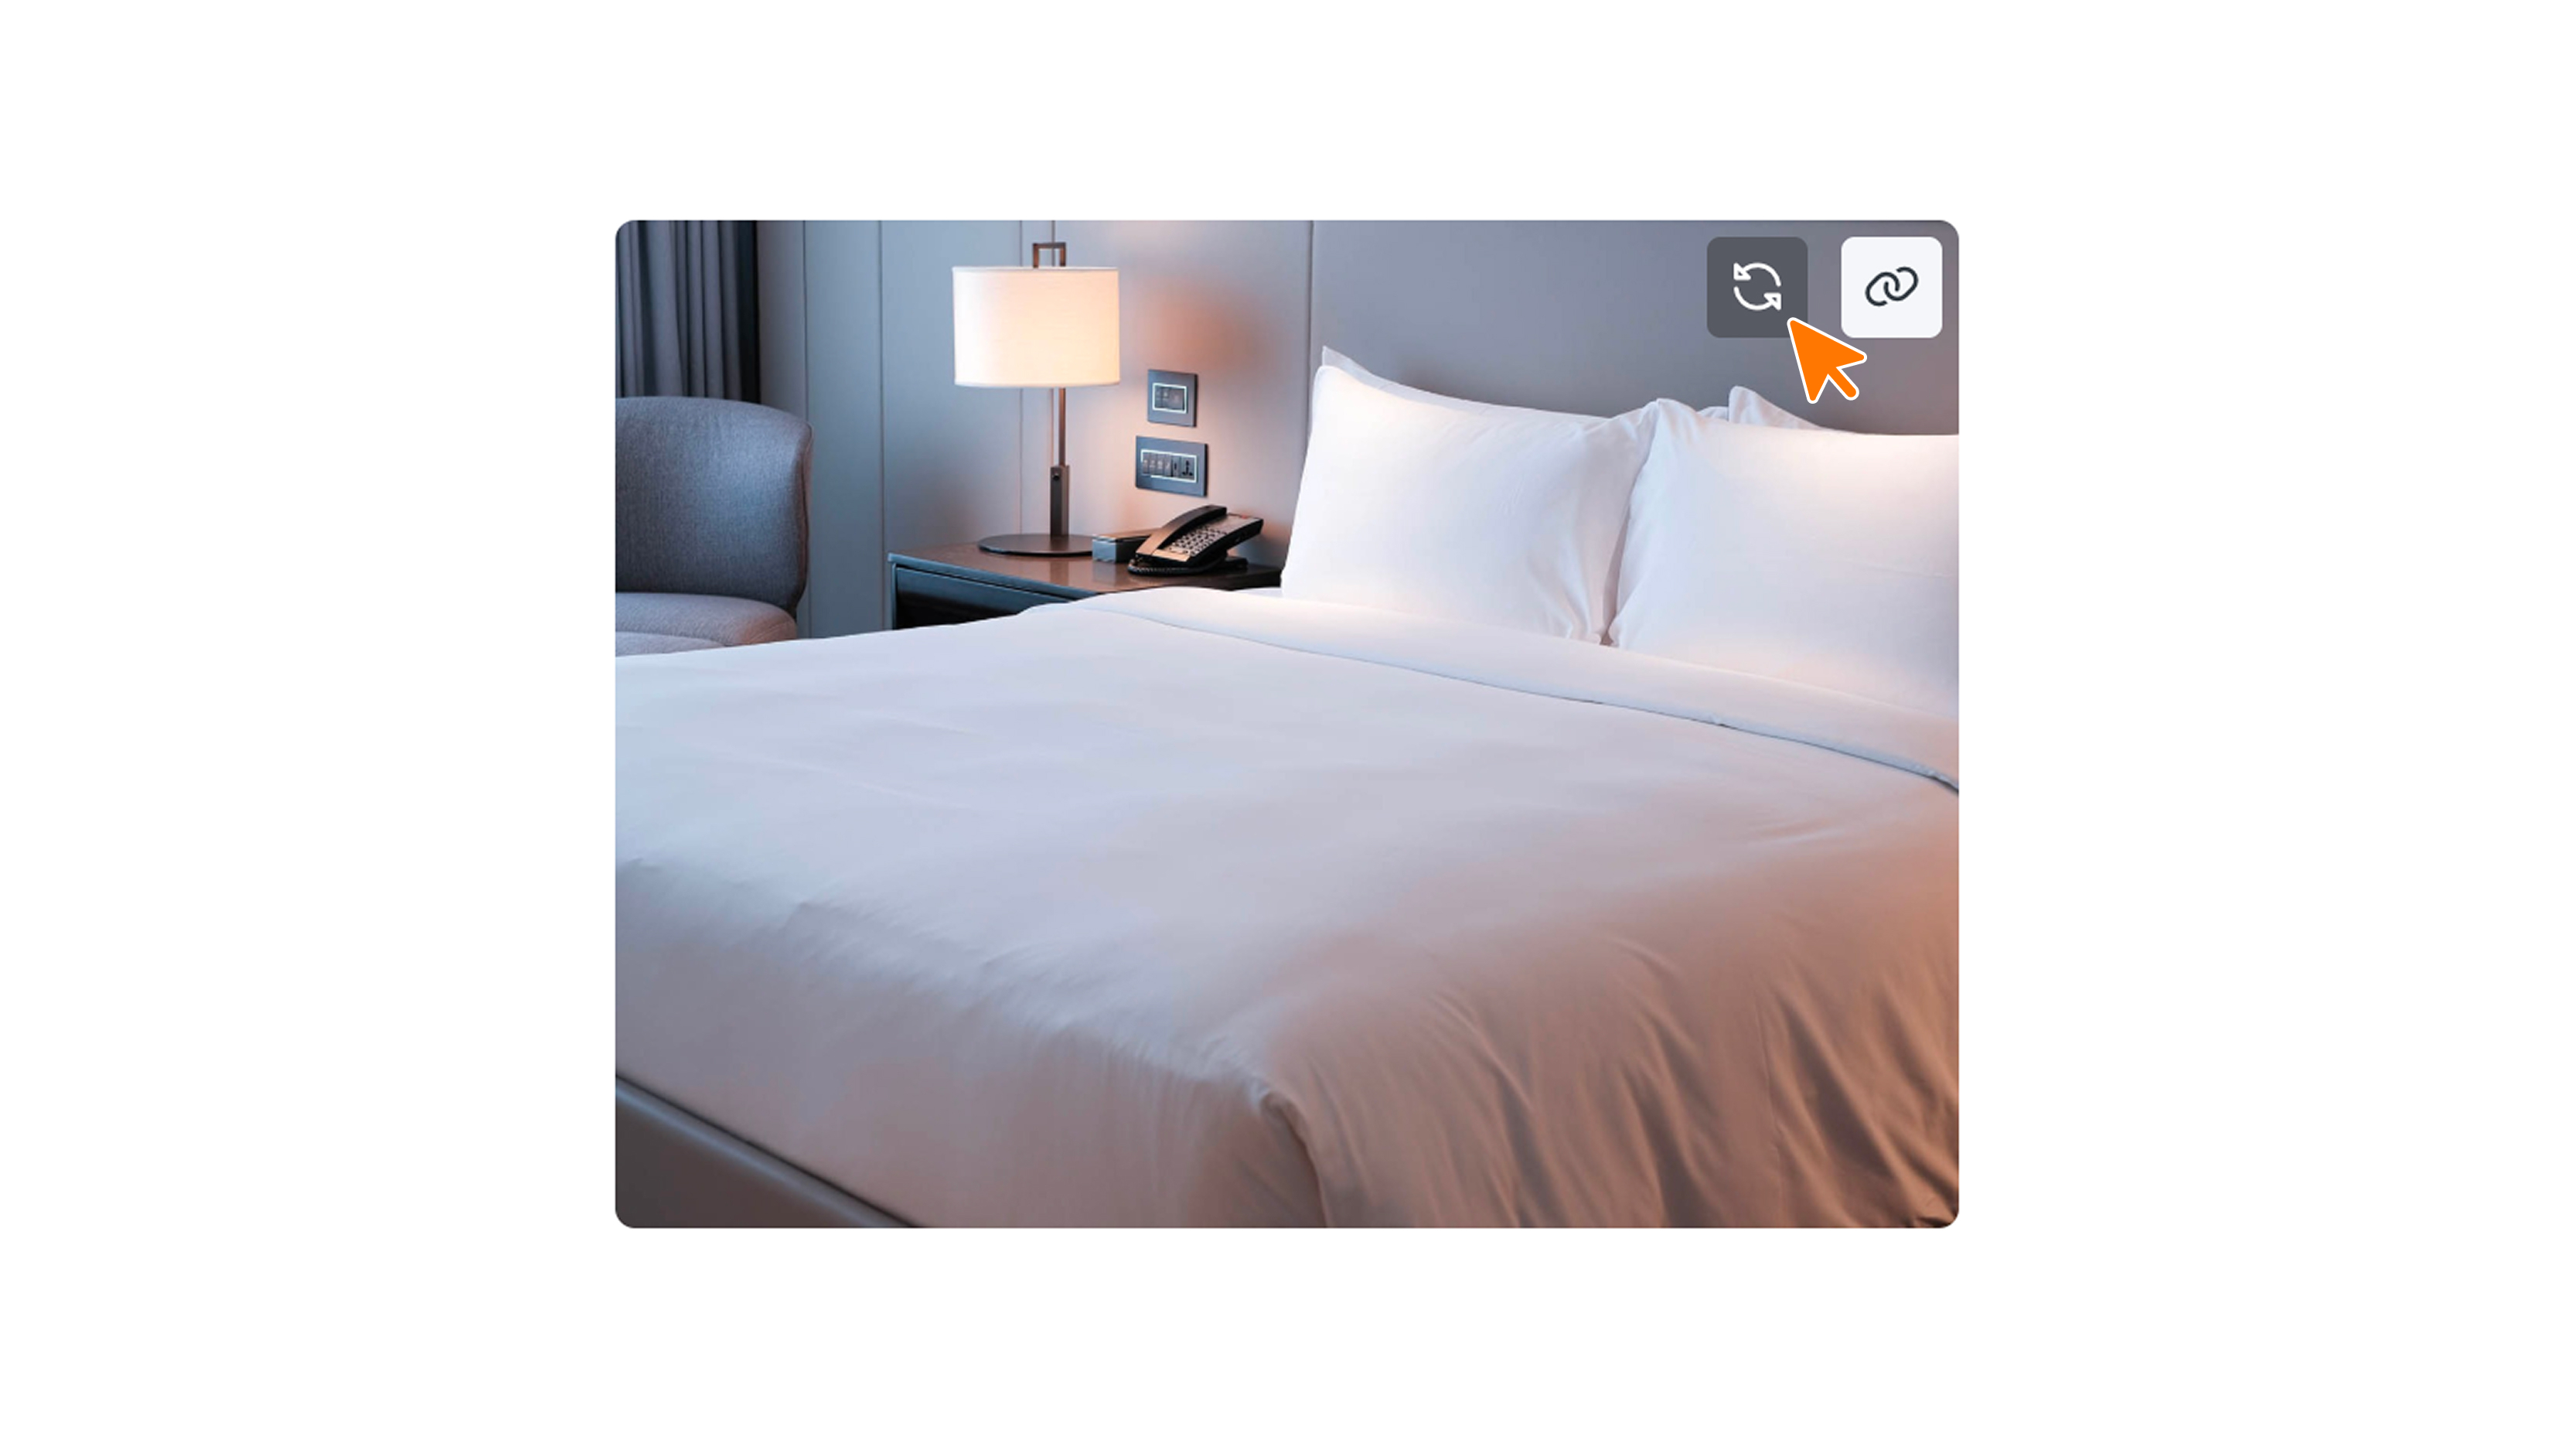
Want to replace the image?
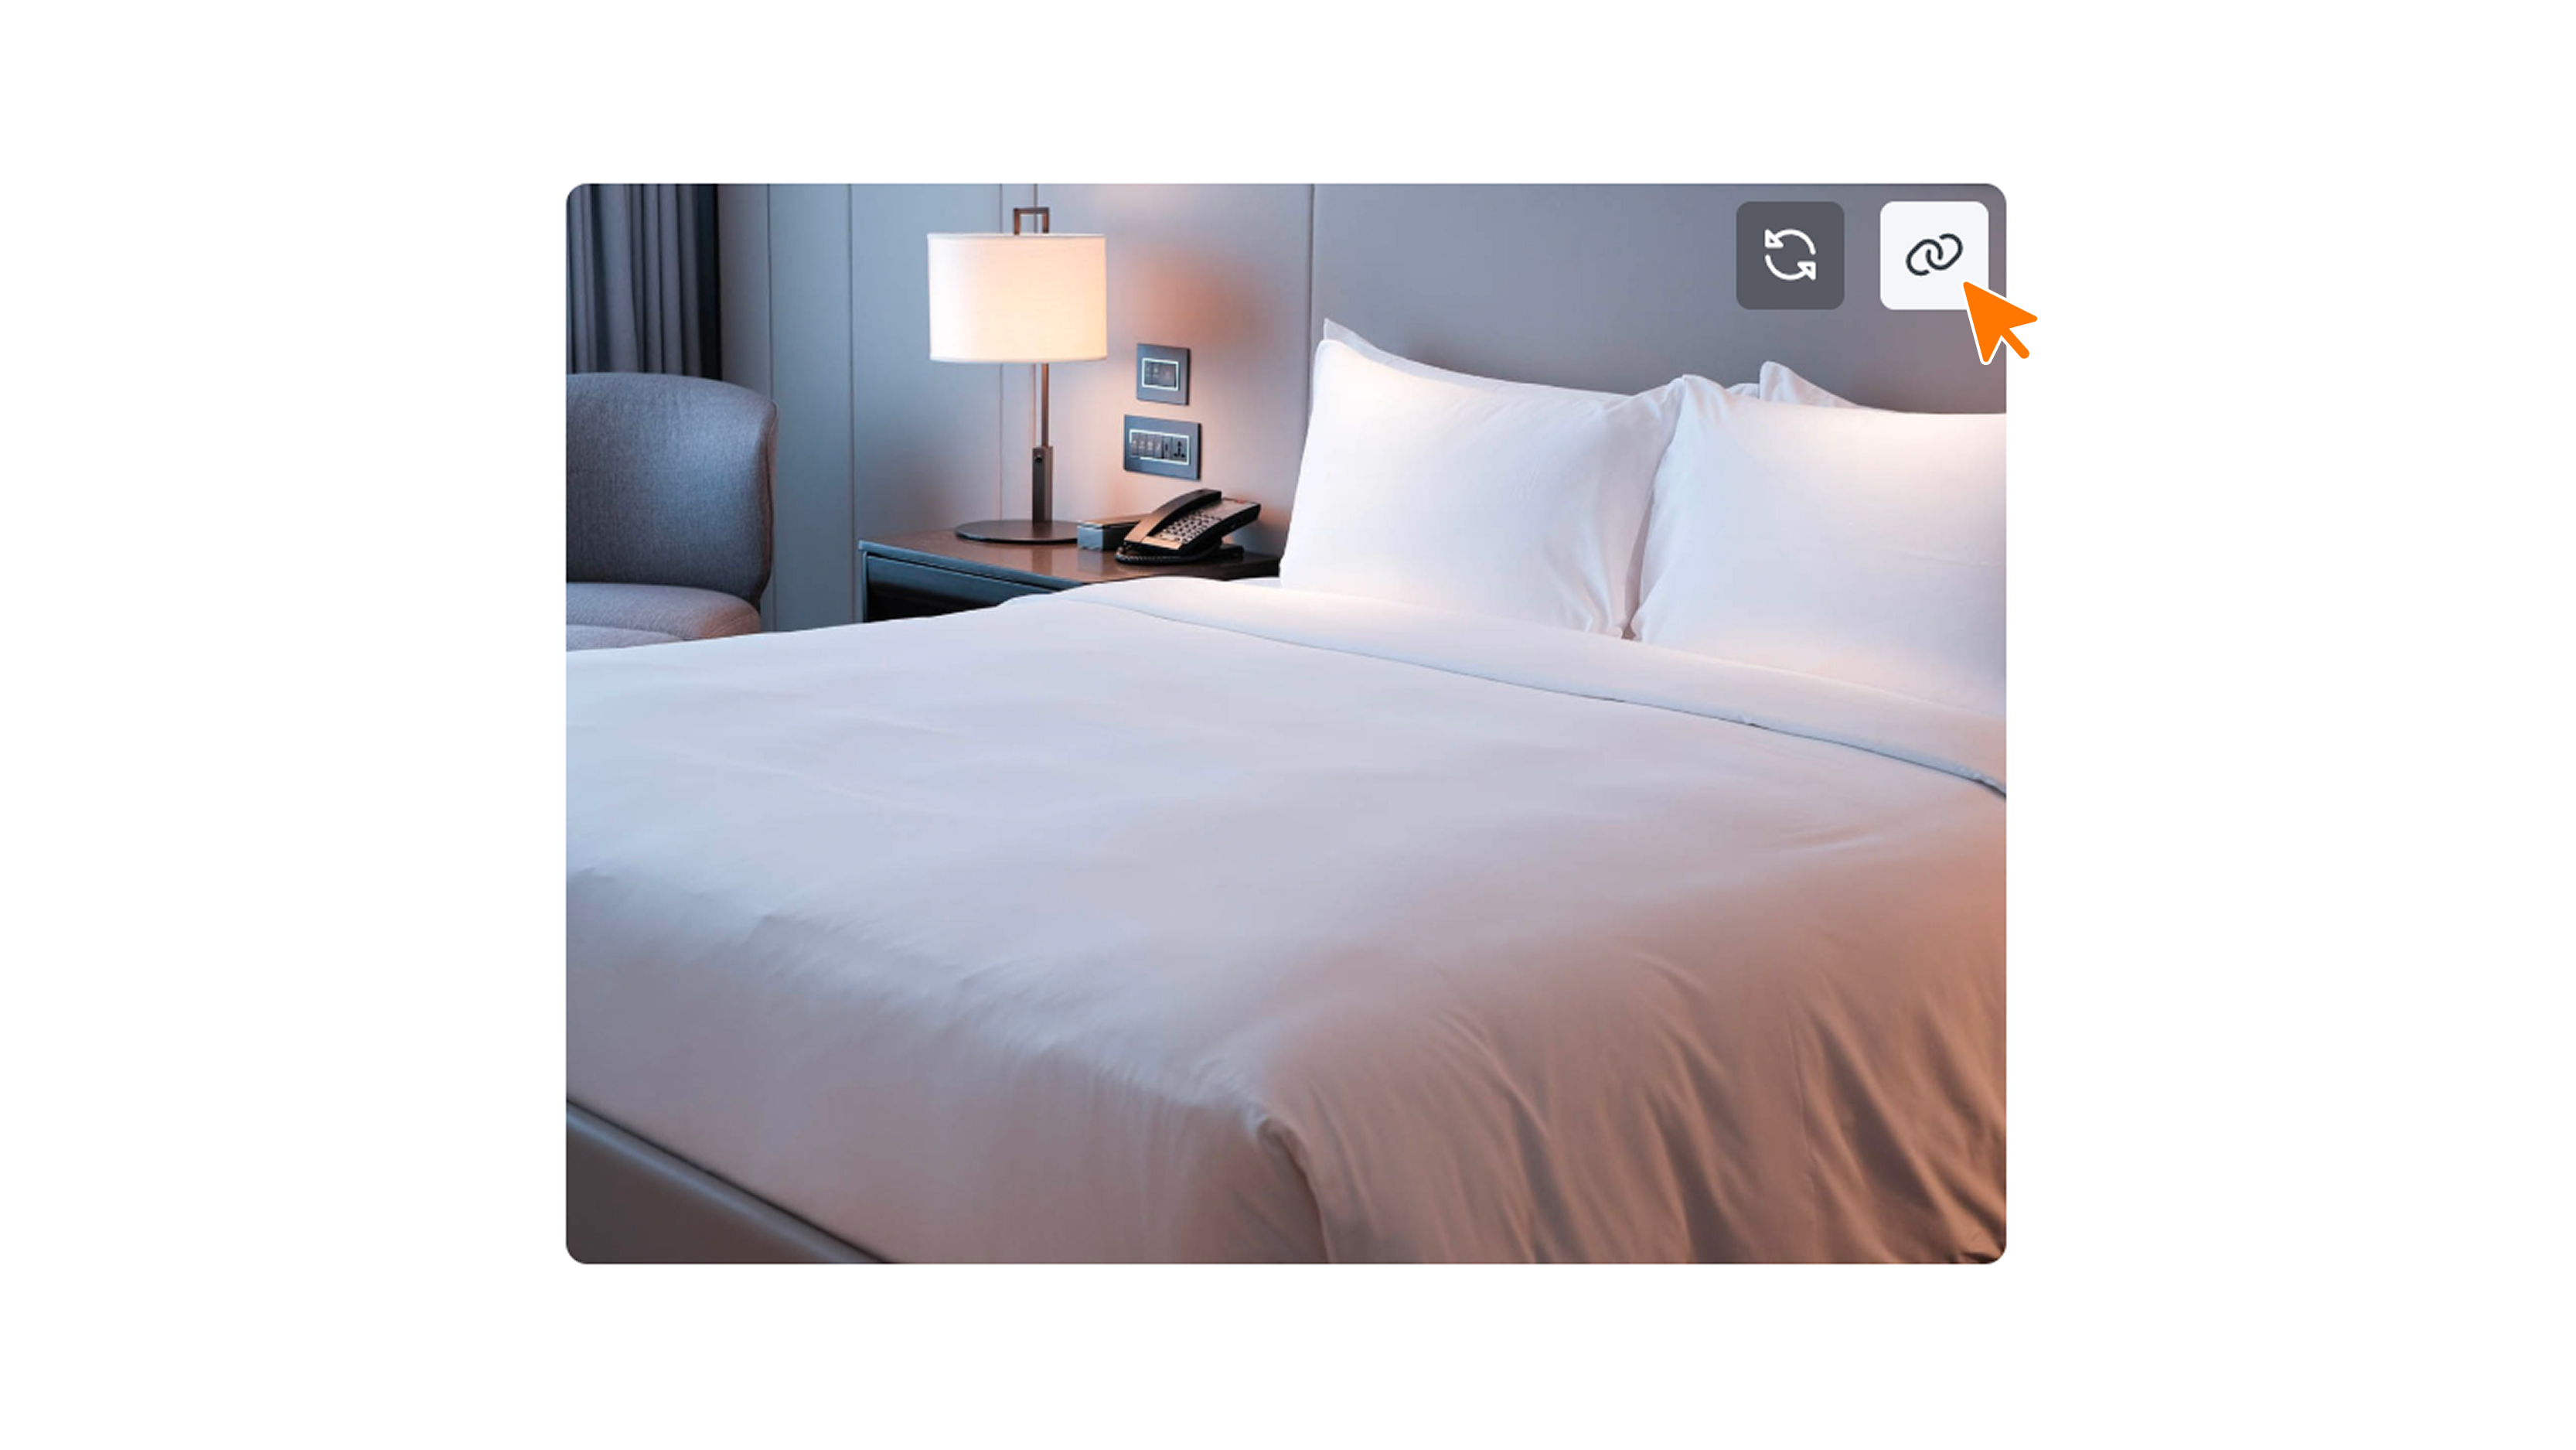
- Click the icon with the circular arrows next to the image.
- Choose a different image.
- Click Save.
zoom_in
How do you make the image clickable?
- Click the link icon next to the image.
- Choose the tab that matches your link.
- Select the link or enter it.
- Click Add.
- Click Save.
zoom_in
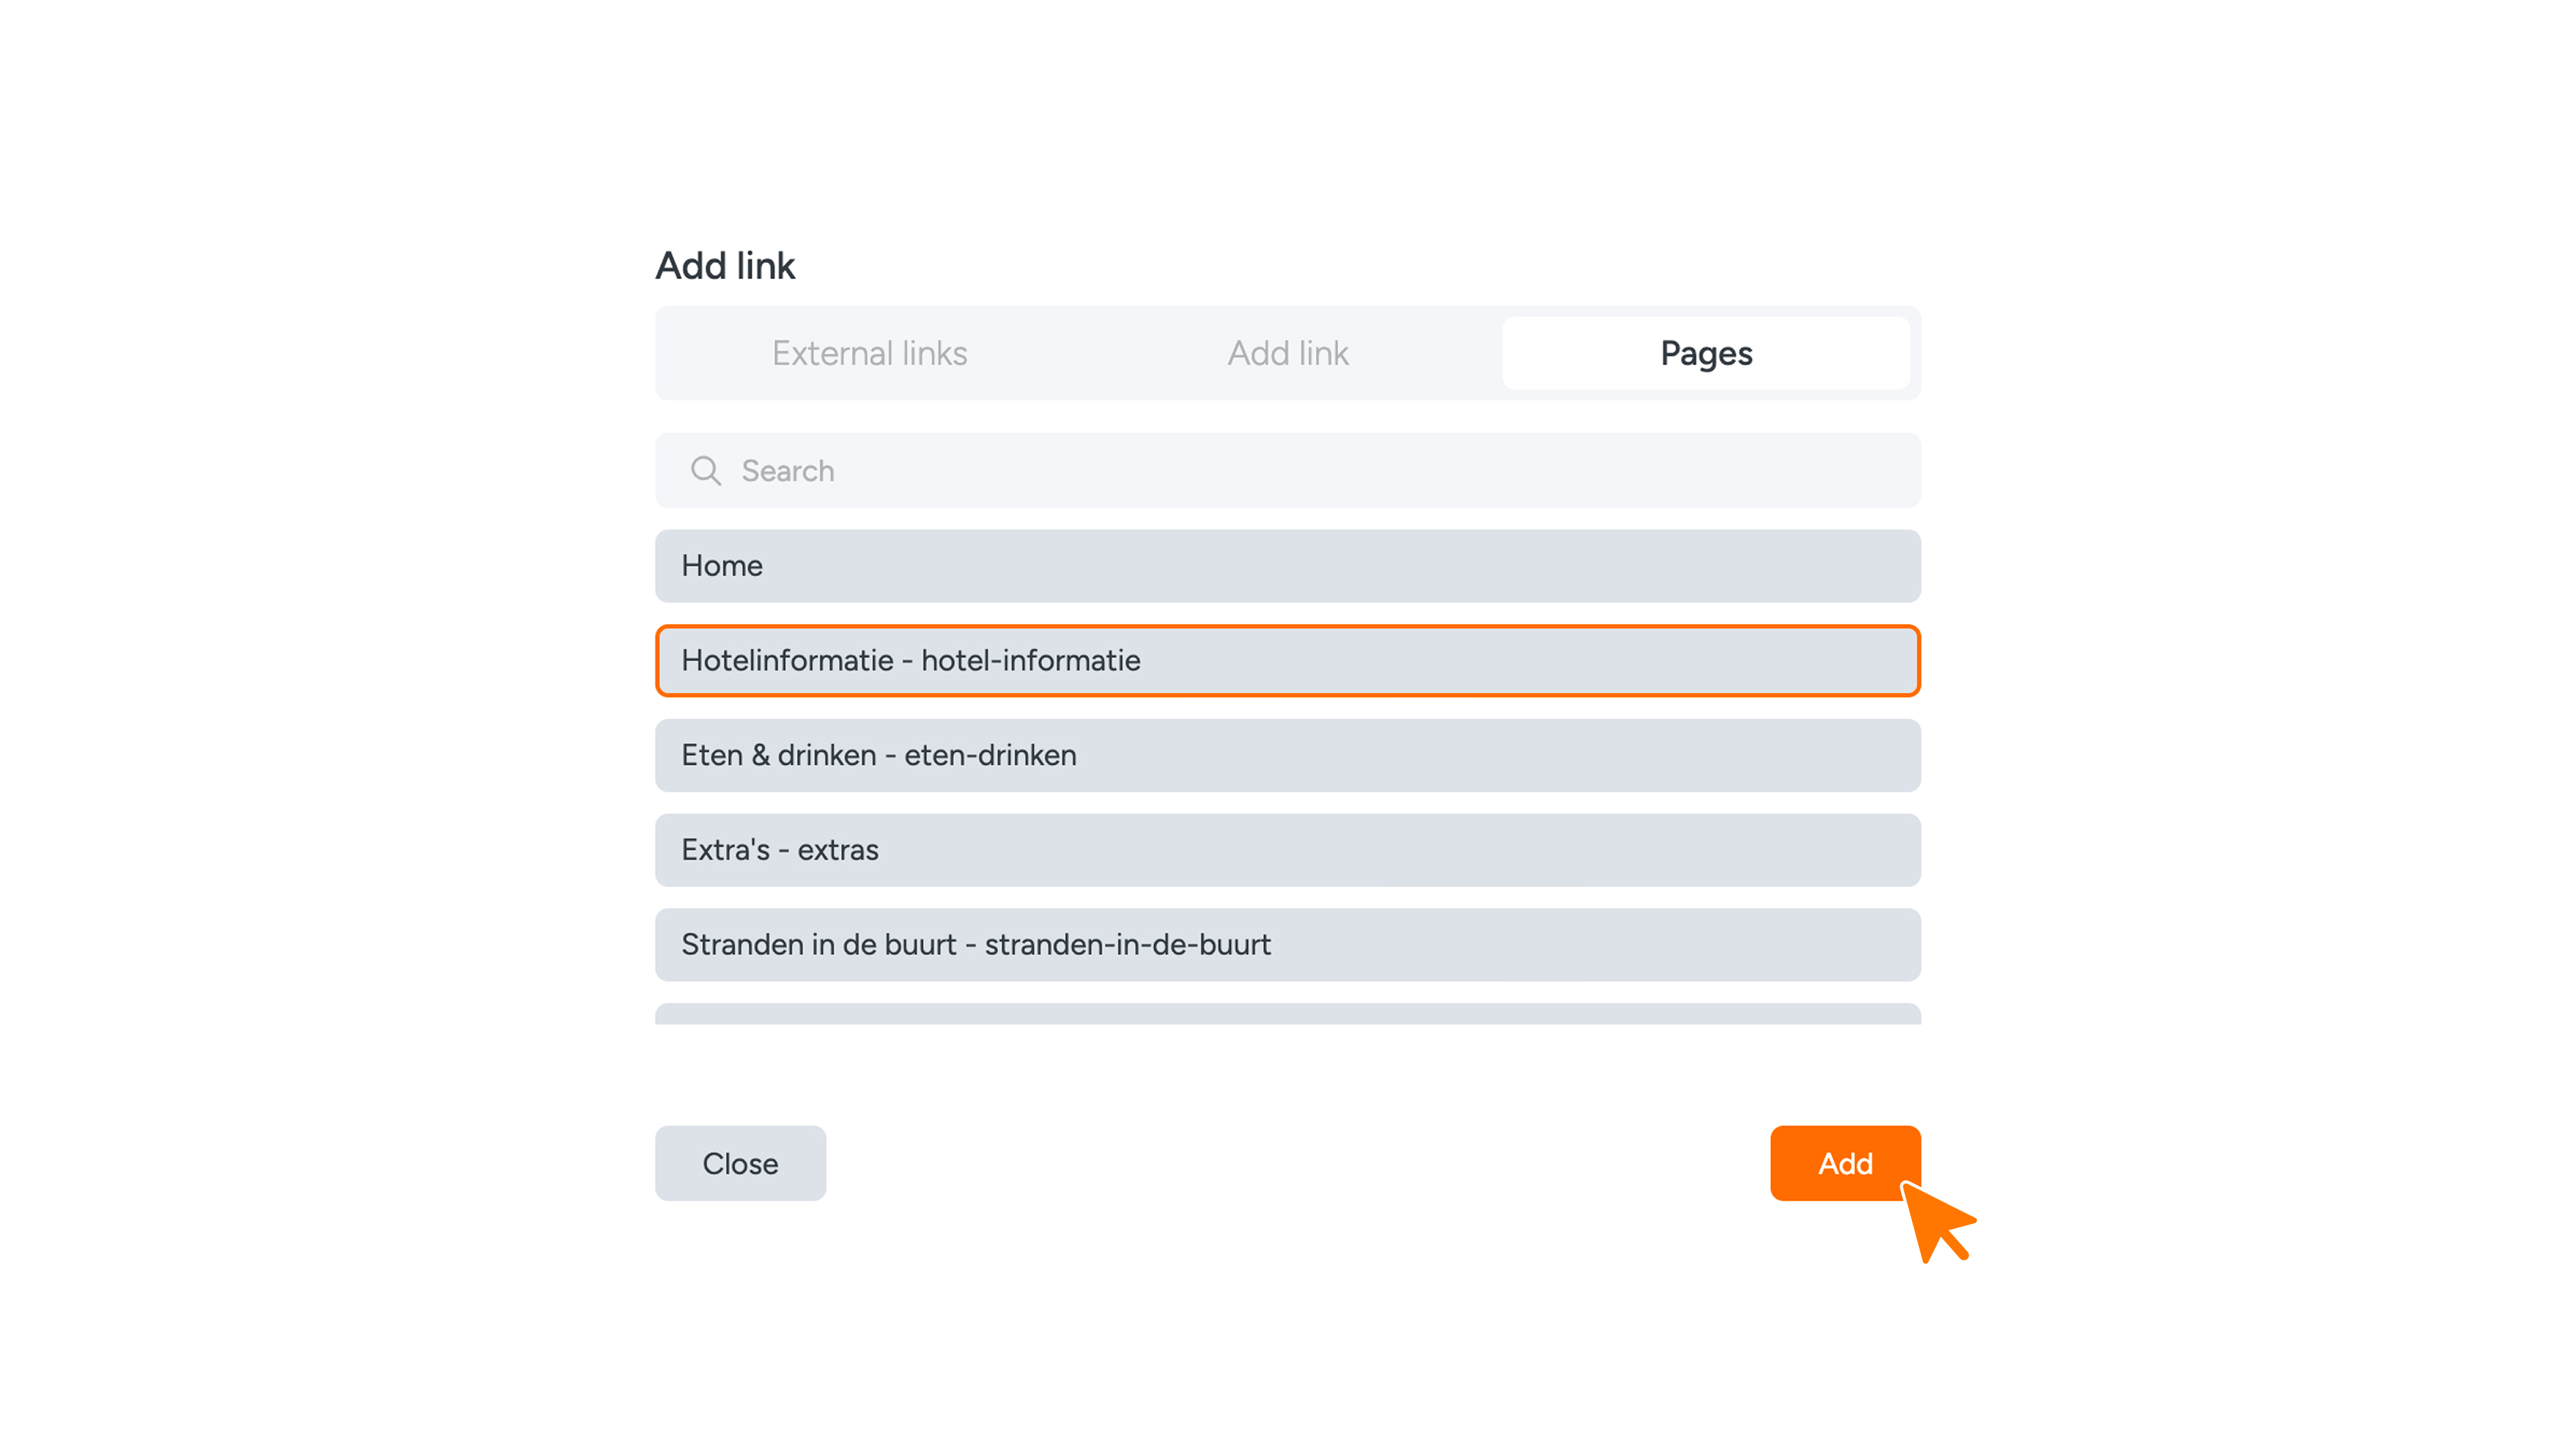
In the window, you choose from three tabs:
- External links: choose one of your external links.
- Add link: choose ‘https://’, ‘tel:’ or ‘mailto:’ and enter the web address, phone number or email address.
- Pages: choose a page from your (Web)App.
Hover over the link icon to see which link the image points to.
zoom_in
Want to remove the link?
- Click the link icon next to the image.
- Click Save.
The image stays in place, but it's no longer clickable.
