Translating and saving modules
Translate and Save (Separately)
Satisfied with the text and settings you’ve entered in a module?
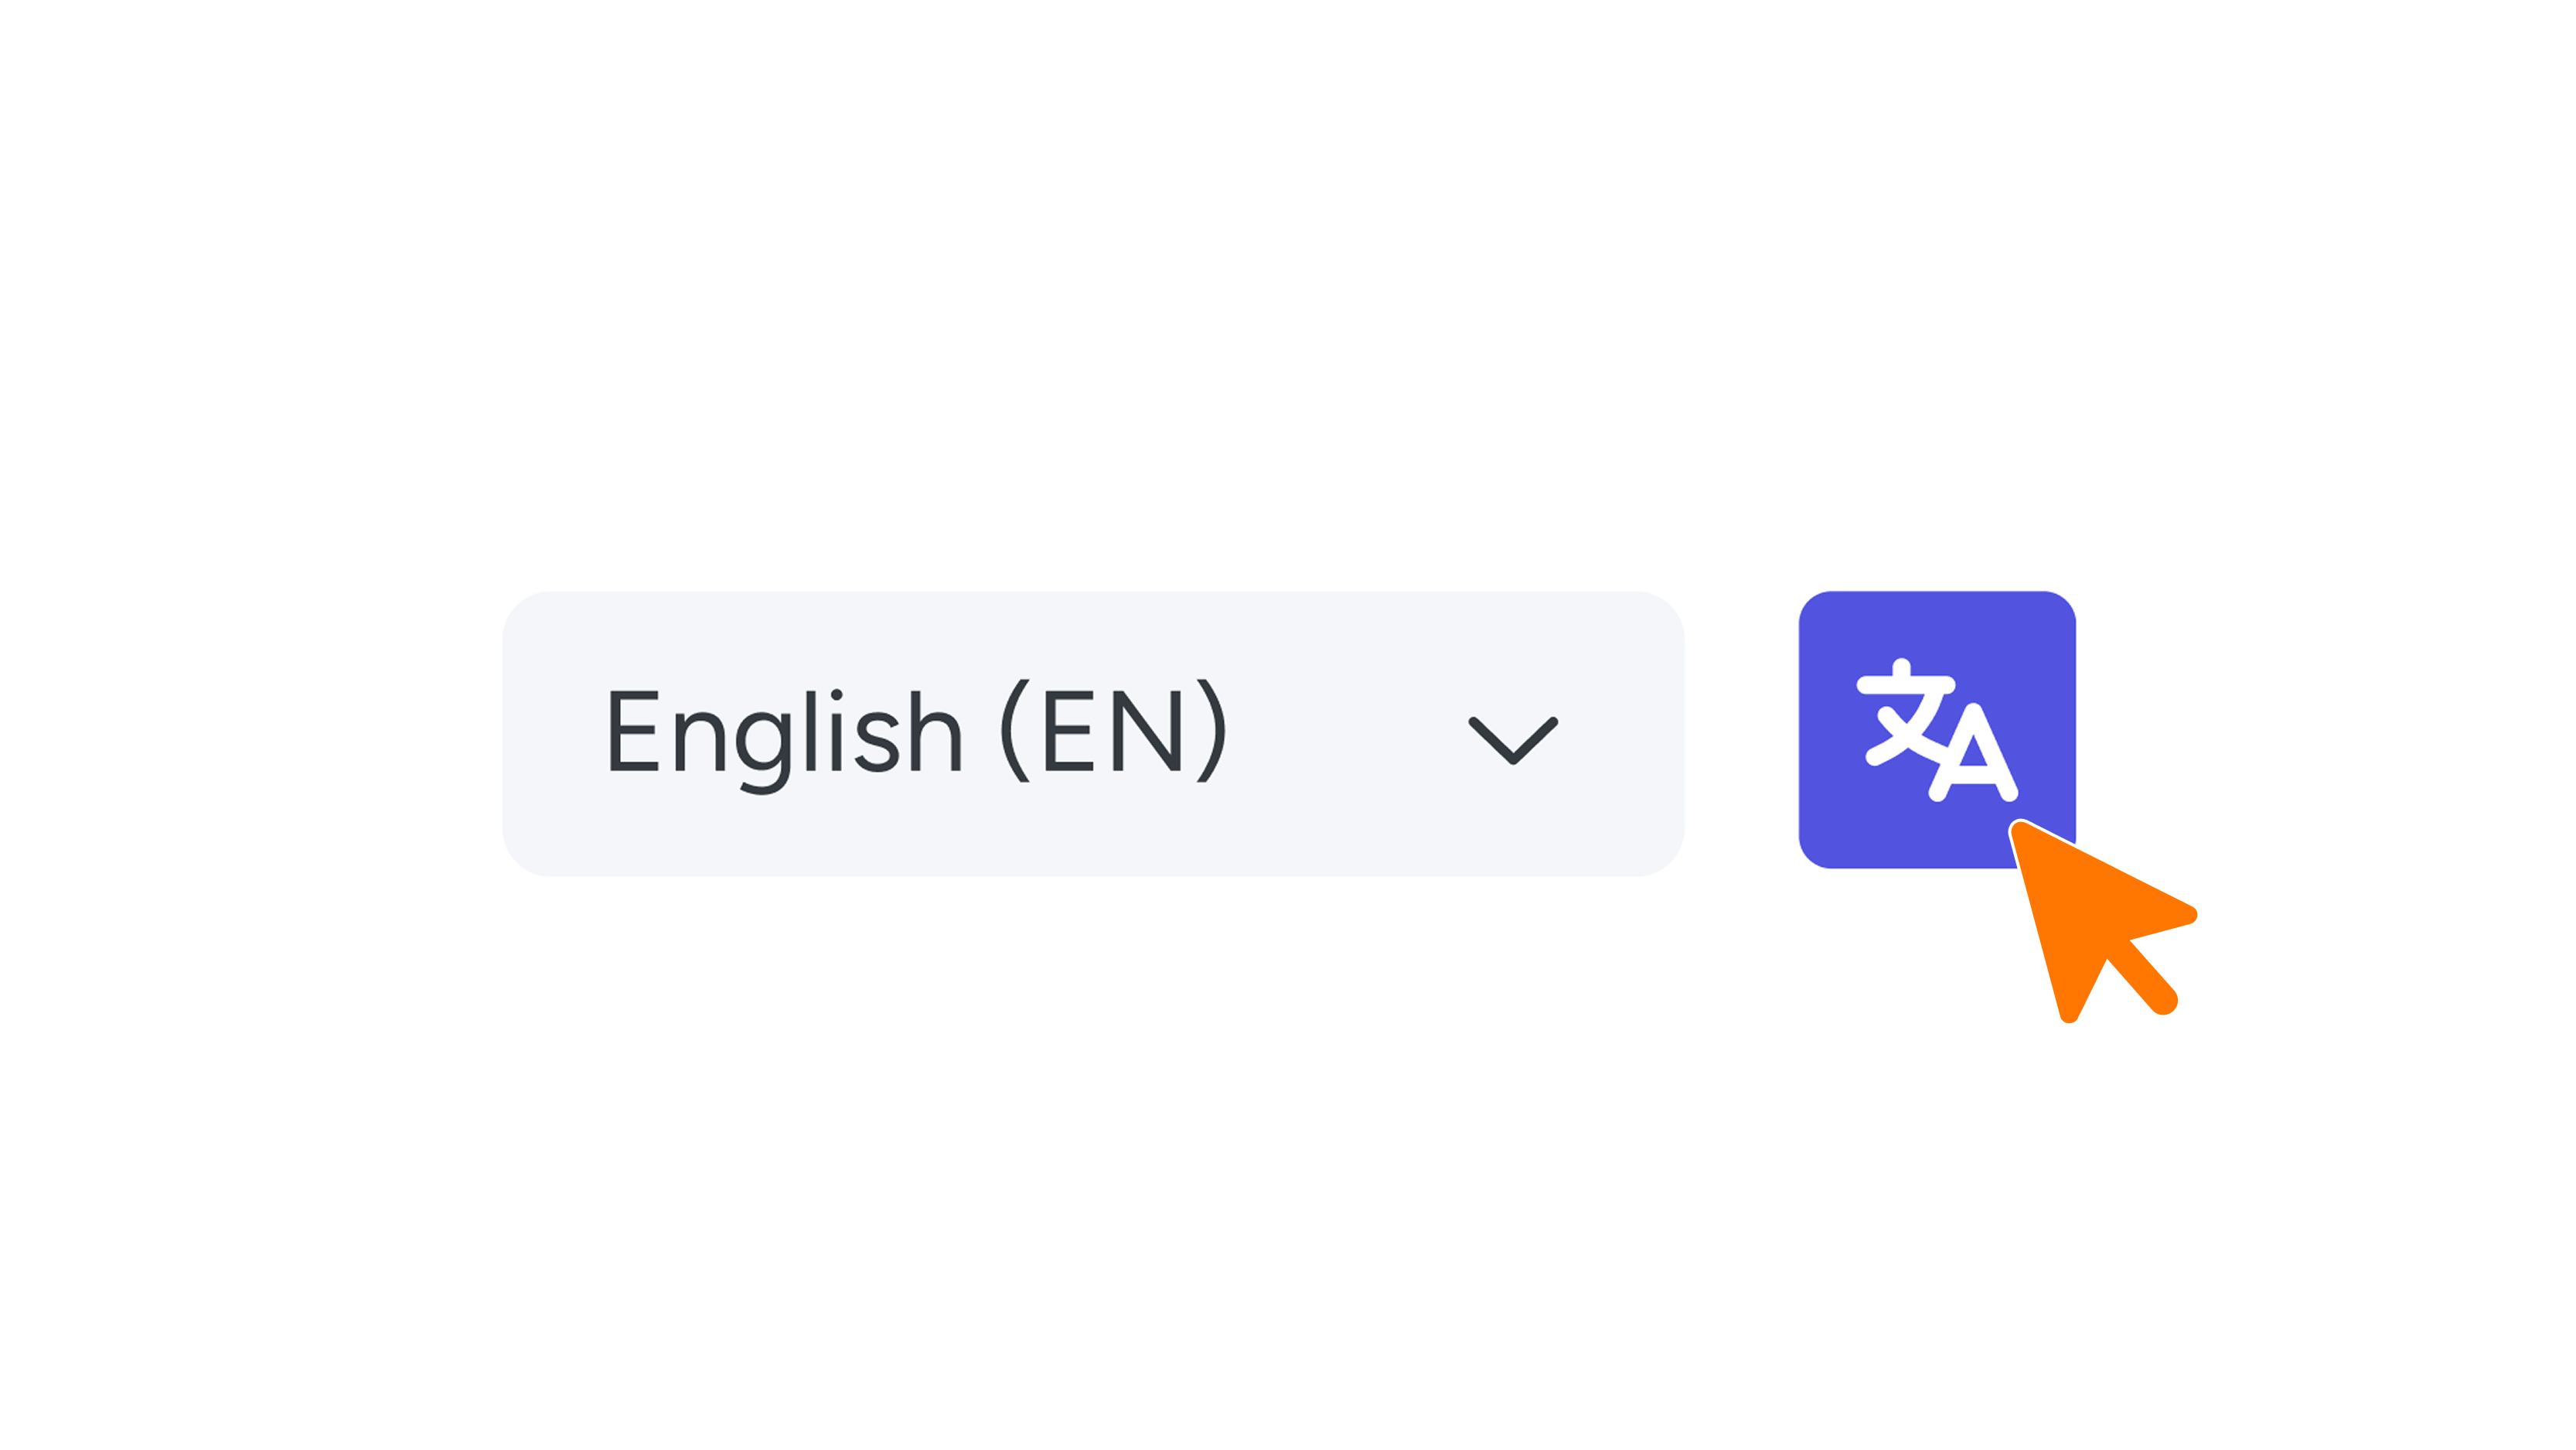
Click the translate button in the top-right corner of the screen (see image 1).
A translation will then be created for that specific language only. In the dropdown menu, you can view all available languages so you can check the translations and adjust them where needed.
This option is especially useful for when you want to manually enter certain items—such as names or WiFi passwords—per language. This prevents examples like “Bloemstraat” automatically being translated into “Flower Street.”
Important!
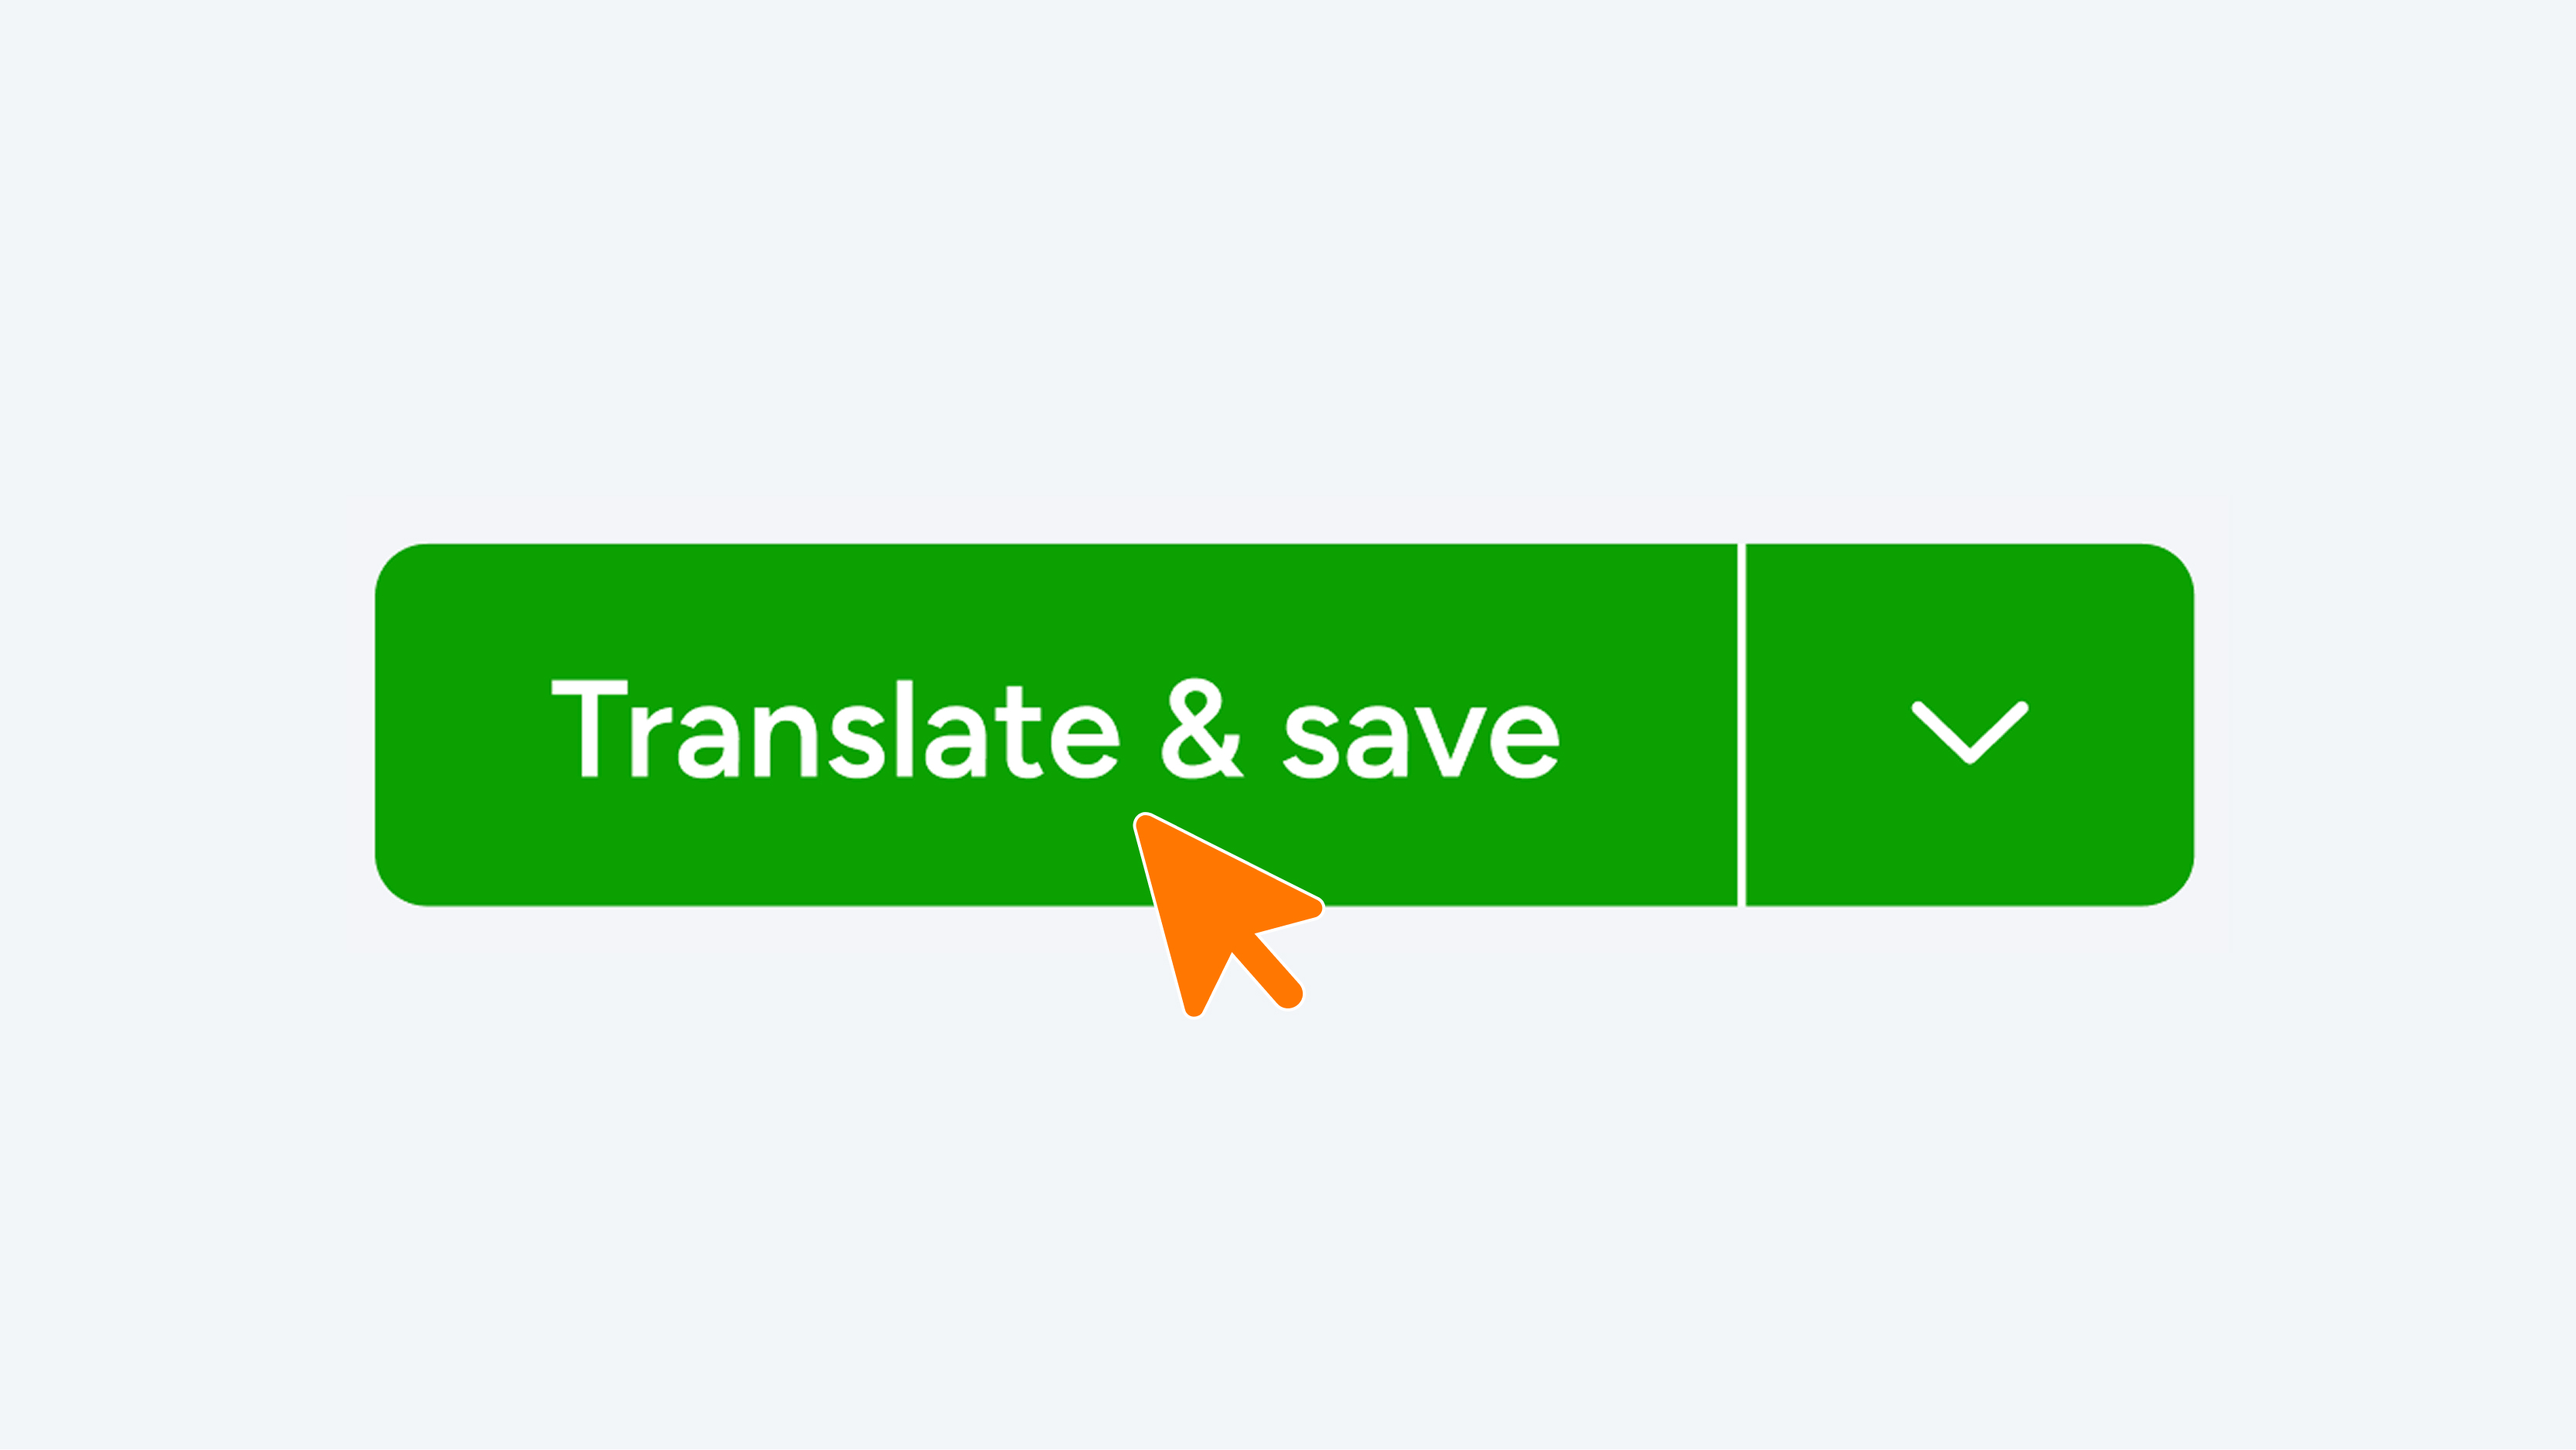
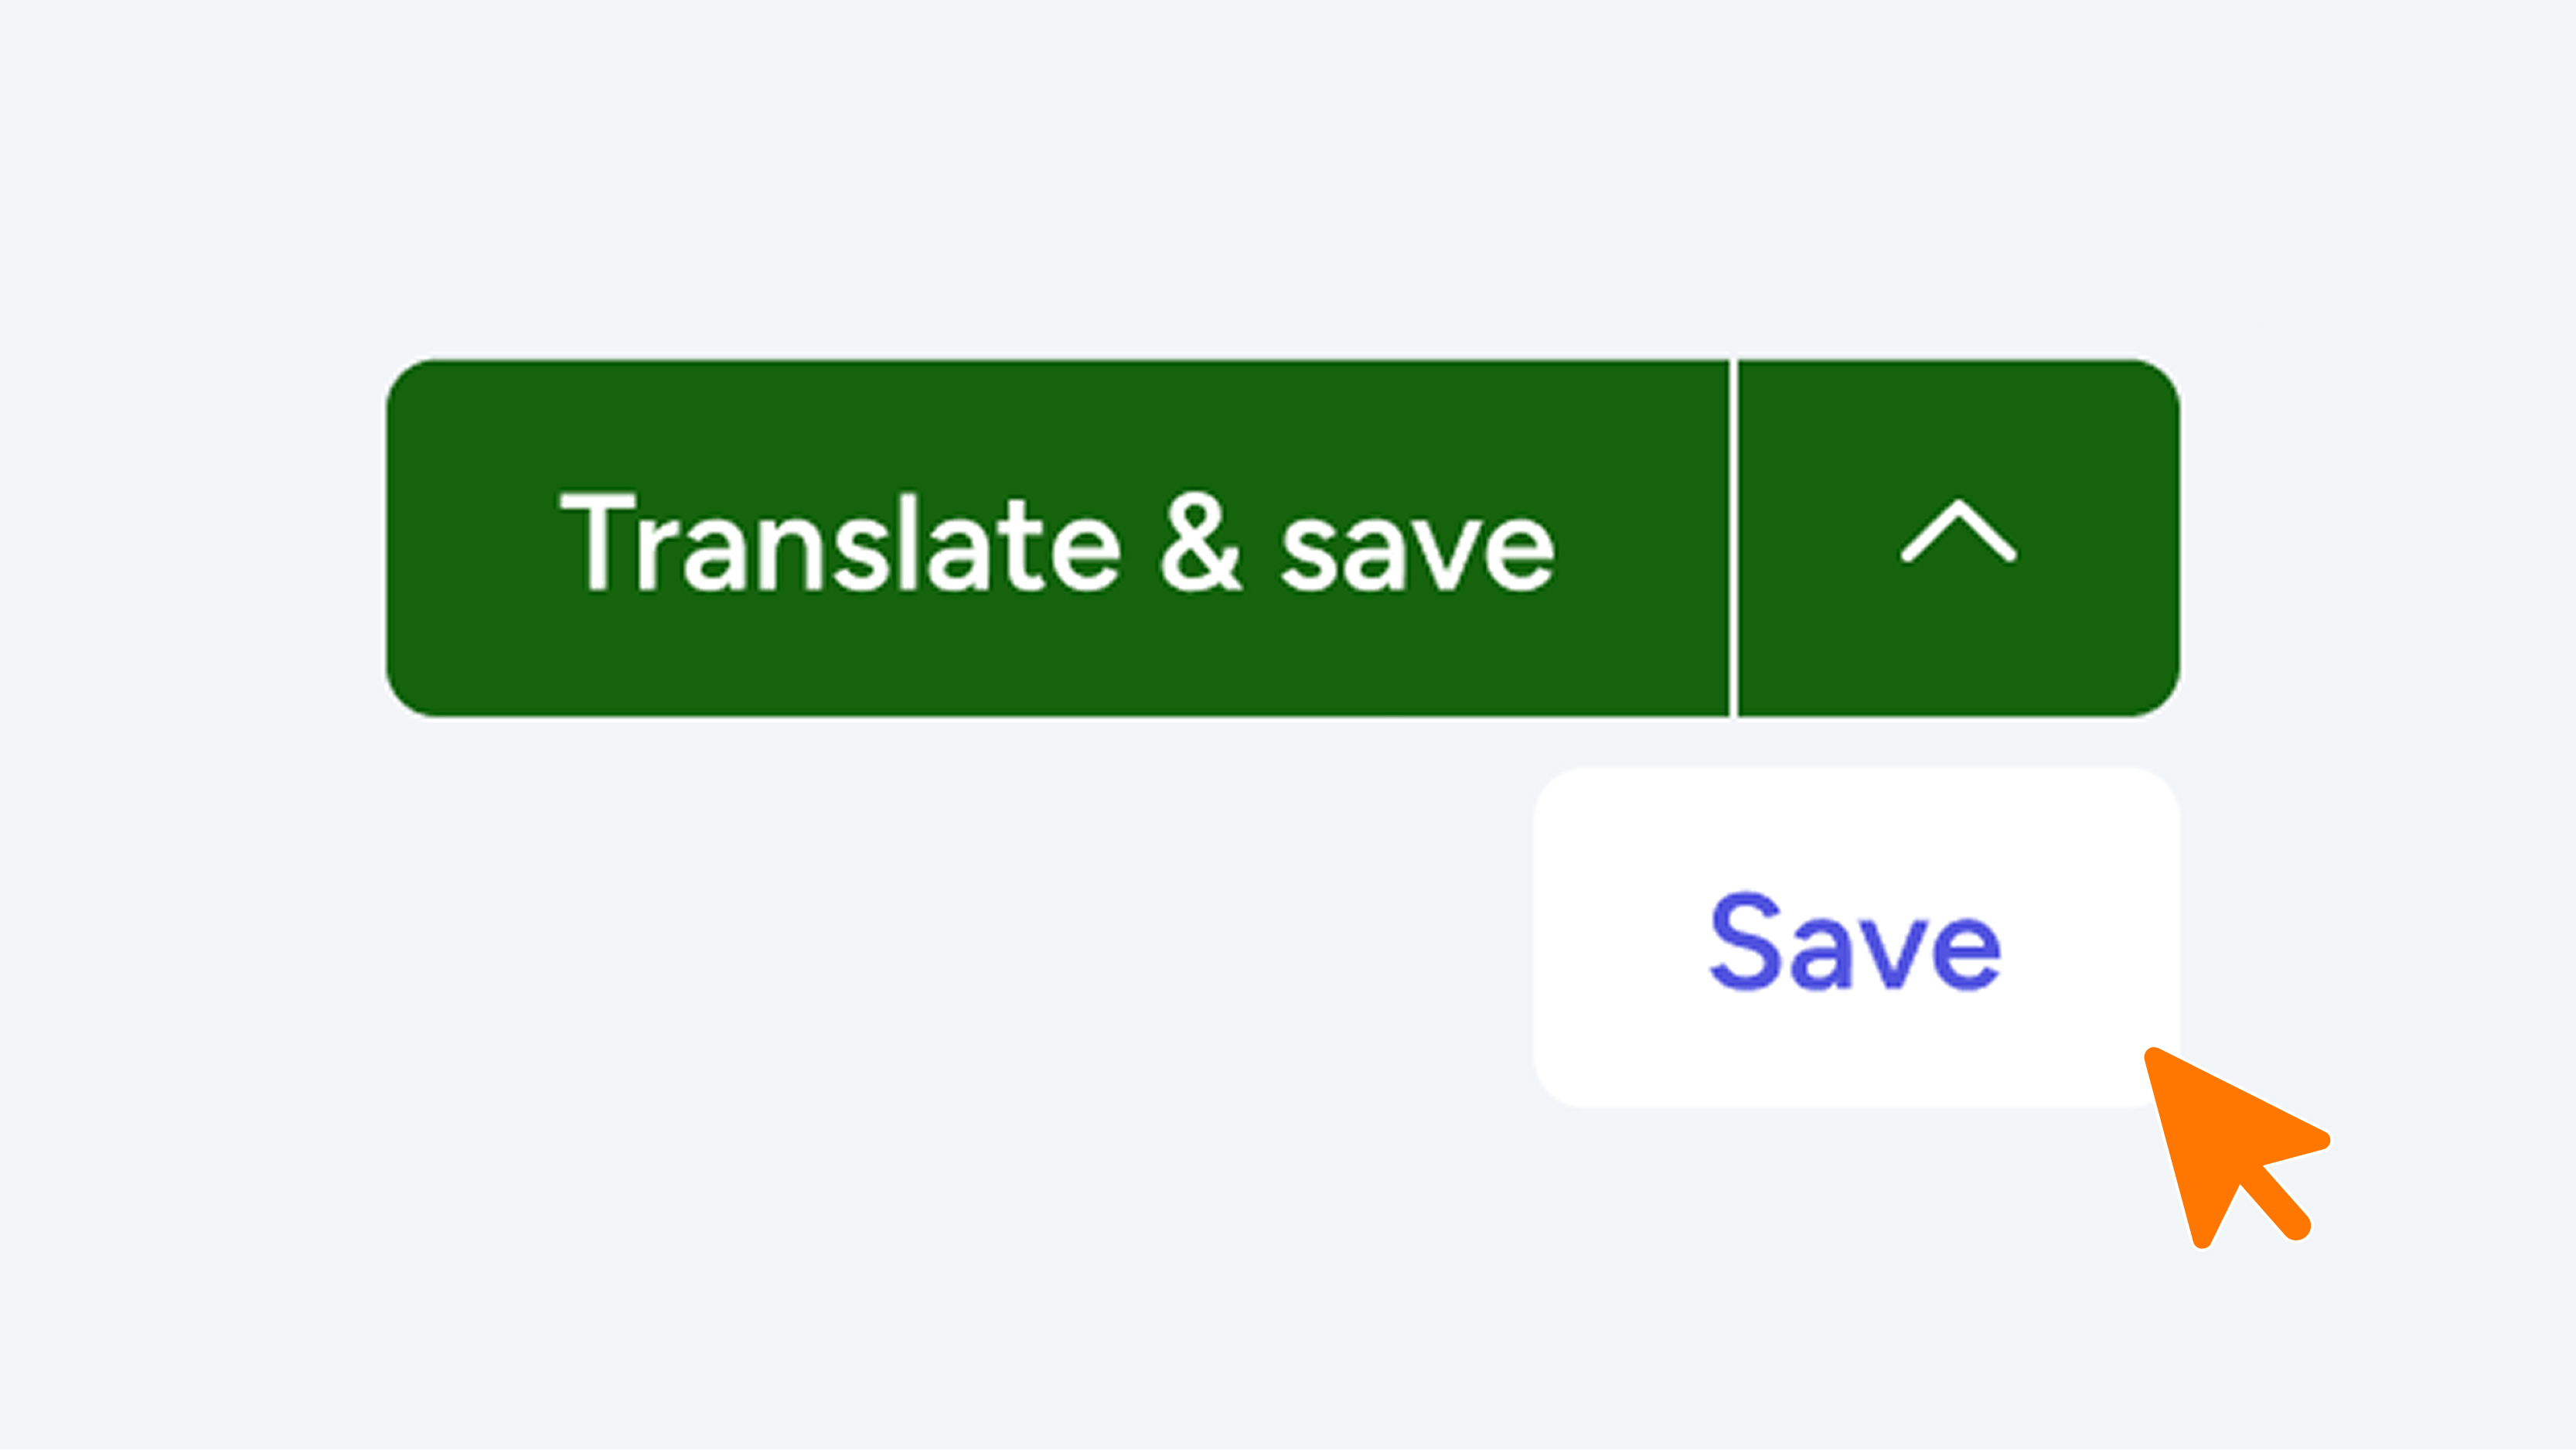
Do not click the green “Translate and Save” button.
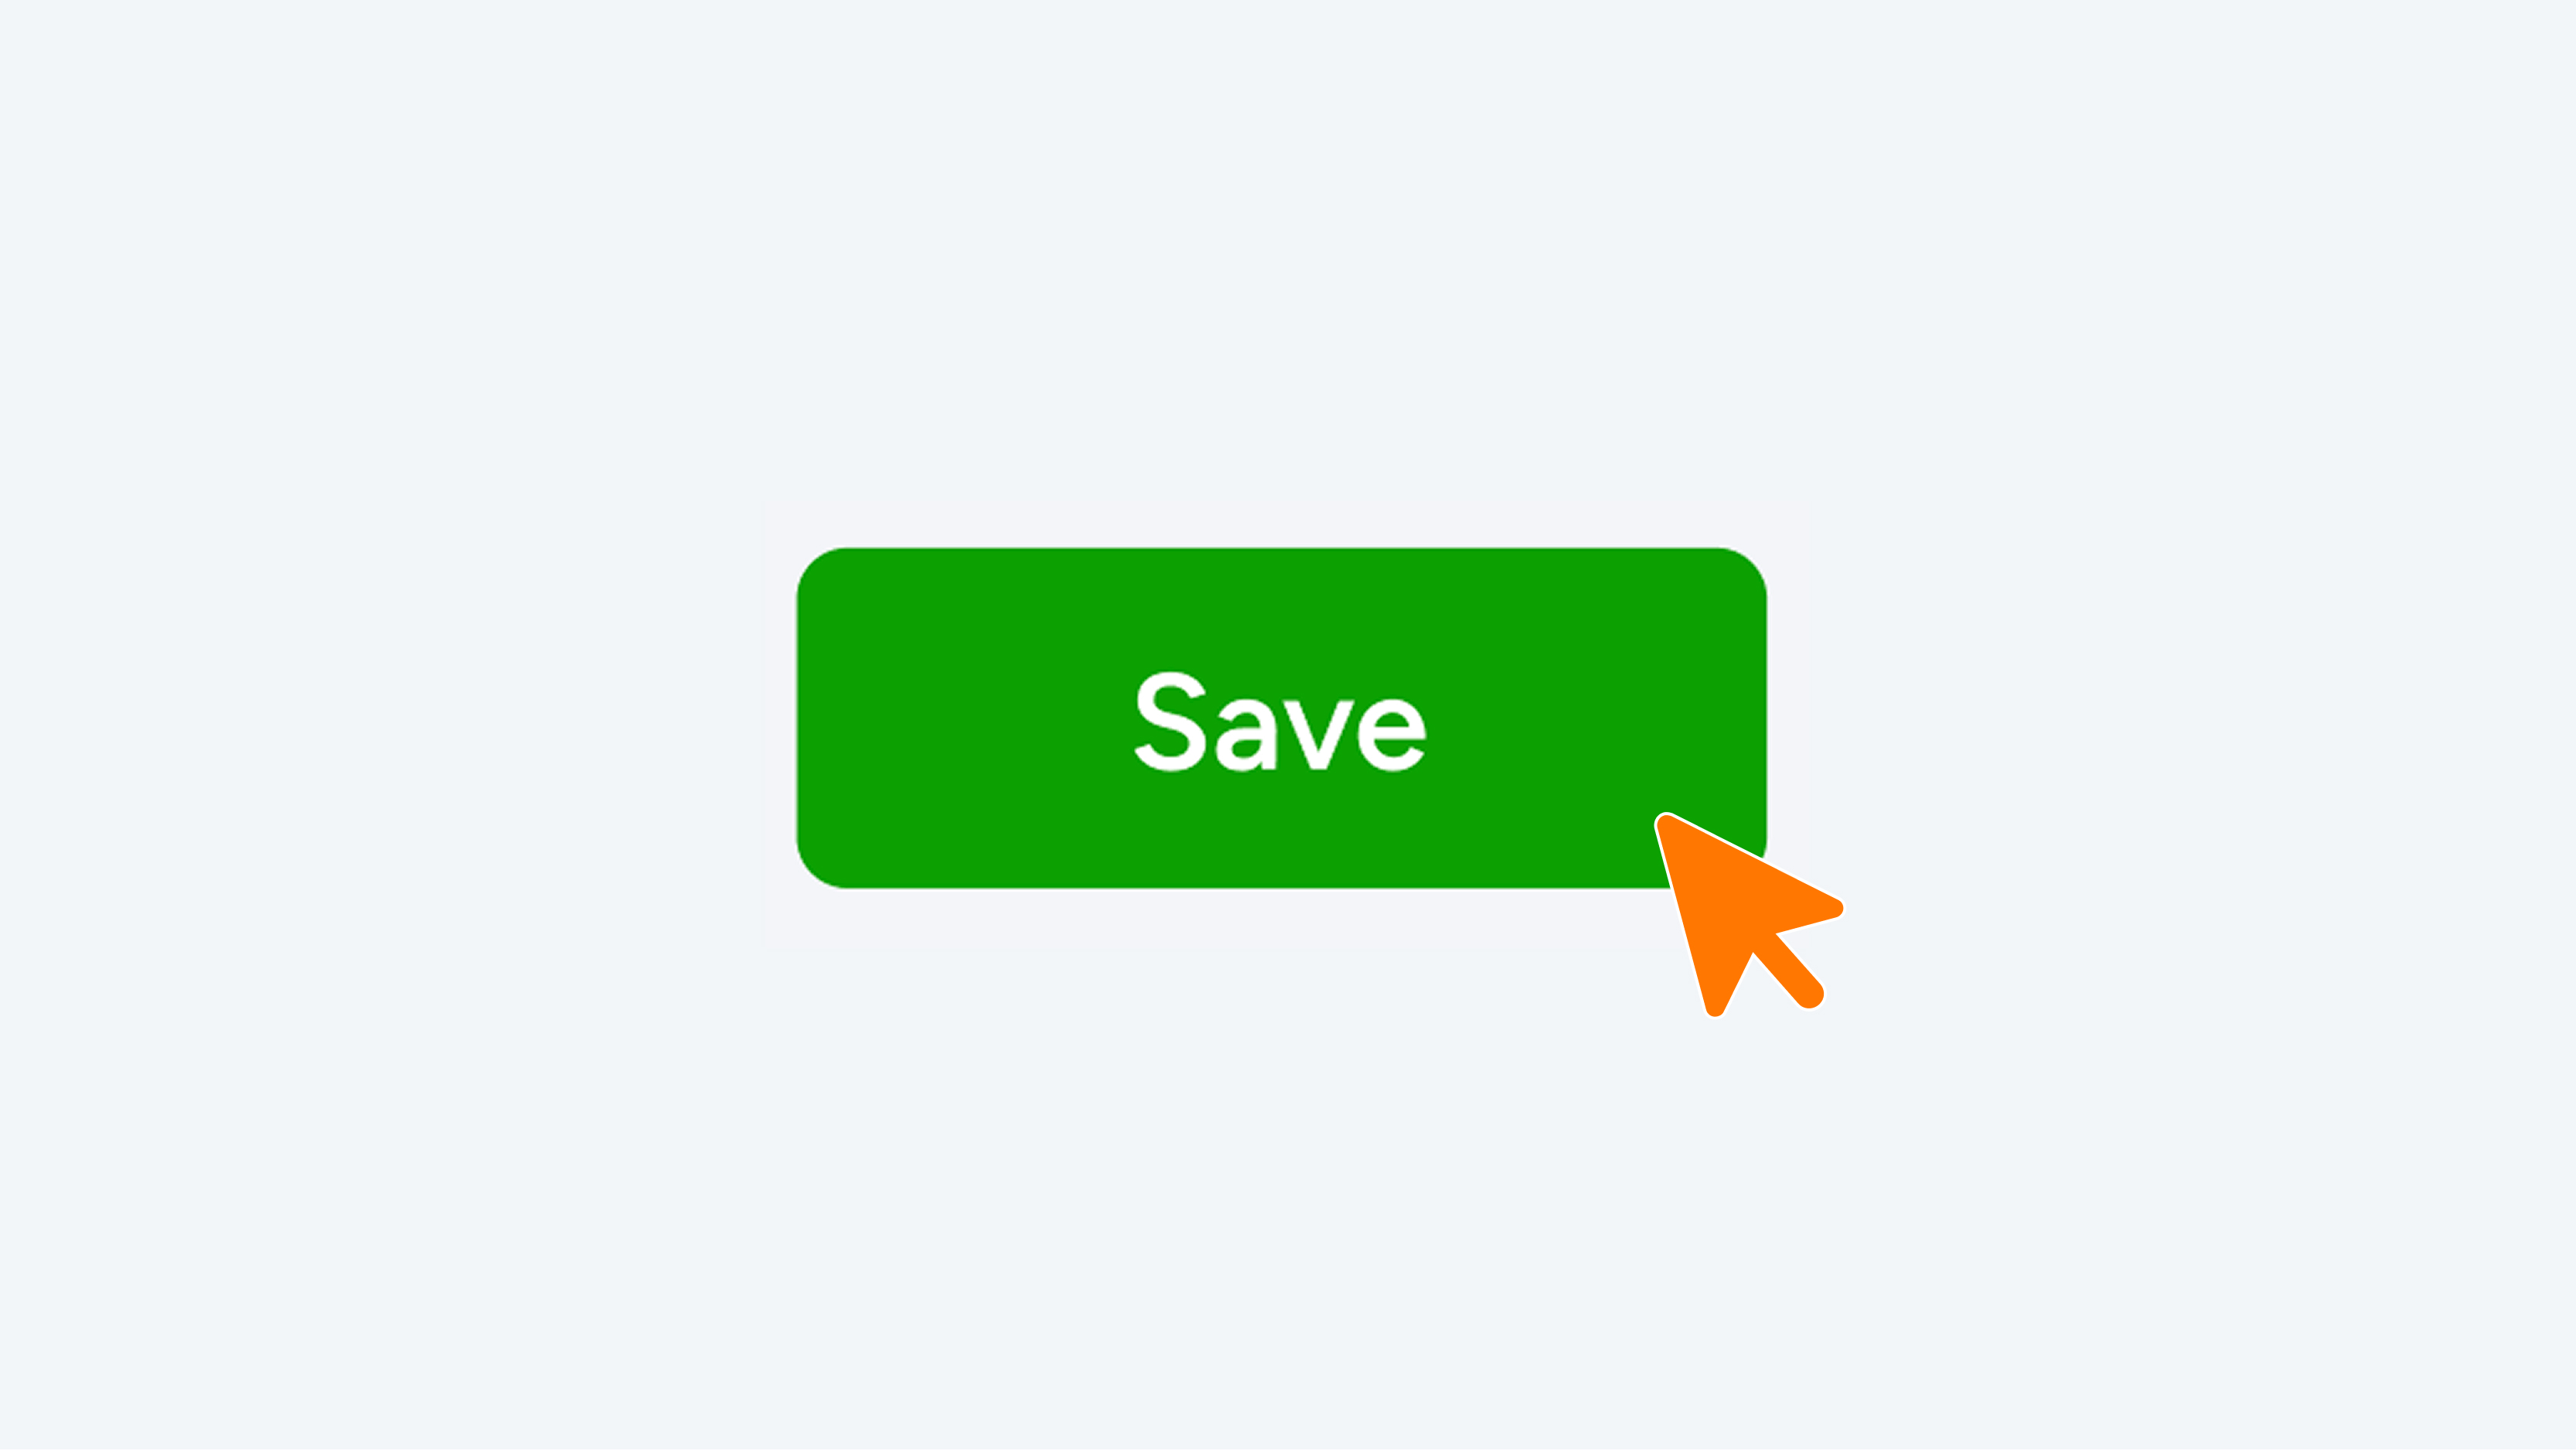
Instead, use the dropdown menu next to it and select the “Save” button (see images 2 & 3).
Save (and Translate) in One Step
Have you filled in everything for one language and want to translate and save it all immediately?
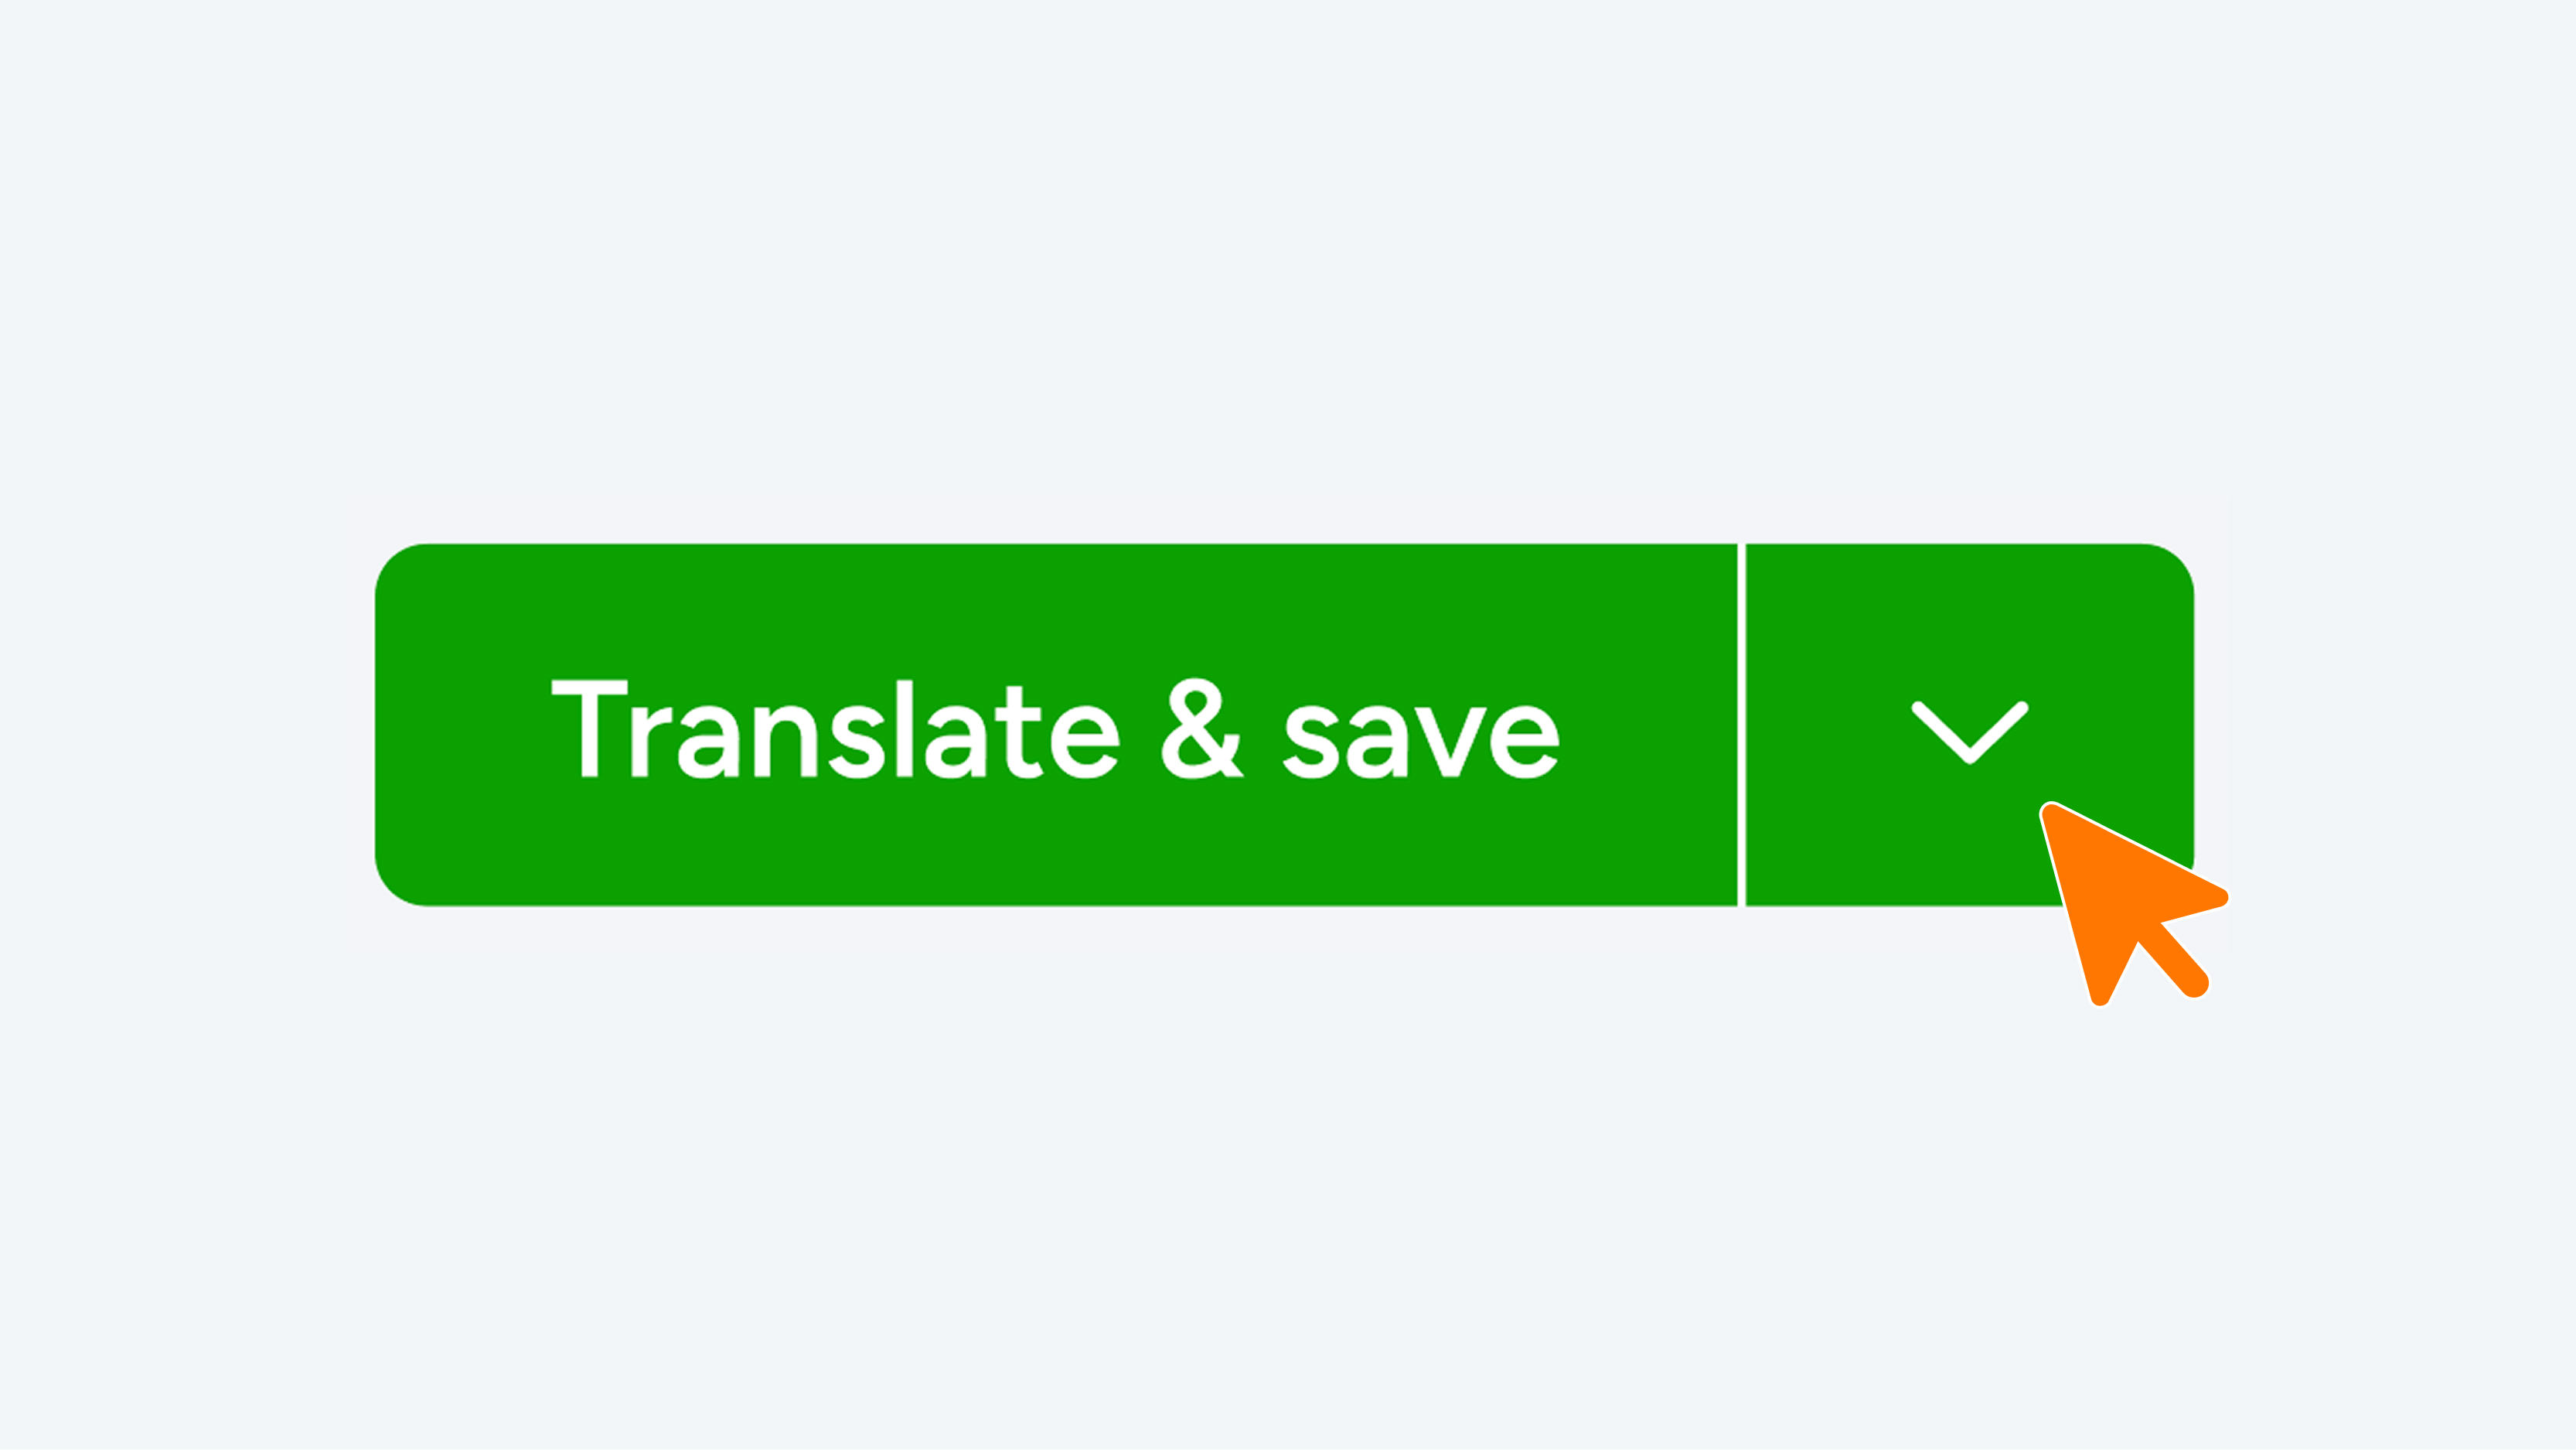
Click the green Translate & Save button (see image 4).
The module will automatically be translated, saved, and closed. You can always review the text later by reopening the module.
If your (web)app is only available in one language, you can only save it using the green “Save” button (see image 5).